The Pro’s Guide to Tattoo Ink Mixing: Greywash, Color Dilution & Safety Workflow
Introduction
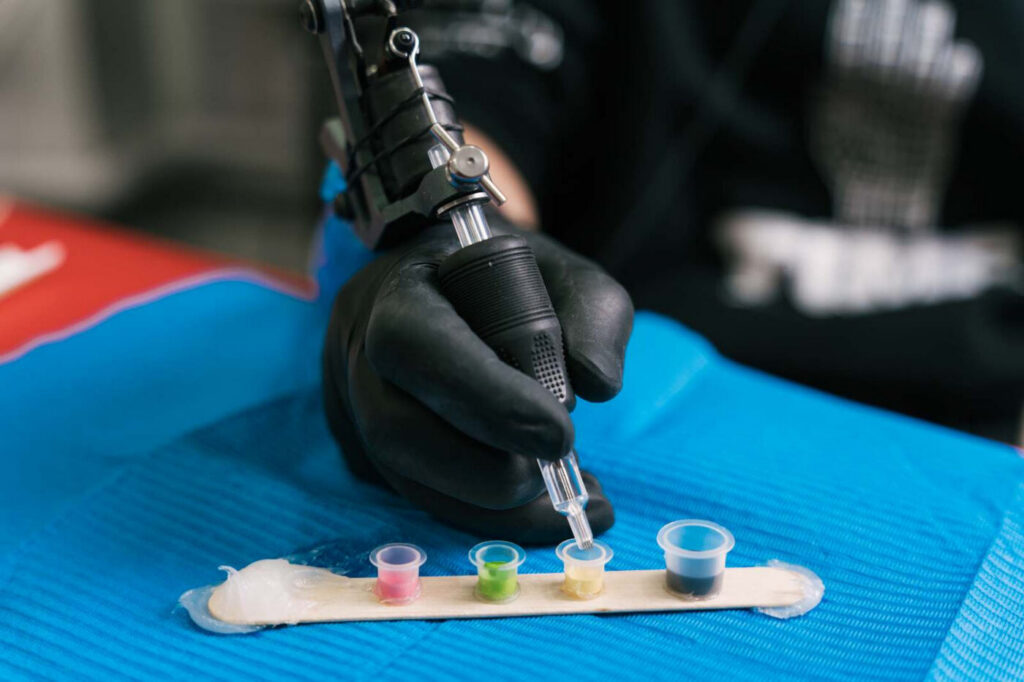
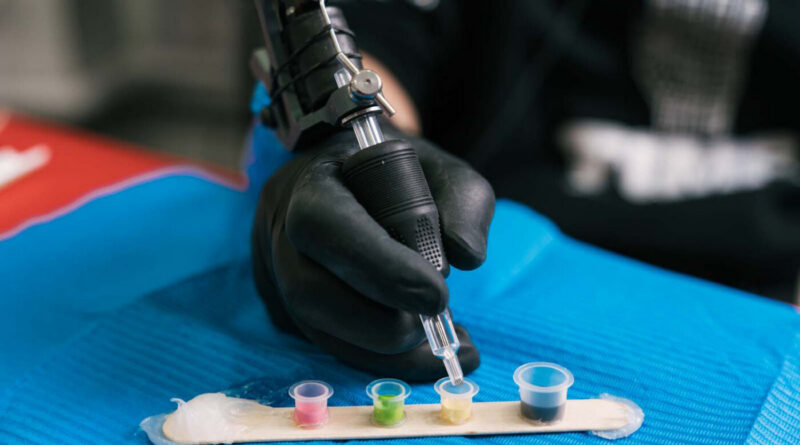
Every professional tattoo artist knows that consistent, safe, and reliable ink mixing is the backbone of quality tattooing. Whether you’re blending layered greywash for realism or diluting colors for watercolor effects, the workflow behind the cup determines the outcome on the skin. This guide covers the science, technique, and safety protocols of ink mixing—without unsafe claims or pseudoscience. We’ll break down greywash ratios, color dilution methods, and a step-by-step safety workflow that every studio should adopt.
Understanding Greywash

Greywash is black ink diluted with a carrier to achieve a range of grey values. The key is consistency: every drop of black and carrier must be measured accurately to reproduce the same shade across multiple sessions.
Dilution Ratios for Value Scales
A standard greywash scale uses ratios from 1:1 (black to carrier) for dark grey down to 1:8 for light grey. Many artists use distilled water or witch hazel as carriers. Witch hazel contains alcohol and can cause a different healing response, so always test a small area first.
- 1:1 – Dark grey (nearly black)
- 1:4 – Mid grey
- 1:8 – Light grey (translucent)
Caveat: Pre-mixed greywash bottles offer consistency but limit customization. If you mix your own, label every cup with the ratio and date.
Color Dilution Techniques
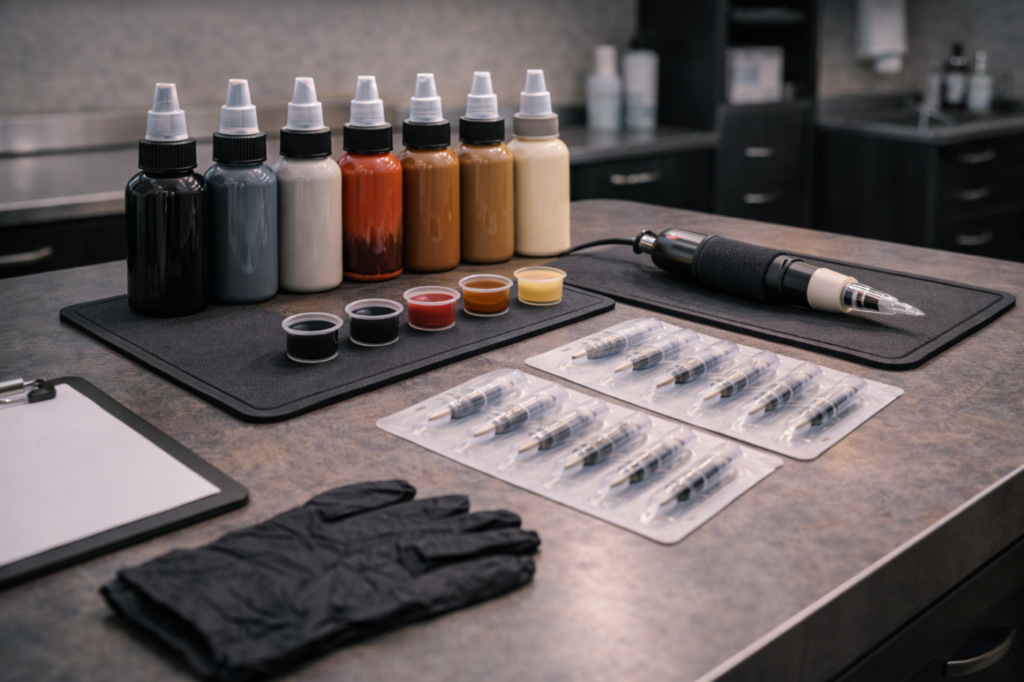
Diluting color reduces saturation and creates softer tones for blending, gradients, or watercolor styles. The three main diluents are: white ink (for pastels), mixing medium (for transparency without lightening), and the same color but lighter shade (for gradual shifts).
Checklist for Safe Dilution
- Use only sterile, single-use cups.
- Never mix different brands without patch testing—chemical reactions can change pH.
- Start with 10% diluent and increase by 10% increments until desired effect.
- Record ratios in a studio logbook for reproducibility.
Safety Workflow
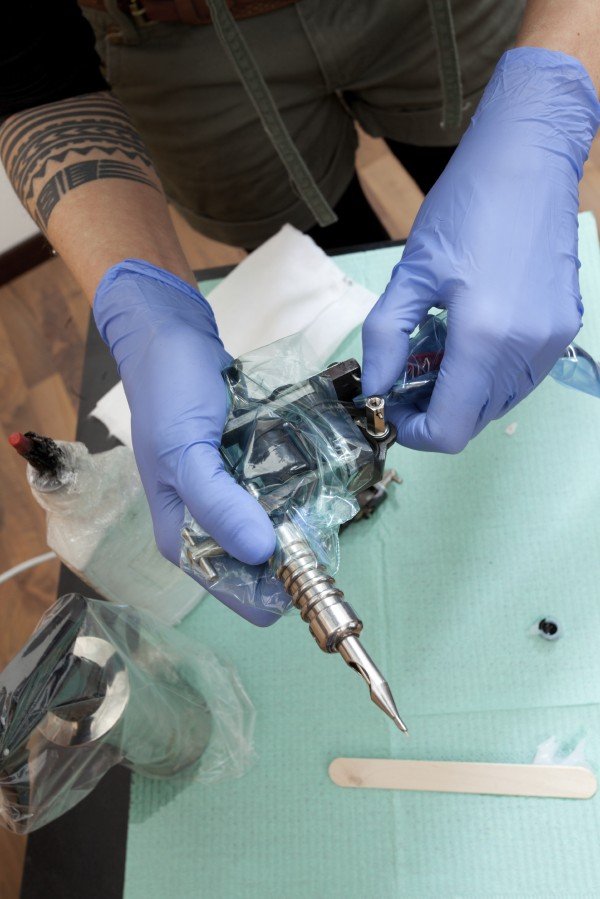
Cross-contamination is the #1 risk in ink mixing. Follow this step-by-step protocol:
- Set up a clean zone: Wipe the counter with 70% isopropyl alcohol. Use a barrier film if possible.
- Use single-use items: Cups, spatulas, and stirrers must be disposable. Never reuse.
- Transfer with care: Pour black ink into a cup first, then add carrier. Do not dip needles into bottles—use a transfer pipette.
- Label immediately: Write the ratio, color, and date on the cup. Store at room temperature away from sunlight.
- Discard after session: Mixed ink sitting overnight should be thrown out—bacteria can grow even in carbon-based inks.
For high-volume studios, consider using pre-sterilized mixing kits available from verified suppliers. Browse the tattoo marketplace for options.
Pre-Mixed vs. Self-Mixed Ink

| Factor | Pre-Mixed | Self-Mixed |
|---|---|---|
| Consistency | Guaranteed batch-to-batch | Artist-controlled |
| Customization | Limited | Infinite |
| Cost per session | Higher | Lower |
| Risk of error | Low | If unlabeled |
Decision: If you’re a traveling artist or apprentice, pre-mixed is safer. If you specialize in custom shading, self-mixing gives you full control—but require strict labeling and hygiene.
Common Mistakes & How to Avoid Them
Over-Dilution
Water-based carriers can weaken the pigment binding, causing ink to spread uncontrollably. Stick to ratios above 1:8. For ultra-light washes, use a dedicated light grey instead of diluting further.
Using Tap Water
Tap water contains chloramine, fluoride, and minerals that alter ink chemistry. Always use distilled water or medical-grade carrier.
Skipping Patch Tests
Even if you’ve used the same brand for years, a new batch or different dilution can trigger allergic reactions. Patch test on yourself or a volunteer 48 hours before major work.
Frequently Asked Questions
How long does mixed ink last in a cup?
Ideally, use within 4 hours. After that, evaporation changes the ratio and bacteria may form. Discard any leftover mixed ink at session end.
Can I mix different ink brands?
Not recommended unless you have verified compatibility from manufacturers. Different binders and pigments can react unpredictably.
Should I use a specific carrier for greywash?
Distilled water is the safest choice. Witch hazel (alcohol-free) is an alternative but test first because it can cause a stinging sensation on sensitive clients.
How do I store my mixing supplies?
Keep all unopened ink bottles in a cool, dark cabinet (15–25°C). Single-use cups and stirrers should be stored in sealed containers to avoid dust.
Conclusion
Ink mixing is both an art and a science. By mastering greywash ratios, color dilution, and a rigorous safety workflow, you elevate your craft and protect your clients. Stay curious, document your experiments, and never sacrifice safety for speed. For more pro-level resources, visit our magazine and explore consultation guides for custom mixing advice.
Keep exploring Vietnam Tattoo
- Browse Ranking for notable studios by city, style, and intent.
- Search studios by city, verification level, and contact channel.
- View verified profiles to check approved and verified entries.
- Request a consultation if you need help choosing style, placement, or a suitable studio.
Content hub
Pro corner hub
Read more about needles, inks, machines, cartridges and safer professional practice.
Related reading
Continue reading
Tattoo Stencil Troubleshooting: Smudging, Transfer Gel, and Skin Prep – A Studio Workflow Guide
Master stencil application with this practical guide covering smudging causes, transfer gel selection, and a step-by-step skin prep…
Tattoo Machine Stroke Length: Lining, Shading, and Color Packing Decisions – A Pro Guide
Master the relationship between stroke length and tattoo results. Expert guide on lining, shading, and color packing machine…
Mastering Tattoo Needle Depth: Skin Layers, Blowout Prevention, and Clean Line Control – A Pro Guide for Apprentices
Master tattoo needle depth with this pro guide: understand skin layers, prevent blowout, and achieve clean lines. Essential…