Tattoo Stencil Troubleshooting: Smudging, Transfer Gel, and Skin Prep – A Studio Workflow Guide
Why Stencils Fail (and How to Fix It Before You Ink)
A crisp stencil is the backbone of a clean tattoo. Whether you’re laying down Fine line, Blackwork, or Japanese traditional, a smudged or faded transfer can derail your session, waste time, and compromise the final design. This guide walks through the most common stencil failures—smudging, transfer gel issues, and skin prep mistakes—and gives you a step-by-step studio workflow to avoid them.
The Real Culprits Behind Smudging
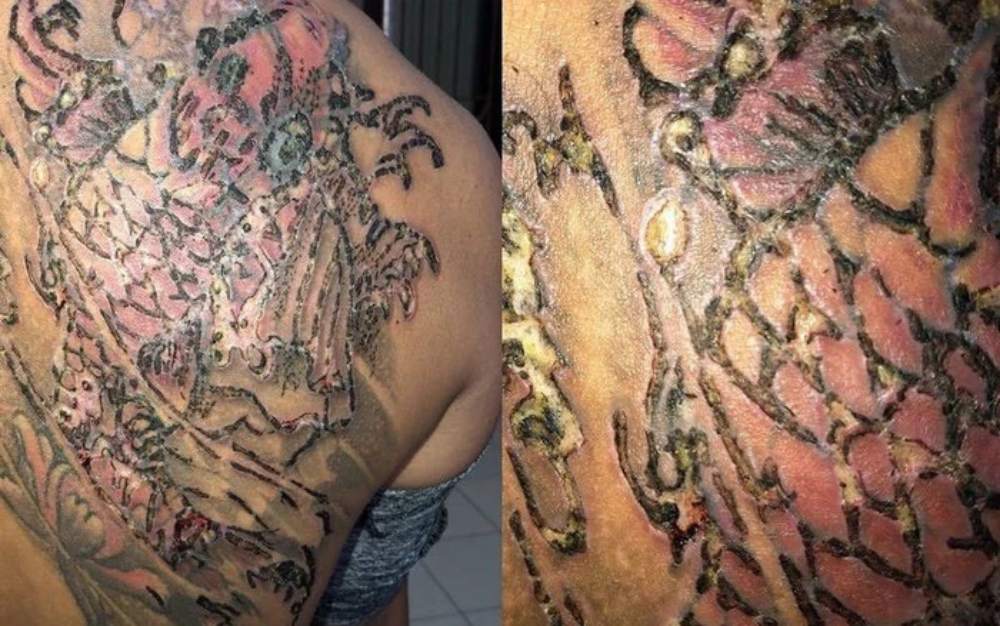
Smudging isn’t random. It’s almost always caused by one (or more) of these:
- Excess transfer gel or stencil stuff – too much product leaves a slippery residue that lifts the stencil.
- Insufficient drying time – rushing the transfer while the gel is still wet is a classic mistake.
- Skin oils or lotion residue – even a thin layer of moisturizer can prevent the stencil from adhering.
- Friction during the session – wiping too aggressively or using a wet paper towel can smudge the lines.
Quick Fixes for Smudging
- Always degrease the skin with alcohol or a dedicated prep solution before applying the stencil.
- Use a thin, even layer of transfer gel or stencil stuff—less is more.
- Wait at least 2–3 minutes for the gel to become tacky before applying the stencil.
- Once the stencil is placed, pat dry with a paper towel (never wipe) and let it air dry for another minute.
- During the tattoo, use light wiping motions and switch to a dry paper towel for the first few passes.
Transfer Gel: Choosing and Using It Right
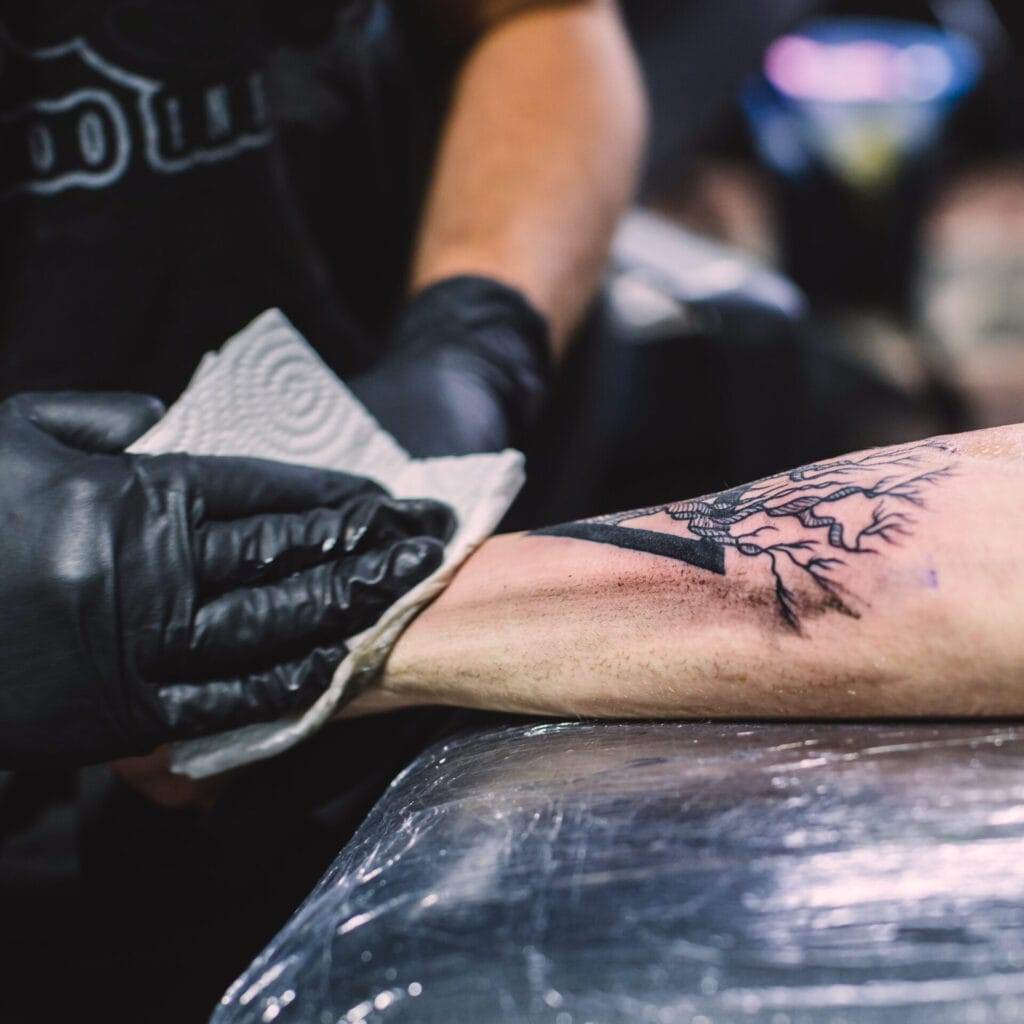
Transfer gel (or stencil stuff) is a staple for Realism, Micro realism, and Dotwork, where fine lines and subtle shading need a precise guide. But not all gels are equal, and misuse leads to faded or patchy transfers.
Types of Transfer Gel
- Water-based gel – dries quickly, good for most styles, but can be less forgiving on oily skin.
- Alcohol-based gel – stronger adhesion, ideal for tricky areas like hands or feet, but can dry out faster.
- Purple or blue tinted gels – help you see where you’ve applied the product, reducing patchiness.
Application Checklist
- Shake the bottle well – separation is common.
- Apply a small drop (about the size of a pea) and spread it evenly with a gloved finger or a cotton swab.
- Cover the entire area where the stencil will sit, but don’t overdo it.
- Wait until the gel turns tacky (not wet) – test with a clean finger.
- Place the stencil carefully, press firmly with a paper towel, and remove the backing paper slowly.
Pro tip: For Geometric tattoo or Ornamental designs with precise lines, use a stencil printer with thermal paper to get a sharp, high-contrast transfer. This is especially useful for Lettering and Graphic tattoo work where every letter or line matters.
Skin Prep: The Foundation of a Perfect Stencil
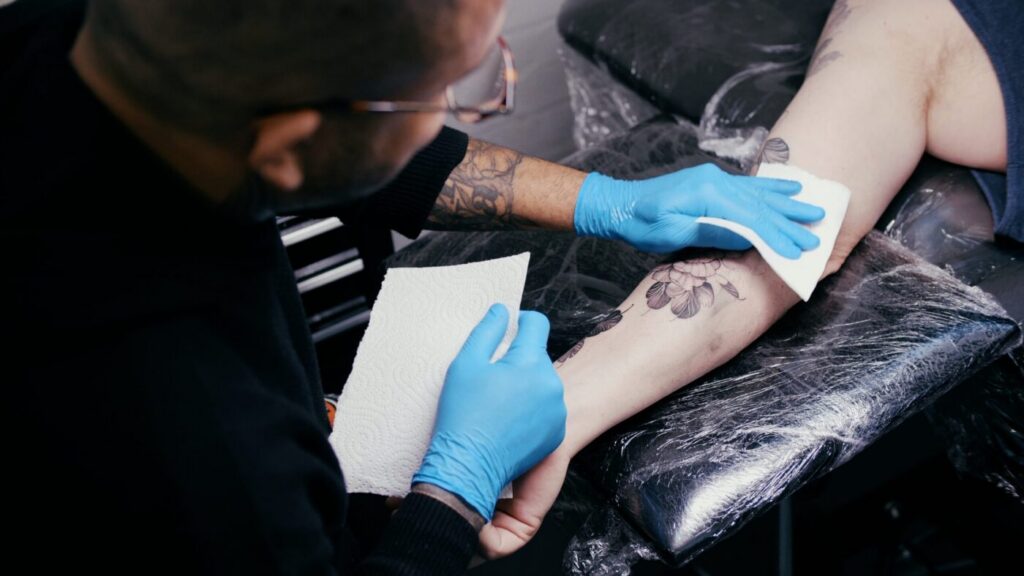
Skin prep is the most underrated step in stencil application. If the skin isn’t clean and hair-free, your stencil will lift, smudge, or look patchy.
Step-by-Step Skin Prep Protocol
- Shave the area – do this at least a few hours before (or right before) to avoid razor burn. Use a fresh blade and shave in the direction of hair growth.
- Cleanse with antibacterial soap – remove any dirt, oil, or deodorant residue.
- Rinse thoroughly – soap residue can interfere with adhesion.
- Dry completely – pat with a clean paper towel, don’t rub.
- Degrease with alcohol or witch hazel – this removes any lingering oils. Let it air dry.
- Apply a thin layer of stencil primer (optional) – some artists use a product like Stencil Primer to create a slightly tacky surface that helps the stencil stick.
Special Cases
- Oily skin – use an astringent toner or an alcohol-based prep solution. Avoid moisturizers before the session.
- Dry or flaky skin – gently exfoliate a day before (if possible) and apply a light, non-oily lotion the night before. Do not apply lotion on the day of the tattoo.
- Hairy areas – shave closely, but be careful not to nick the skin. For Tribal or Abstract tattoo designs that cover large areas, this is especially important.
Stencil Application: The Right Way

Even with perfect prep and gel, a sloppy application can ruin the stencil. Here’s a reliable method:
- Place the stencil on the skin, making sure it’s aligned correctly. Use a mirror or ask a colleague to double-check.
- Press the stencil firmly with a wad of paper towels, applying even pressure for about 30 seconds.
- Peel back a corner of the backing paper to check if the transfer took. If it’s incomplete, press again for another 15–20 seconds.
- Slowly peel off the entire backing paper, pulling it back over itself.
- Let the stencil air dry for a minute, then lightly dab with a dry paper towel to set.
Common Application Mistakes
- Applying pressure with your fingers – this can cause uneven transfer.
- Moving the stencil after placement – this smears the design.
- Using too much pressure – this can distort fine lines, especially in Fine line or Dotwork.
When to Redo the Stencil
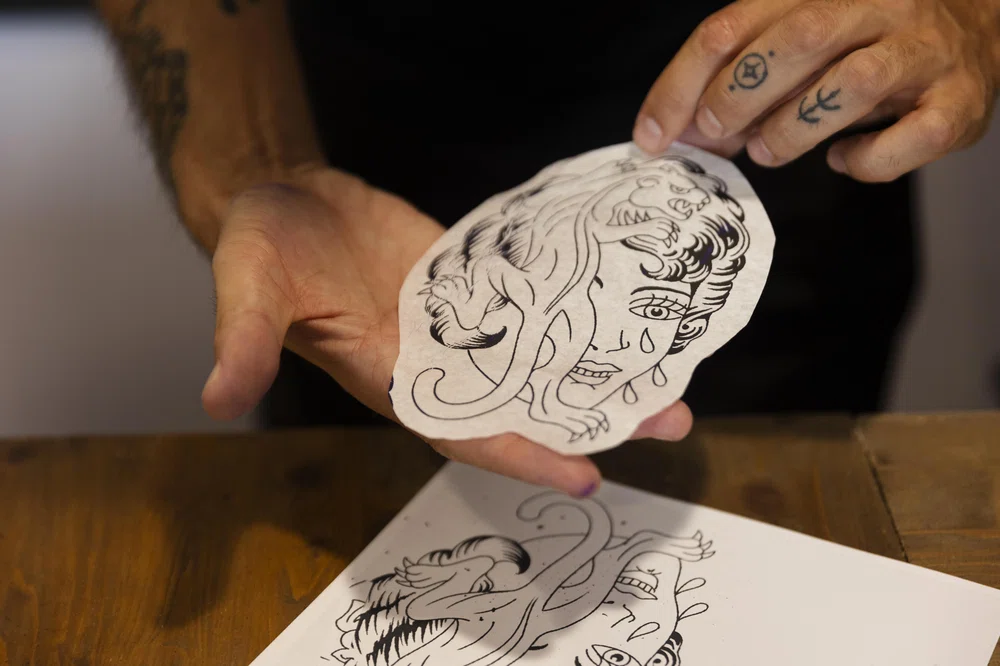
Sometimes, despite your best efforts, the stencil just isn’t right. Don’t be afraid to start over. Redo the stencil if:
- Lines are too faint or patchy.
- The design has shifted or distorted.
- There are smudges that can’t be wiped off without ruining the design.
- The stencil is too dark or heavy for a Watercolor tattoo or Neo-traditional where you want a lighter hand.
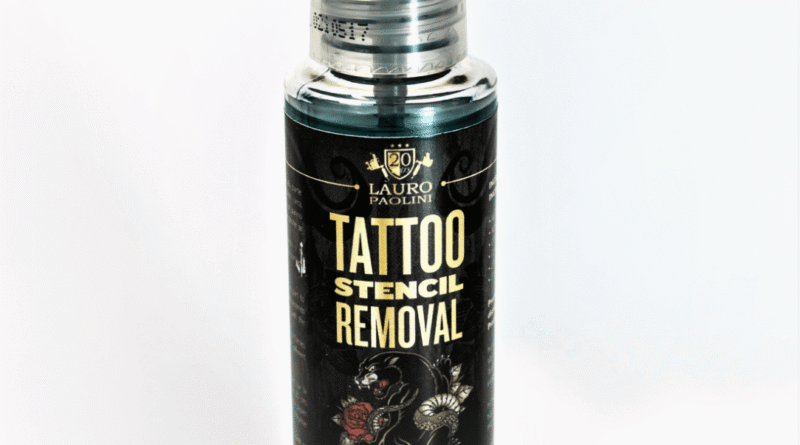
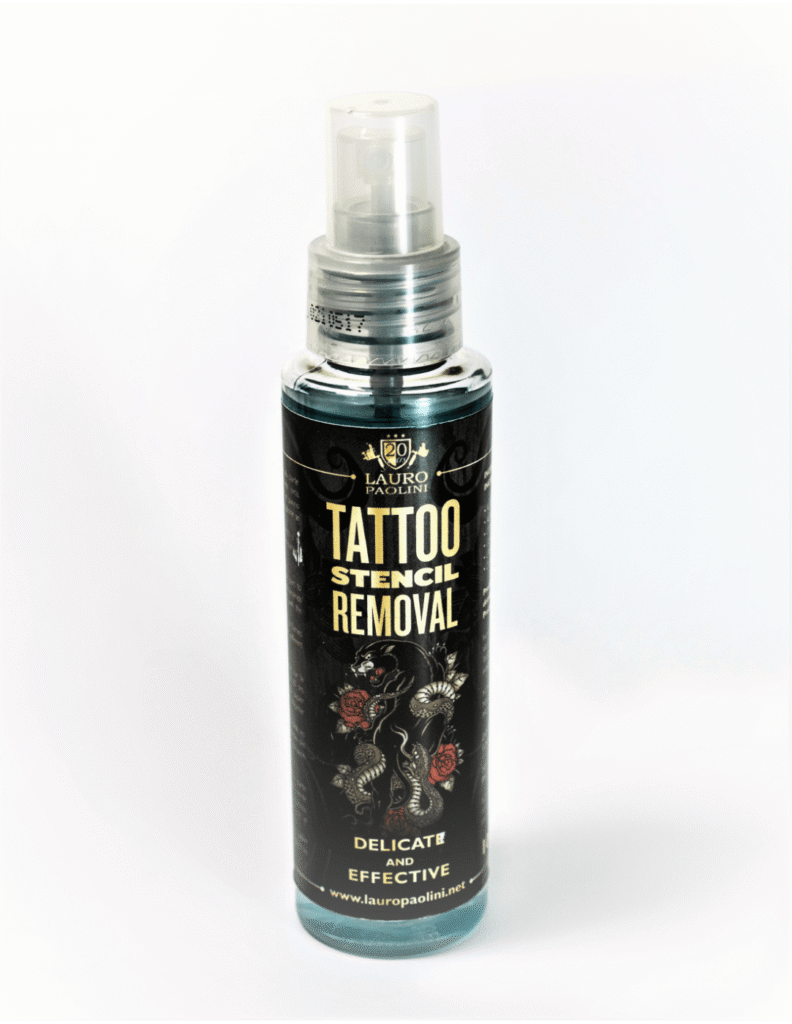
To remove a stencil, use a damp paper towel with a little rubbing alcohol or a stencil remover. Gently wipe in one direction, then re-prep the skin.
Stencil Maintenance During the Tattoo
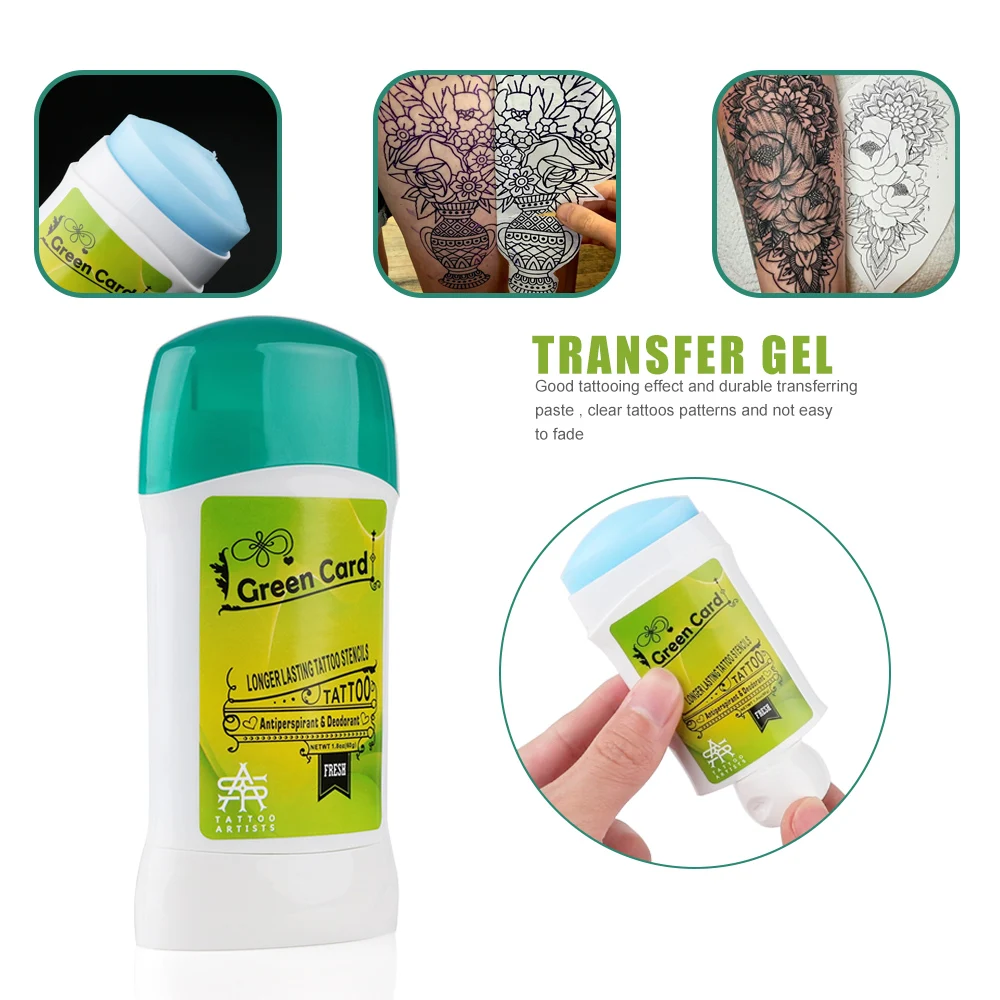
As you work, the stencil will naturally fade. To keep it visible:
- Use a dry paper towel to wipe away excess ink, not a wet one.
- If you need to wipe with water, use a minimal amount and pat, don’t rub.
- For Blackwork or Japanese traditional, you can re-apply a light layer of stencil stuff over the remaining stencil to refresh it, but be careful not to smudge.
- If the stencil completely disappears before you’re done, you can re-stencil the remaining outline using a stencil printer or a freehand marker.
Booking and Safety Considerations
Stencil issues are often a sign of a rushed appointment. Make sure your booking process allows enough time for proper prep. For complex designs like Realism or Micro realism, schedule extra time for stencil application and adjustments.
Safety-wise, always use medical-grade transfer gel and stencil paper. Never share stencil supplies between clients. If you’re a studio owner, ensure your artists are trained on proper stencil techniques—this reduces touch-ups and client dissatisfaction.
If you’re a client, ask your artist about their stencil process. A professional will be happy to explain how they ensure a clean transfer. If you have sensitive skin, mention it during the consultation so they can adjust their prep.
FAQ
1. Why does my stencil smudge even after I wait for the gel to dry?
Smudging can happen if the skin wasn’t fully degreased, if the gel layer was too thick, or if you applied the stencil with too much pressure. Also, some skin types (like oily or sweaty skin) need extra prep. Try using an alcohol-based prep solution and a thinner gel layer.
2. Can I use deodorant or lotion before a tattoo?
No. Deodorant, lotion, and even some soaps leave a residue that prevents stencil adhesion. Cleanse the skin thoroughly and avoid applying any products on the day of the tattoo.
3. What’s the best transfer gel for fine line and dotwork?
For fine line and dotwork, you want a gel that dries to a tacky finish without being too thick. A water-based gel with a purple tint works well. Test a few brands to see which gives you the sharpest lines on your typical client skin.
4. How do I fix a smudged stencil mid-session?
If the stencil smudges during the tattoo, stop and assess. If it’s just a small area, you can redraw the lines with a fine-tip marker or a stencil pen. If it’s widespread, remove the stencil with alcohol, re-prep the skin, and reapply a fresh stencil. It’s better to take 10 minutes to fix it than to freehand a design that’s not what the client agreed to.
Final Workflow Checklist
- Shave and clean the area with antibacterial soap.
- Degrease with alcohol and let dry.
- Apply a thin, even layer of transfer gel.
- Wait until tacky (2–3 minutes).
- Place stencil and press firmly with paper towels.
- Peel backing slowly and let air dry.
- During the tattoo, use dry paper towels and minimal water.
- If the stencil fades, reapply or refresh as needed.
For more tips on running a professional studio, check out our studio resources or find a verified studio near you. If you’re planning a tattoo, use our price estimator to budget for your next piece. And don’t forget to browse our magazine for more in-depth articles.
Keep exploring Vietnam Tattoo
- Browse Ranking for notable studios by city, style, and intent.
- Search studios by city, verification level, and contact channel.
- View verified profiles to check approved and verified entries.
- Request a consultation if you need help choosing style, placement, or a suitable studio.
Content hub
Pro corner hub
Read more about needles, inks, machines, cartridges and safer professional practice.
Related reading
Continue reading
Tattoo Machine Stroke Length: Lining, Shading, and Color Packing Decisions – A Pro Guide
Master the relationship between stroke length and tattoo results. Expert guide on lining, shading, and color packing machine…
The Pro’s Guide to Tattoo Ink Mixing: Greywash, Color Dilution & Safety Workflow
Master ink mixing for pros: greywash ratios, color dilution techniques, and a step-by-step safety workflow to prevent contamination…
Mastering Tattoo Needle Depth: Skin Layers, Blowout Prevention, and Clean Line Control – A Pro Guide for Apprentices
Master tattoo needle depth with this pro guide: understand skin layers, prevent blowout, and achieve clean lines. Essential…