Mastering Tattoo Needle Depth: Skin Layers, Blowout Prevention, and Clean Line Control – A Pro Guide for Apprentices
Introduction: The Foundation of Every Great Tattoo
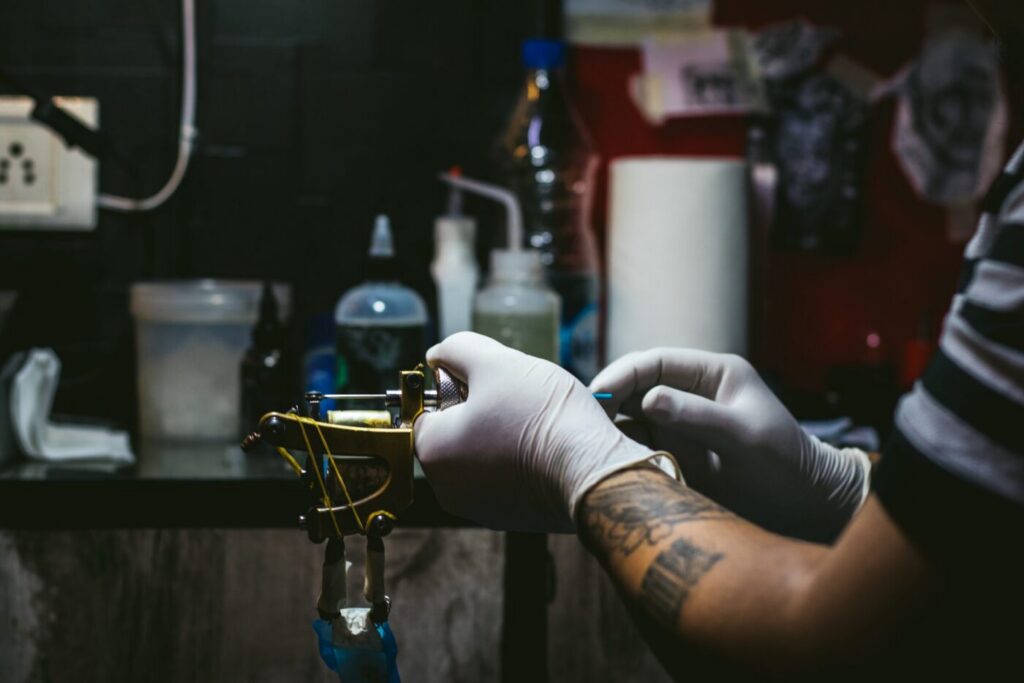
Needle depth is the single most critical variable in tattooing. Too shallow, and the ink sits in the epidermis, fading or falling out during healing. Too deep, and you cause trauma, scarring, and blowouts. As an apprentice, understanding exactly where your needle should be—and how to adjust for different skin types and body areas—is the difference between a solid, clean tattoo and a permanent mistake. This guide breaks down the anatomy, the risks, and the practical techniques to control depth like a pro.
Understanding Skin Layers: Where Should the Ink Go?
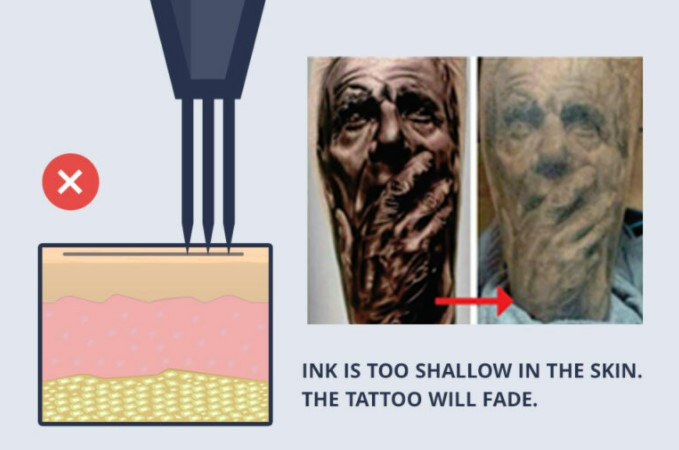
The skin consists of three primary layers: the epidermis, dermis, and hypodermis. For tattooing, the target is the upper dermis, specifically the papillary dermis, located about 1.5–2 mm below the surface depending on location and skin type.
Epidermis (0.05–1.5 mm)
This outermost layer constantly sheds. Ink placed here will be lost within weeks. Avoid shallow work.
Dermis (1.5–3 mm)
The sweet spot. Collagen and elastin fibers hold ink permanently. The upper dermis (papillary layer) is ideal; the deeper reticular dermis is more vascular and prone to spreading.
Hypodermis (3 mm+)
Fat and connective tissue. Injecting here causes blowouts—ink spreads rapidly in loose tissue.
Key check: On thin skin (inner arm, wrist), target 1–1.5 mm depth. On thicker skin (back, thighs), 2–2.5 mm is safe. Always adjust for client anatomy.
The Dynamics of Needle Depth: Machine, Needle, and Hand Speed
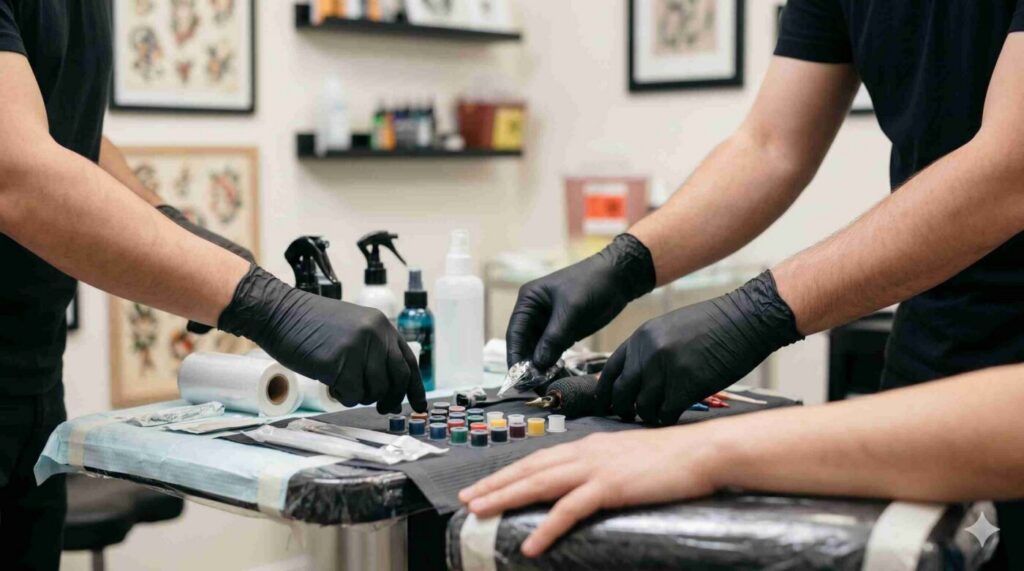
Depth isn’t just about how far the needle protrudes—it’s a combination of needle hang (the length of needle outside the tube), machine voltage, hand speed, and stretch. A common mistake is setting a fixed depth and never adjusting.
- Needle hang: For liners, 1–2 mm hang is typical. For shaders, 2–3 mm.
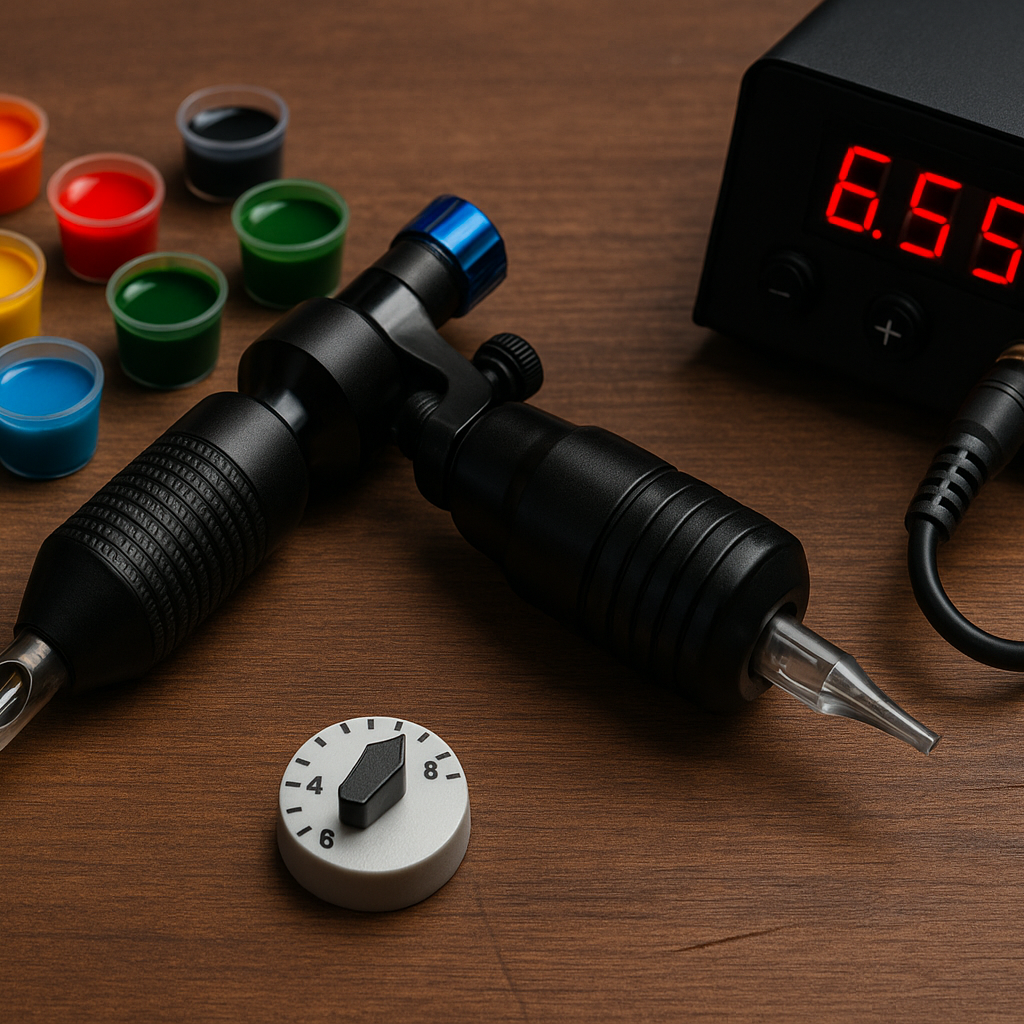
- Voltage: Higher voltage (8–10 V for liners) pushes needle deeper; lower (6–8 V) for shading.
- Hand speed: Faster movement reduces effective depth per pass. Slower increases risk of digging.
- Stretch: Proper stretch brings the dermis closer to the surface, reducing required depth.
Example: A tight stretch on the calf with a 3RL needle at 9V allows a 1.5 mm hang to deposit ink perfectly. Without stretch, you’d need 2 mm hang, increasing blowout risk.
Blowout: Causes, Prevention, and What to Do When It Happens
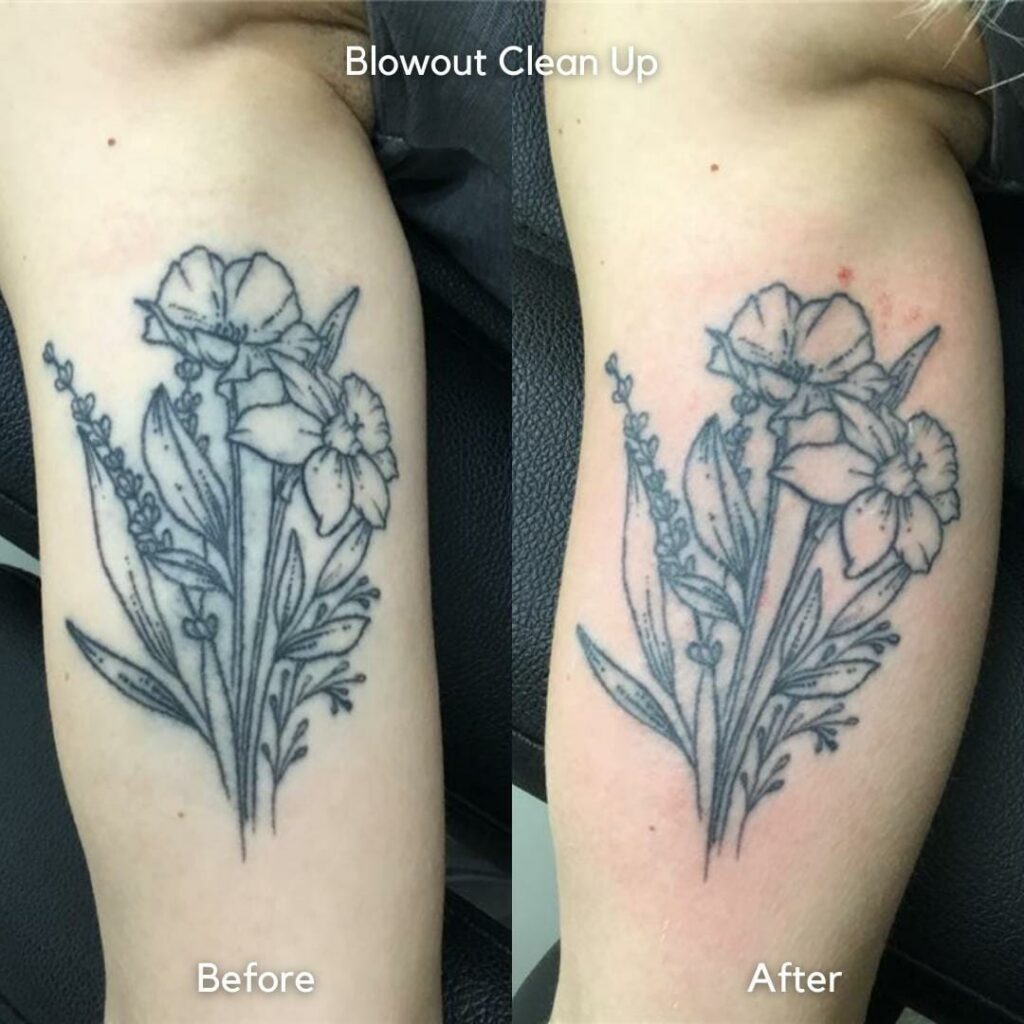
A blowout occurs when ink spreads beyond the intended line into the surrounding tissue, creating a blurry, blueish halo. It’s often permanent.
Common Causes
- Excessive depth (past dermis into hypodermis)
- Too much needle hang
- Overworking one spot
- Insufficient stretch causing needle to bounce deeper
- Thin skin areas (ankles, inside wrist, armpit)
Prevention Checklist
- Start with conservative hang (1–1.5 mm for liners).
- Watch for “tenting”—if the skin lifts with the needle, you’re too shallow. If you feel a pop, you’re too deep.
- Listen to the sound: a consistent “tick-tick” means right depth; a dull thud means too deep.
- Use a depth spacer or check against a business card (approx. 1 mm thick).
If You See a Blowout
Stop immediately. Do not try to correct it by going deeper. Document it, inform the client, and offer a free touch-up after full healing (6–12 weeks). Prevention is the only real cure.
Achieving Clean Lines: Technique and Feedback Loops
Clean lines depend on consistent depth, angle, and needle grouping. For a single needle liner (e.g., 3RL), hold the tube at 45–60° to the skin. For mags, 30–45°.
Step-by-step control:
- Set machine at low voltage (7–8 V for liners) and test on fruit.
- Draw two parallel lines: one at recommended depth, one deliberately too deep.
- Observe the difference in skin response (spreading, bleeding).
- On living skin, start with a small line. Wipe and inspect. If the line is gray or spread, reduce depth.
- Maintain consistent hand speed—moving too slowly causes ink to pool and spread.
Caveat: A clean line on fruit does not guarantee success on human skin. Fruit lacks the dermal structure and bleeding response. Always use practice pads or pig skin before clients.
Common Mistakes and Caveats: What Every Apprentice Should Know
- Overconfidence in machine settings: Every machine behaves differently. Test each setup.
- Ignoring skin hydration: Dry skin offers more resistance, increasing depth per hit. Moisturize lightly.
- Not checking needle depth mid-session: After wiping, remeasure hang if you suspect drift.
- Assuming one depth fits all: Eyelids require 0.5 mm; soles of feet up to 3 mm.
- Relying solely on visual cues: Tactile feedback (resistance, sound) is equally important.
Internal resource: For more on needle selection, visit our magazine section. For studio best practices, check consultation guides.
FAQ: Needle Depth Questions from Apprentices
Q1: How do I know if I’m going too deep?
Signs include excessive bleeding, a “sucking” sensation, ink spreading immediately, and the client reporting sharp pain. Also, if you see a grayish halo around the line after wiping, you’ve likely hit the hypodermis.
Q2: What’s the best needle hang for a 5RL liner?
Start with 1.5–2 mm hang. Adjust based on skin thickness. For thin skin, 1–1.5 mm. Always test on a small area first.
Q3: Can blowouts be fixed?
Minor blowouts may fade slightly over time, but they rarely disappear. Laser removal or white ink camouflage are options, but not guaranteed. Prevention is critical.
Q4: How does hand speed affect depth?
Slower hand speed allows the needle to penetrate deeper per cycle. Increase hand speed if you see blowouts, or reduce voltage. Maintain a steady pace; jerky movements cause inconsistent depth.
Conclusion: Practice, Observation, and Adaptation
Mastering needle depth is not a one-time skill—it’s an ongoing refinement. Every client’s skin, every body part, and every machine combination requires adjustment. Use a systematic approach: set conservative parameters, observe feedback, and adjust incrementally. Over time, your hands will learn what “right” feels and sounds like. For more advanced techniques, explore our tattoo marketplace for tools and resources. Keep learning, keep practicing, and always prioritize the integrity of the skin.
Keep exploring Vietnam Tattoo
- Browse Ranking for notable studios by city, style, and intent.
- Search studios by city, verification level, and contact channel.
- View verified profiles to check approved and verified entries.
- Request a consultation if you need help choosing style, placement, or a suitable studio.
Content hub
Pro corner hub
Read more about needles, inks, machines, cartridges and safer professional practice.
Related reading
Continue reading
The Pro Guide to Tattoo Supplies in Hanoi: Needles, Ink, Machines & Hygiene
Expert guide to sourcing tattoo supplies in Hanoi: needles, ink, machines & hygiene. Step-by-step supplier evaluation, quality checks,…
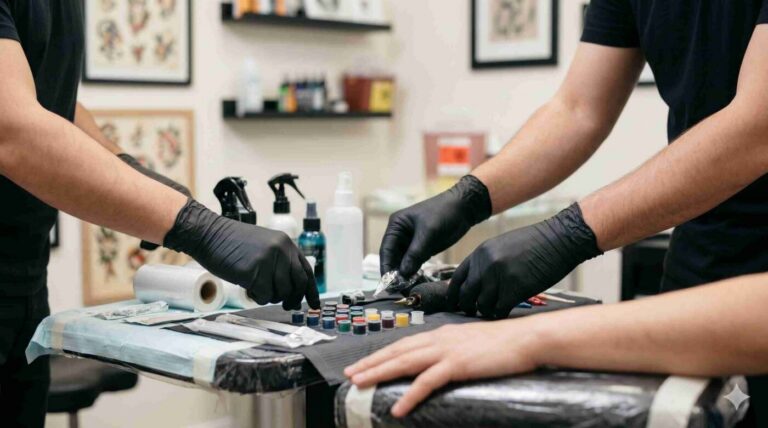
Tattoo Training in Da Nang: A Beginner Roadmap & Hygiene Basics for Apprentices
Start your tattoo career in Da Nang with this expert roadmap: art fundamentals, finding a mentor, mastering hygiene,…
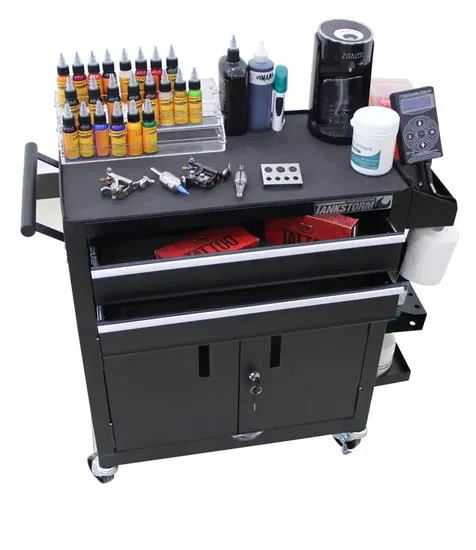
How HCMC Tattoo Studios Choose Reliable Tattoo Supply Sources: A Pro’s Guide
Learn how professional tattoo studios in Ho Chi Minh City vet suppliers, avoid counterfeit supplies, and build a…
