

The Professional Stencil Printer & Thermal Copier Workflow: Transfer Quality, Hygiene & Studio Efficiency
Introduction: Why Your Stencil Workflow Defines Your Tattoo Quality
Every tattoo artist knows that the stencil is the blueprint of the artwork. A crisp, well-placed transfer sets the stage for precision, while a smudged or faded stencil can ruin hours of planning. In a professional studio, the thermal copier and stencil printer are not optional luxuries—they are essential tools for efficiency, hygiene, and consistent results. This guide covers the complete workflow from choosing the right paper to troubleshooting common issues, with a focus on transfer quality and studio hygiene.
Understanding the Tools: Thermal Copier vs. Stencil Printer
Thermal Copier (Thermofax)
The classic thermal copier uses heat to transfer toner from a carbon-based design onto thermal paper. It requires a design printed on standard copier paper with high carbon content. The machine heats the paper, causing the carbon to bond with the thermal paper’s coating. Pros: affordable, fast, no ink cartridges. Cons: limited to black and white, requires precise heat settings.
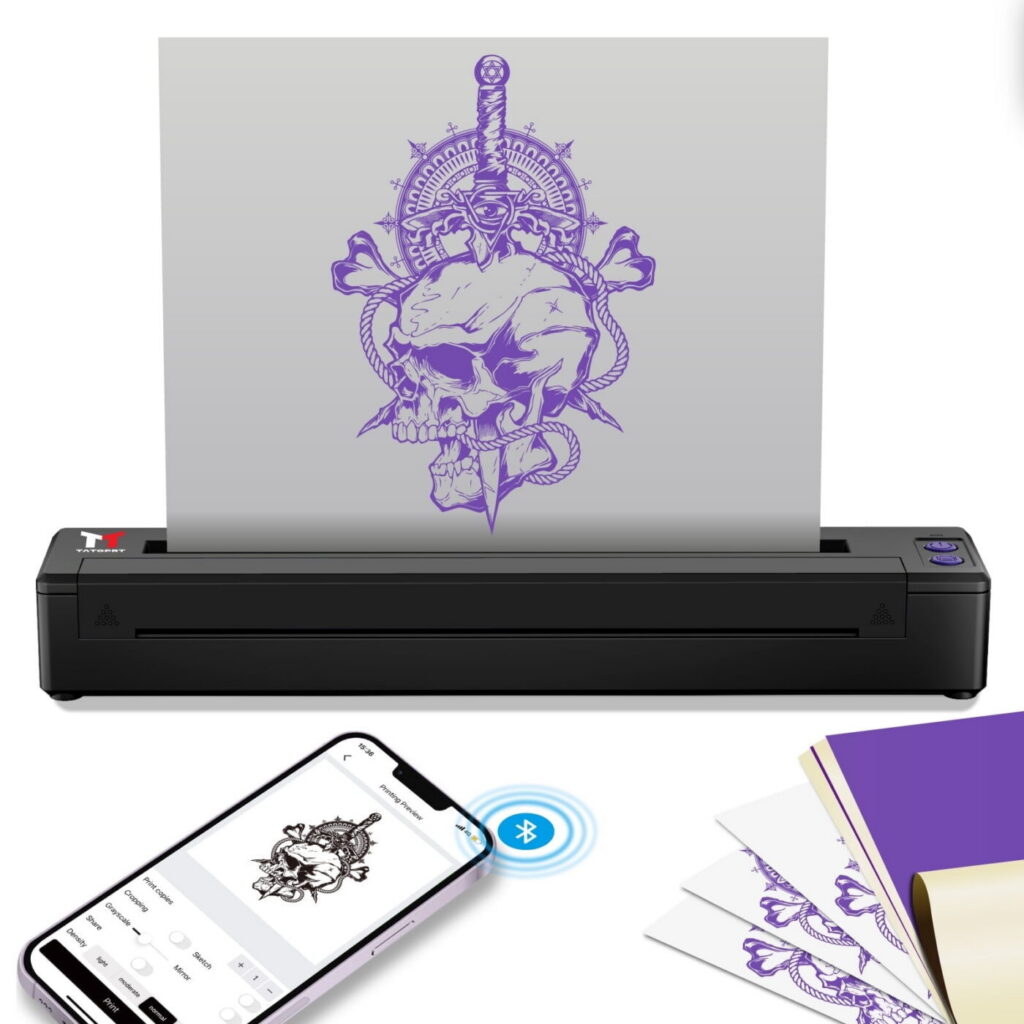
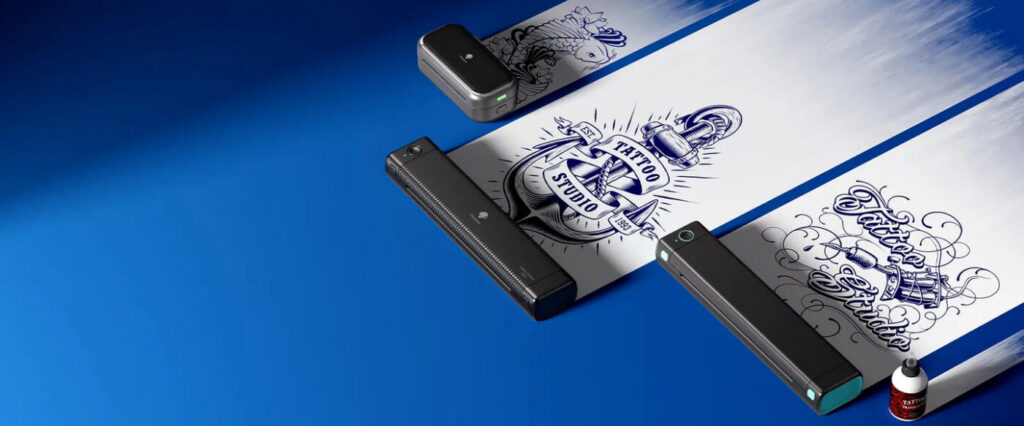
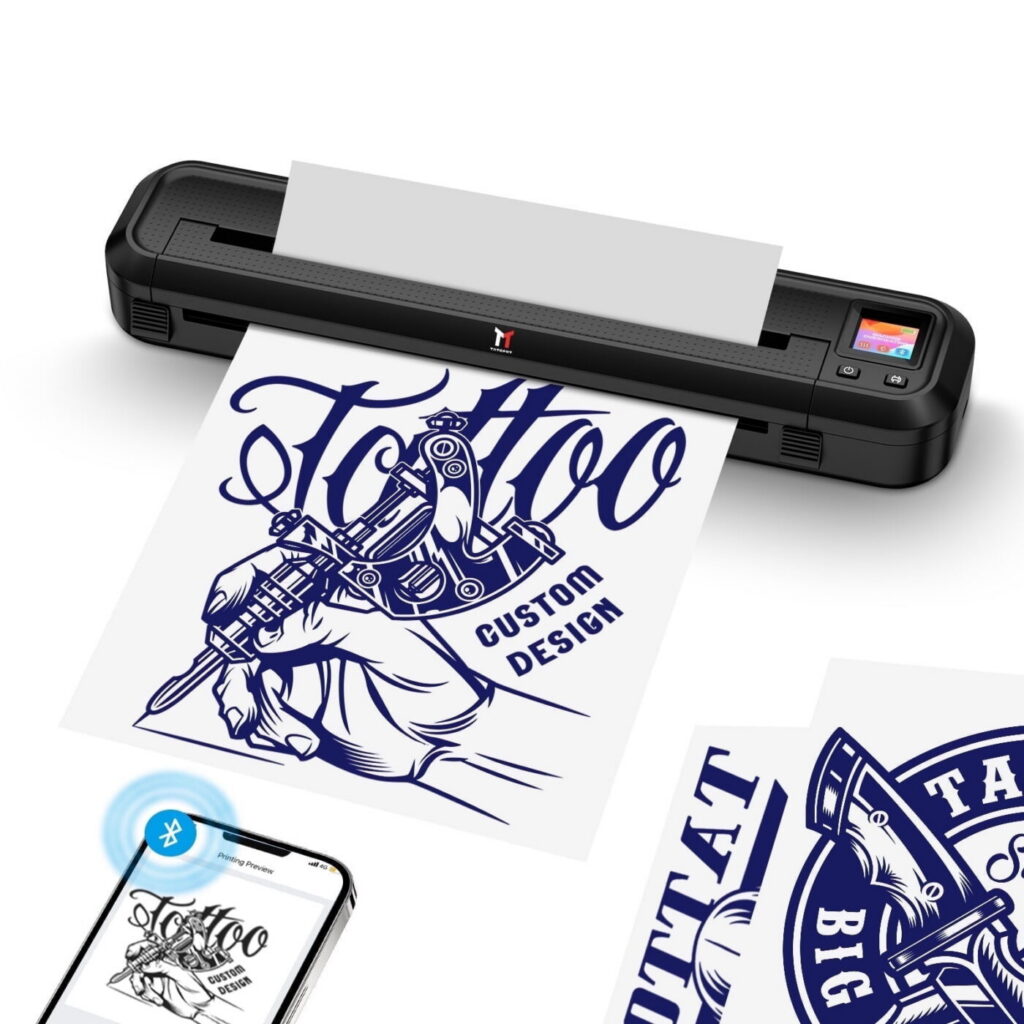
Stencil Printer (Inkjet or Laser)
Modern stencil printers are specialized inkjet or laser printers that print directly onto stencil paper. They offer higher resolution, color options (for color separation), and digital control. Some models use special ink that activates with heat or pressure. Pros: precise, repeatable, can handle complex designs. Cons: higher cost, requires proprietary paper and ink.
Step-by-Step Workflow for Perfect Transfers
1. Design Preparation
Create your design in vector or high-resolution raster format. Ensure lines are thick enough (minimum 0.5mm) for thermal transfer. For thermal copiers, mirror the design if needed. For stencil printers, check the printer’s software for mirror options.
2. Paper Selection
Use thermal paper specifically designed for tattoo stencils. Brands like Spirit, Tattoo Transfer Paper, and Dermalize offer reliable options. Avoid cheap alternatives that may cause smudging or allergic reactions.
3. Printing the Stencil
- Thermal Copier: Place the design face-up on the copier bed, then thermal paper on top. Adjust heat setting according to paper thickness (usually 4-6 for standard). Run through once; if faint, increase heat slightly.
- Stencil Printer: Load stencil paper correctly (check orientation). Use high-quality print setting. Allow ink to dry for 30 seconds before handling.
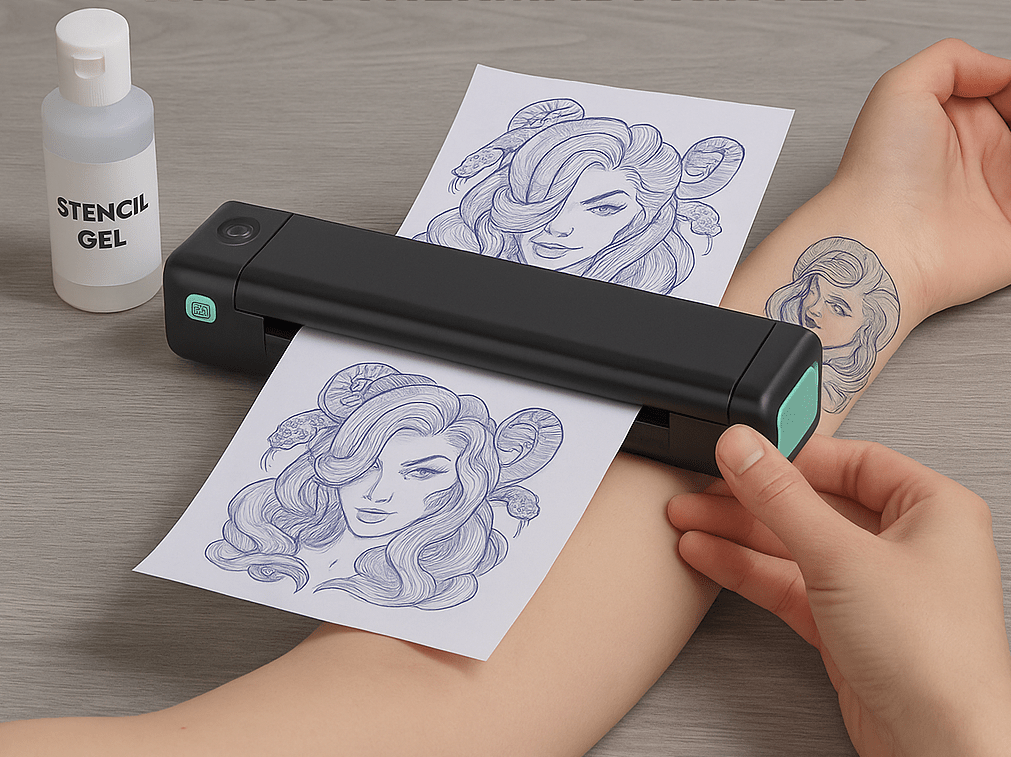
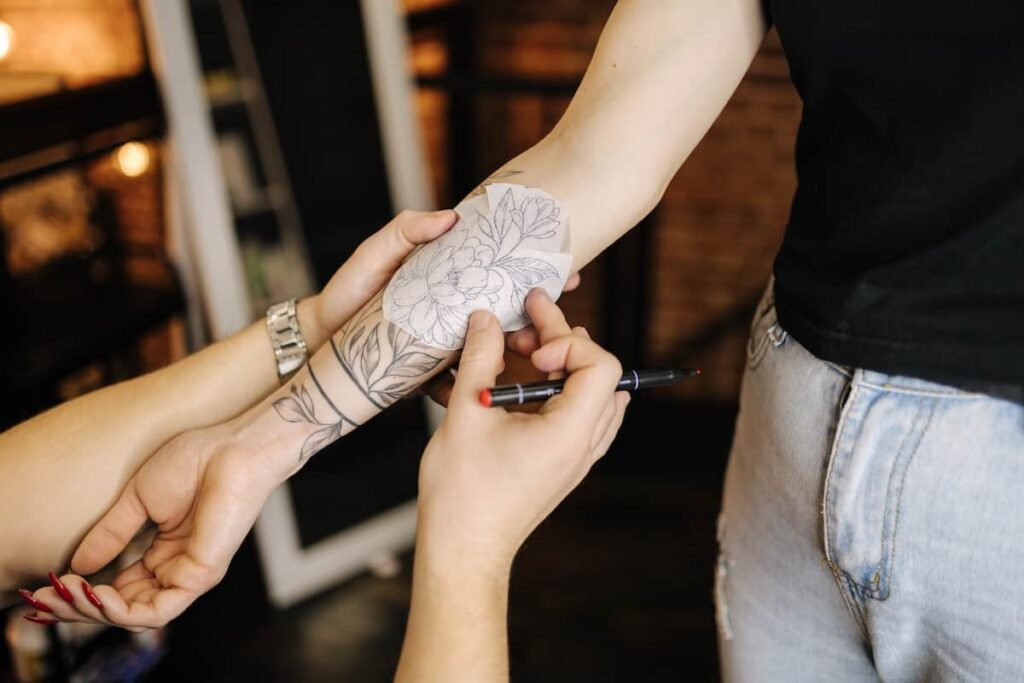
4. Applying the Stencil
Clean the skin thoroughly with antibacterial soap and alcohol. Apply stencil primer or green soap to ensure adhesion. Position the stencil carefully, then press firmly with a spatula or your palm. Let it set for 2-3 minutes before peeling.
5. Post-Application Care
Once the stencil is on, avoid touching the area with oily hands. If lines are faint, you can trace them with a sharpie or use a stencil fixative spray. Always test on a small area first if using new products.
Hygiene and Safety Protocols
Stencil equipment can harbor bacteria if not cleaned regularly. Follow these guidelines:
- Clean the thermal copier’s glass with isopropyl alcohol after each use.
- Replace thermal paper rolls monthly if used daily.
- Never reuse stencil paper on different clients.
- Store paper in a cool, dry place away from sunlight.
- Use disposable gloves when handling stencil paper and applying transfers.
Common Issues and Troubleshooting
Faded Stencil
Cause: low heat, low carbon in design, old paper. Solution: increase heat, use fresh toner cartridge, check paper expiration.
Smudging
Cause: too much heat, oily skin, wet stencil. Solution: reduce heat, clean skin thoroughly, let stencil dry before applying.
Stencil Not Sticking
Cause: skin not dry, too much stencil primer, wrong paper type. Solution: use a thin layer of stencil primer, wait for it to become tacky, press firmly.
Comparison: Thermal Copier vs. Stencil Printer for Different Studio Setups
| Factor | Thermal Copier | Stencil Printer |
|---|---|---|
| Cost | Low initial cost ($100-300) | Higher ($500-2000) |
| Speed | Fast (10-20 seconds per stencil) | Moderate (1-3 minutes) |
| Resolution | Medium | High |
| Color | Black and white only | Color possible |
| Maintenance | Low | Moderate (ink cartridges, cleaning) |
| Best for | Apprentices, budget studios, high volume | Custom color work, fine line, complex designs |
Expert Tips for Optimal Transfer Quality

- Always use a design with high contrast (black on white) for thermal copiers.
- Keep a log of heat settings for different paper brands.
- For large stencils, use a spray adhesive to prevent lifting during tattooing.
- Use a stencil transfer gel for areas with hair or texture.
- Test stencil on fake skin before using on a client for critical placements.
FAQ
1. Can I use regular printer paper in a thermal copier?
No. Thermal copiers require thermal paper coated with heat-sensitive material. Regular paper will not produce a stencil.
2. How often should I replace the thermal copier’s heating element?
Most thermal copiers have a heating element that lasts for thousands of uses. If you notice uneven heating or faint stencils consistently, it may be time to replace the element or the entire unit.
3. Is it safe to use thermal paper on sensitive skin?
Thermal paper is generally safe, but some people may have allergic reactions to the coating. Always do a patch test on a small area first.
4. Can I reuse stencil paper after cleaning?
No. Reusing stencil paper is unhygienic and can cause cross-contamination. Always use a fresh sheet for each client.
Conclusion
Mastering your stencil workflow is a mark of a professional tattoo artist. Whether you choose a thermal copier or a stencil printer, consistency in preparation, application, and hygiene will elevate your work and client satisfaction. Invest in quality paper, maintain your equipment, and never compromise on cleanliness. Your stencil is the first impression of your art—make it count.
For more professional resources, check our magazine and consultation sections.
Keep exploring Vietnam Tattoo
- Browse Ranking for notable studios by city, style, and intent.
- Search studios by city, verification level, and contact channel.
- View verified profiles to check approved and verified entries.
- Request a consultation if you need help choosing style, placement, or a suitable studio.
Content hub
Pro corner hub
Read more about needles, inks, machines, cartridges and safer professional practice.
Related reading
Continue reading

Tattoo Power Supply Mastery: Voltage Control for Flawless Linework
Master voltage control for consistent linework. Expert guide on power supplies, settings for coil & rotary machines, troubleshooting,…
Tattoo Ink Safety: A Professional’s Guide to Pigment Composition, Risks, and Studio Protocols
A professional guide to tattoo ink safety: pigment composition, REACH regulations, contamination risks, and best practices for choosing…
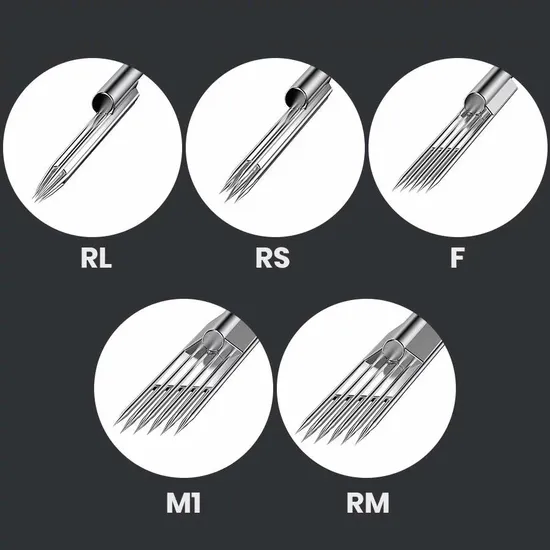
Tattoo Cartridge Needle Guide: Round Liner, Round Shader, Magnum & Curved Magnum Explained
Master tattoo cartridge needles: round liner, round shader, magnum, curved magnum. Learn configurations, best uses, and pro tips…