Realism Tattoo: Placement and Body-Flow Decisions for Lasting Detail
Why Realism Demands a Different Placement Strategy
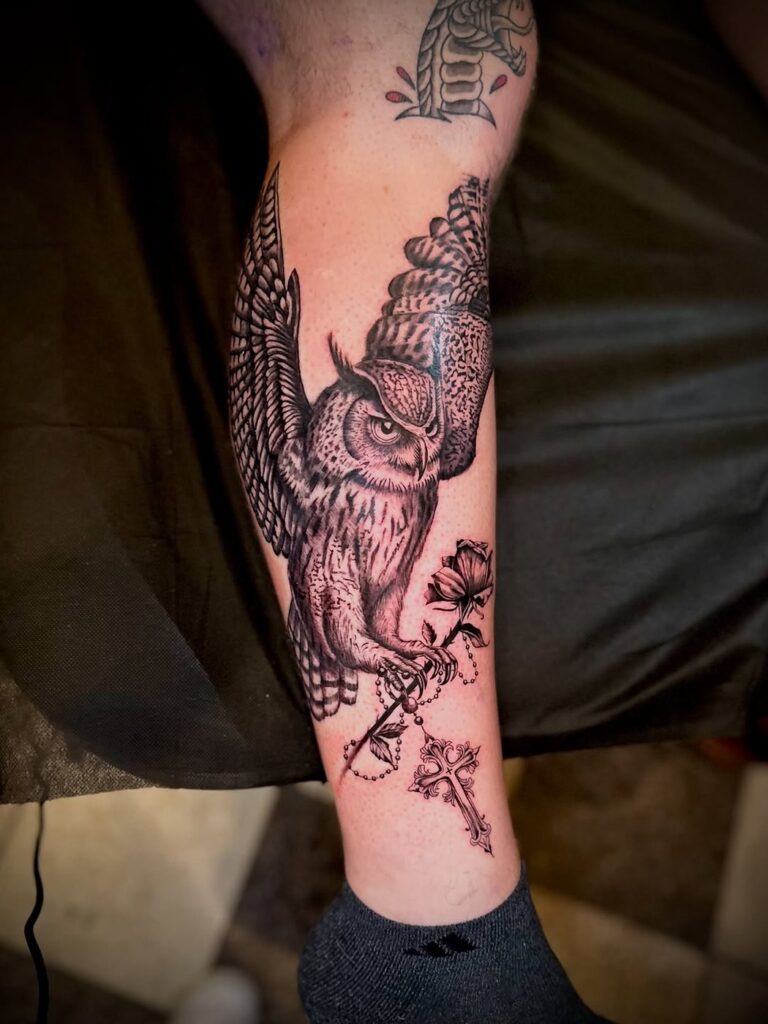
Realism tattoos are not just about the artist’s skill—they are about how the design survives on a living, moving canvas. Unlike geometric or traditional styles that can adapt to awkward areas, realism relies on subtle gradients, fine lines, and precise shading. A misplaced design can distort under movement or fade unevenly, ruining the illusion. This guide focuses on the technical decisions that make realism work: reference lighting, focal hierarchy, and healed detail. We’ll skip generic advice and get into the specifics that matter.
Reference Lighting: Match the Body’s Natural Contours
The first rule of realism placement is to treat the body like a 3D object with its own light source. A portrait lit from the left will look wrong if placed on a curved bicep where light hits from above. Before committing, study how light falls on the area in different positions. For example, a forearm rotates; a shoulder blade shifts with arm movement. Ask your artist to sketch the design and view it under various lighting angles. The goal is to have the tattoo’s internal light source align with the body’s natural highlights and shadows. This is especially critical for micro realism and blackwork pieces where contrast is key.
Focal Hierarchy: Let the Main Subject Breathe
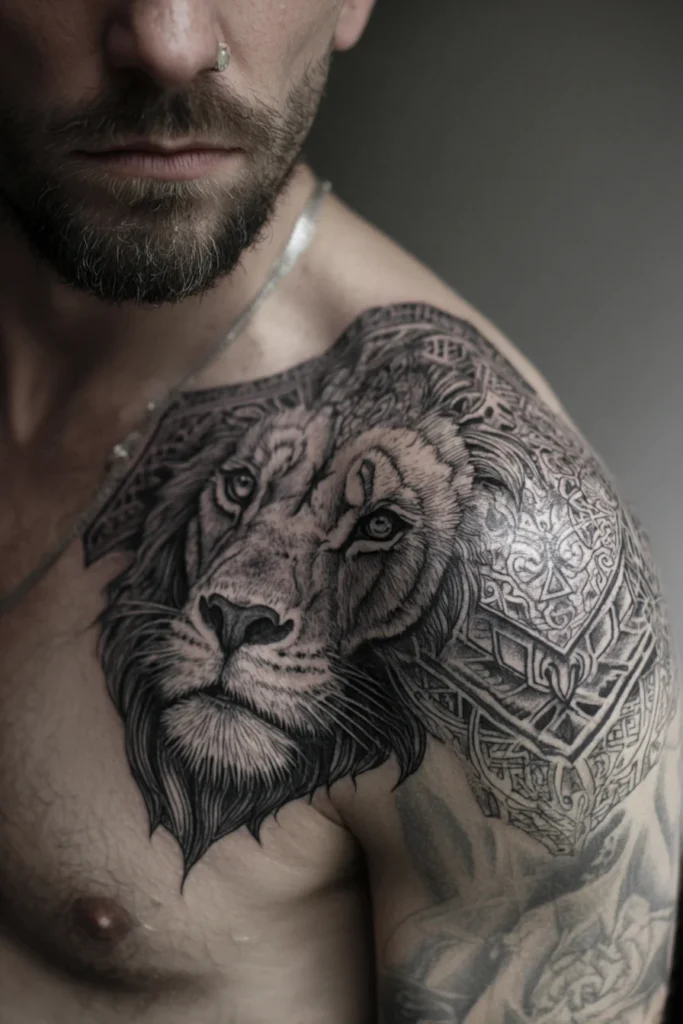
Realism often features a central subject—a face, an animal, an object. The placement must give that subject enough flat or gently curved space to hold its proportions. Avoid areas with extreme curvature like the ribs or collarbone for highly detailed faces, as the distortion can be unforgiving. Instead, consider the chest, thigh, or upper arm, which offer relatively stable surfaces. If you’re set on a curved area, simplify the background or use dotwork to blend transitions. Remember, the eye should land on the focal point naturally; don’t fight the body’s topography.
Healed Detail: What Works and What Fades
Fine lines and subtle gradients are the first to blur over time. On areas with high friction—like hands, feet, or the lower back—fine details may not hold up. For realism, prioritize areas with thicker skin and less movement, such as the upper back, chest, or thighs. If you want a forearm piece, expect that fine lines will spread slightly; choose designs with bolder contrast to compensate. Also, sun exposure accelerates fading. Advise clients to use high-SPF sunscreen on visible areas. A healed realism tattoo should still have distinct darks and lights; if it becomes a gray blur, the placement or design was not suitable.
Body-Flow: Designing with Anatomy
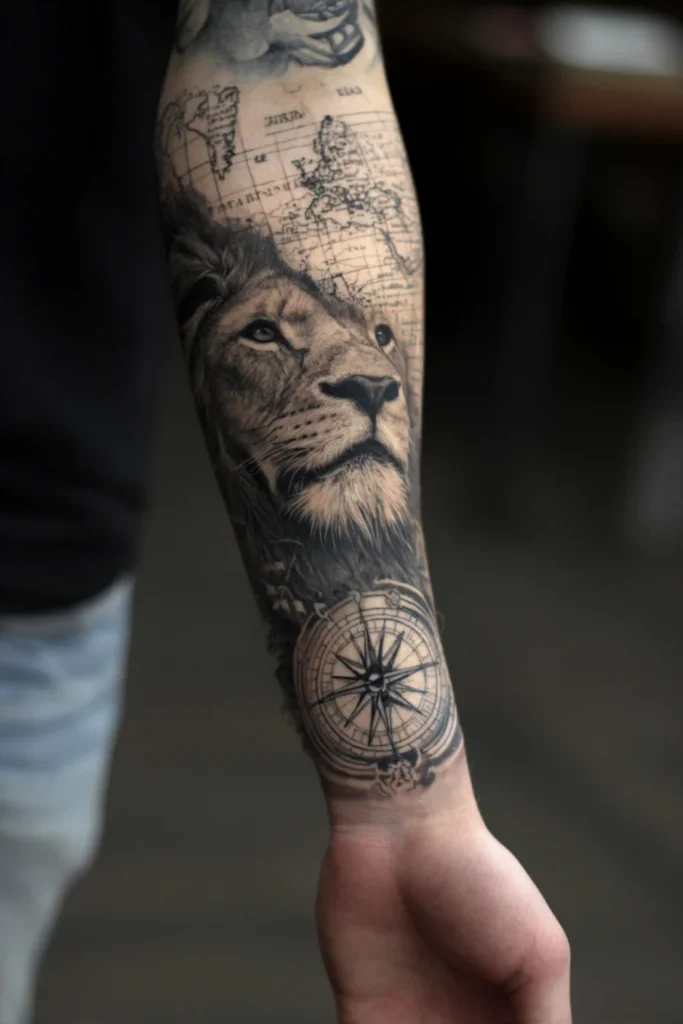
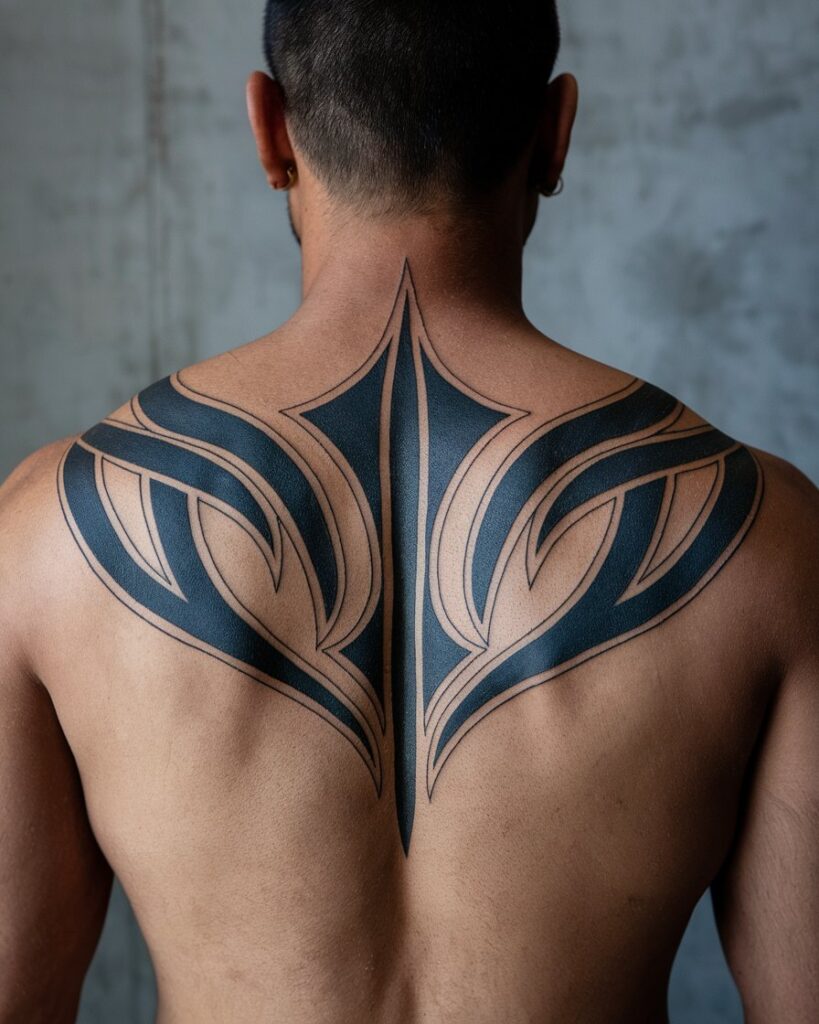
Body-flow means the tattoo follows the muscle and bone structure, not fights it. For realism, this is about aligning the design’s dynamic lines with the body’s natural movement. For example, a tiger’s stride can flow along the oblique muscles, or a portrait can be angled to follow the deltoid’s curve. This not only looks better but also reduces distortion when the client moves. Discuss with your artist how the design will shift with different poses. A static design on a dynamic area will look ‘stuck on’—a common mistake in realism.
Checklist for Placement Decisions
- Assess skin elasticity and thickness—avoid thin skin areas for heavy blackwork.
- Consider the client’s lifestyle: gym habits, sun exposure, clothing friction.
- Test the design’s orientation in natural standing and sitting postures.
- Review the reference photo’s lighting direction and match it to the body’s contours.
- Ensure the focal point is on a relatively flat surface.
- Plan for future tattoos: leave space for composition or cover-ups.
Booking and Safety Questions to Ask
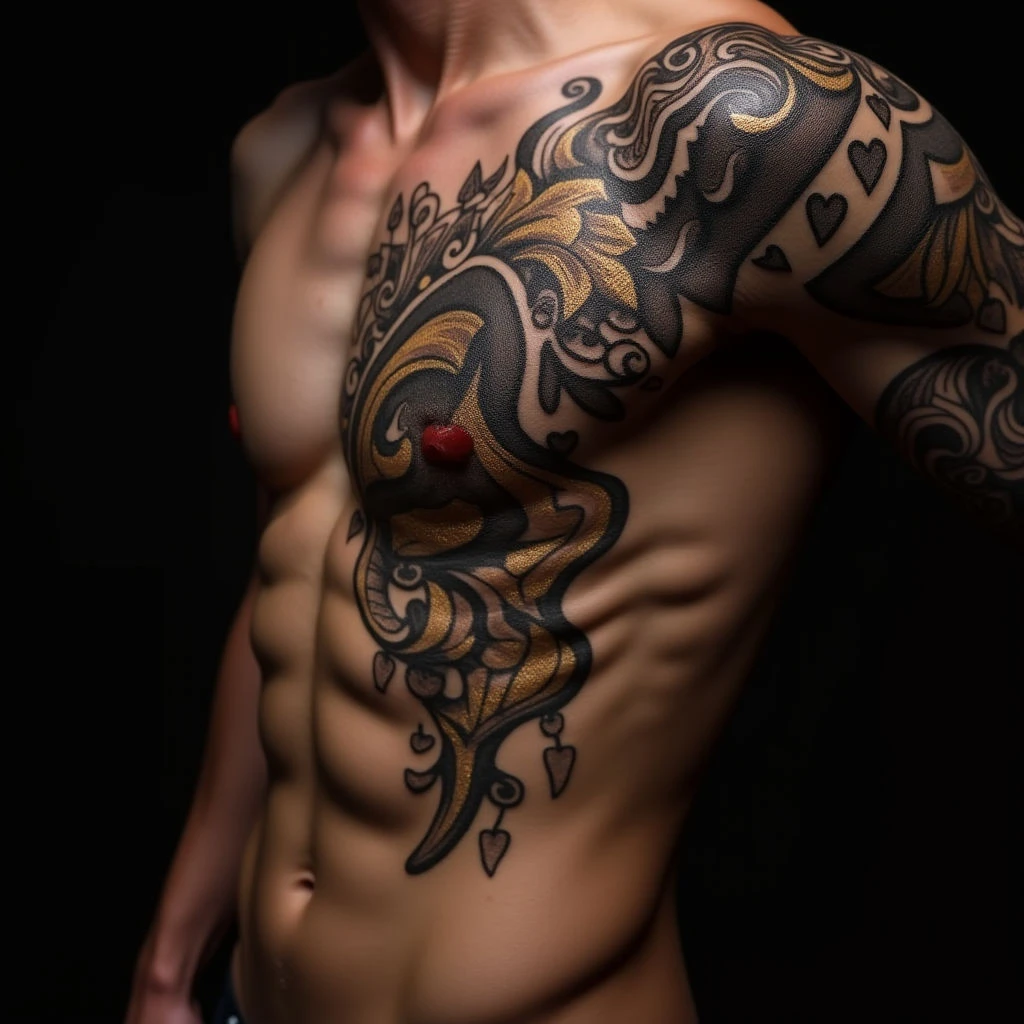
Before booking, ask your artist about their experience with realism on your chosen placement. Request to see healed photos, not just fresh ones. Inquire about their approach to long-term aging—do they adjust line weights or contrast for certain areas? Also, discuss pain tolerance, especially for sensitive spots like ribs or spine. A good artist will offer honest advice, not just agree with your idea. For more guidance on choosing the right artist, check our verified studios or read our consultation tips.
FAQ
Can realism work on small areas like the wrist?
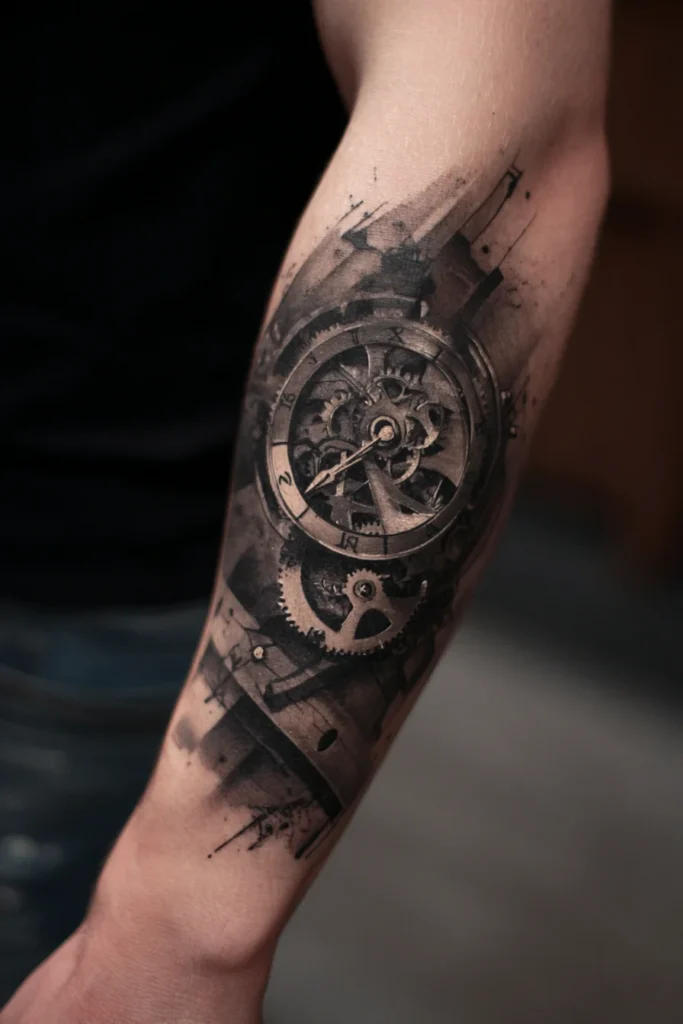
It’s possible with micro realism, but expect limited detail. The skin is thin and moves a lot, so fine lines may blur. Opt for simpler subjects with high contrast.
How does skin tone affect realism placement?
Darker skin requires bolder shading and larger contrast. Placement on areas with more melanin can still work, but the artist must adjust their technique. Always review a test patch if unsure.
Will a realism tattoo fade faster on the hands?
Yes, hands are high-friction and sun-exposed. Even with good aftercare, fine details will soften. If you want a hand tattoo, choose a design that relies on bold shapes rather than fine gradients.
Should I plan for future touch-ups?
Absolutely. Realism often needs touch-ups after 5-10 years, especially on areas like elbows or knees. Factor this into your decision and budget.
For more inspiration, browse our style rankings or explore tattoo magazine for artist interviews. If you’re curious about pricing, use our cost estimator.
Read more
- Magazine for more tattoo knowledge, style guides and aftercare notes.
- Request a consultation if you need help with style, placement or preparation.
- Marketplace for equipment, supplies and learning resources.

Content hub
Tattoo styles pillar
This article belongs to the styles cluster. Open the pillar page to compare Irezumi, Old School, Realistic, Blackwork, Fine line, Geometric and Watercolor.
Related reading
Continue reading
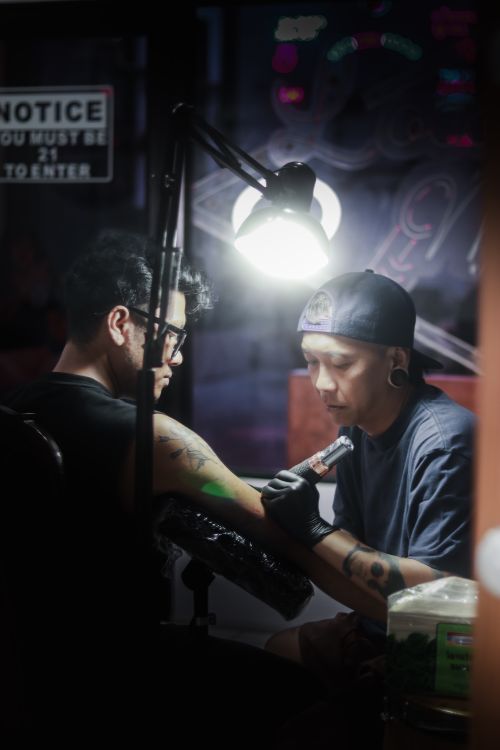
Lettering Tattoo Healed Portfolio Review: Kerning, Baseline & Placement Distortion
A specialist healed-portfolio review guide for Lettering tattoos, focused on kerning, baseline control and placement distortion. Includes concrete…
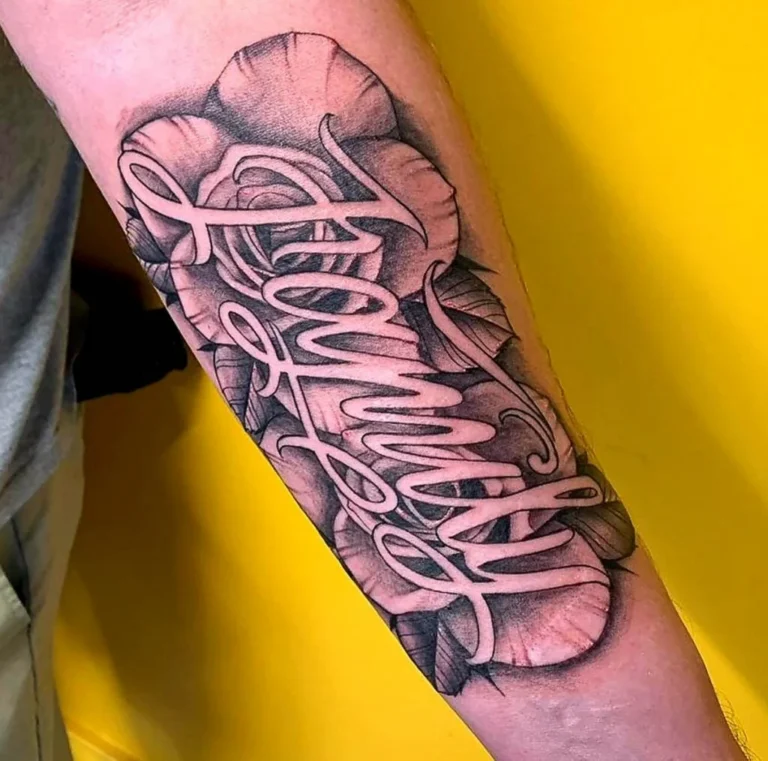
Lettering Tattoo Placement: A Specialist Guide to Kerning, Baseline Control, and Body-Flow Distortion
A specialist guide to lettering tattoos focusing on kerning, baseline control, and placement distortion. Learn how to plan…

Lettering Tattoo Design Consultation Checklist: Kerning, Baselines, and Placement Distortion
A specialist consultation checklist for lettering tattoos covering kerning, baseline control, and placement distortion. Includes practical tests, booking…