

Realism Tattoo Healed Portfolio Review: A Specialist Guide to Lighting, Focal Hierarchy, and Long-Term Detail
Why Healed Realism Demands a Different Review Process
Most realism tattoo portfolios are shot within hours of the session, when the skin is still swollen, the ink is oversaturated, and the design has a wet sheen that flatters every edge. A healed portfolio review is a different discipline. It asks one question: does the tattoo still read as a coherent scene when the skin has settled, the black has softened, and the highlight has lost its initial punch? This guide is for collectors who want to judge realism work on its long-term merits. We will walk through the three pillars of healed realism—reference lighting, focal hierarchy, and healed detail—and give you a practical checklist to use before you book.
If you are still in the research phase, our tattoo ranking and verified studios pages can help you shortlist artists, but this guide will teach you what to look for in their healed photos.
The Three Pillars of Healed Realism
Reference Lighting: The Map of Your Tattoo
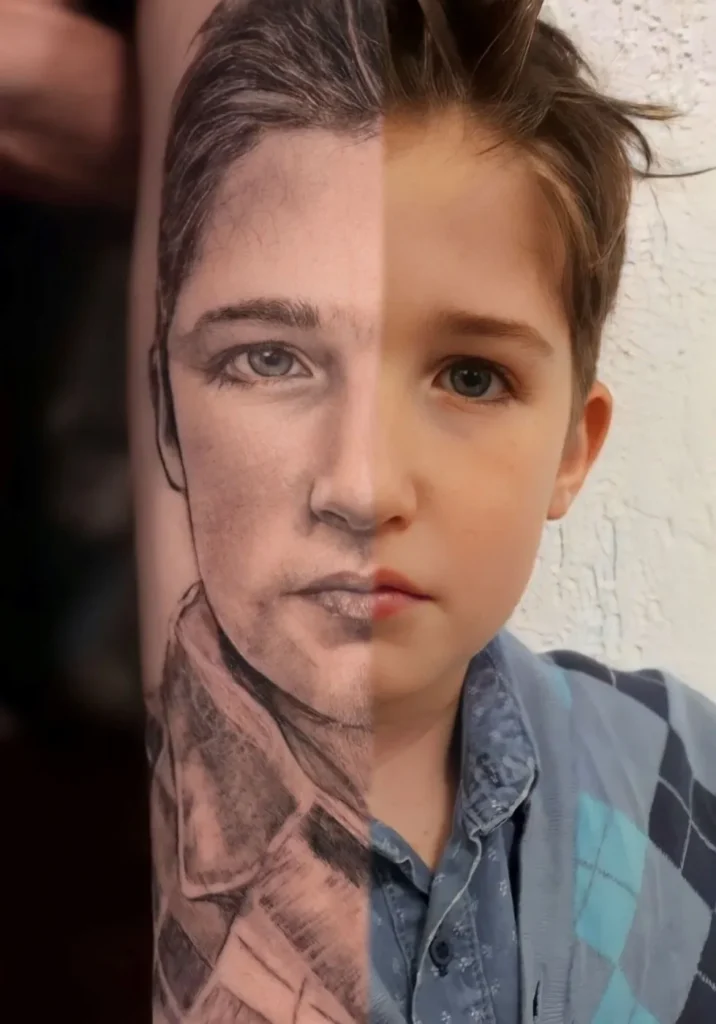
Every realism tattoo is a translation of a photograph or a scene. The artist uses light to create depth, form, and mood. In healed work, the lighting logic must remain consistent. Look at the tattoo under neutral, indirect light. Does the light source in the tattoo align with the shadows? For example, a portrait lit from the left should have shadows falling to the right, and the highlights on the nose and cheek should sit on the same side. If the artist mixed light sources—a common error—the tattoo will look flat or confusing once the initial sheen fades.
Check for the directionality of light. In a well-executed realism piece, you can trace the path of light across the skin. The highest contrast should be at the focal point, and the edges should recede into the skin. If the tattoo looks like a sticker, the artist likely failed to integrate the lighting with the body’s natural contours.
Practical Check for Lighting
- Take a photo of the healed tattoo in daylight and in artificial light. Compare the two. The tattoo should hold its form in both.
- Look for a consistent shadow side. If the nose shadow points one way and the cheek shadow another, the lighting is broken.
- Ask the artist for a healed photo taken at a 45-degree angle. This reveals the sculptural quality of the blackwork.
Focal Hierarchy: What Draws the Eye First
Realism relies on a clear focal point—the eye, a texture, a contrast peak. In a healed tattoo, the focal hierarchy must survive the skin’s natural healing process. The artist should have planned the tattoo so that the highest contrast and sharpest detail sit at the focal point, while secondary areas are softer. If everything is equally detailed, the eye has nowhere to rest, and the tattoo becomes a visual noise.
When reviewing healed work, ask yourself: What do I see first? If it is not the intended focal point, the hierarchy is off. For example, in a lion portrait, the eyes should pull you in before the mane. In a landscape, the horizon or a specific tree should dominate. The artist’s job is to guide your gaze with contrast, line weight, and detail density.
Focal Hierarchy Checklist
- Identify the focal point in the design. Is it the most detailed and highest contrast area?
- Check that secondary elements are slightly softer—less contrast, fewer details, lighter lines.
- Look at the tattoo from arm’s length. If the focal point disappears, the hierarchy is weak.
Healed Detail: The Truth of the Needle
Healed detail is the most unforgiving test. Fine lines will spread, white highlights will fade, and blackwork will either hold its value or turn muddy. A realism artist must account for this. They know that a 3RL line will spread over time, so they place it with enough breathing room. They know that white ink is a temporary highlight, so they use skin breaks and negative space instead.
When reviewing healed photos, zoom in on the details. Are the fine lines still crisp, or have they blown out into a blur? Are the dots in a dotwork background still distinct, or have they merged into a gray smudge? Are the highlights still bright, or have they turned a sickly yellow? These are signs of poor needle depth, overworking, or bad ink choice.
Also, consider the texture. Realism often relies on texture—fur, skin, fabric. In healed work, texture should be readable, not just a gray wash. Look for the artist’s ability to create texture with fine line and dotwork. If the texture is lost, the tattoo will look like a flat gray blob.
Healed Detail Checks
- Examine the fine line work. Are the lines still sharp? Blurry lines indicate the artist went too deep or used too large a needle.
- Look at the dotwork. Are the dots evenly spaced? Merged dots are a sign of poor saturation or overworking.
- Check the highlights. If they are gone, the artist should have used skin breaks, not white ink.
How to Analyze a Healed Portfolio
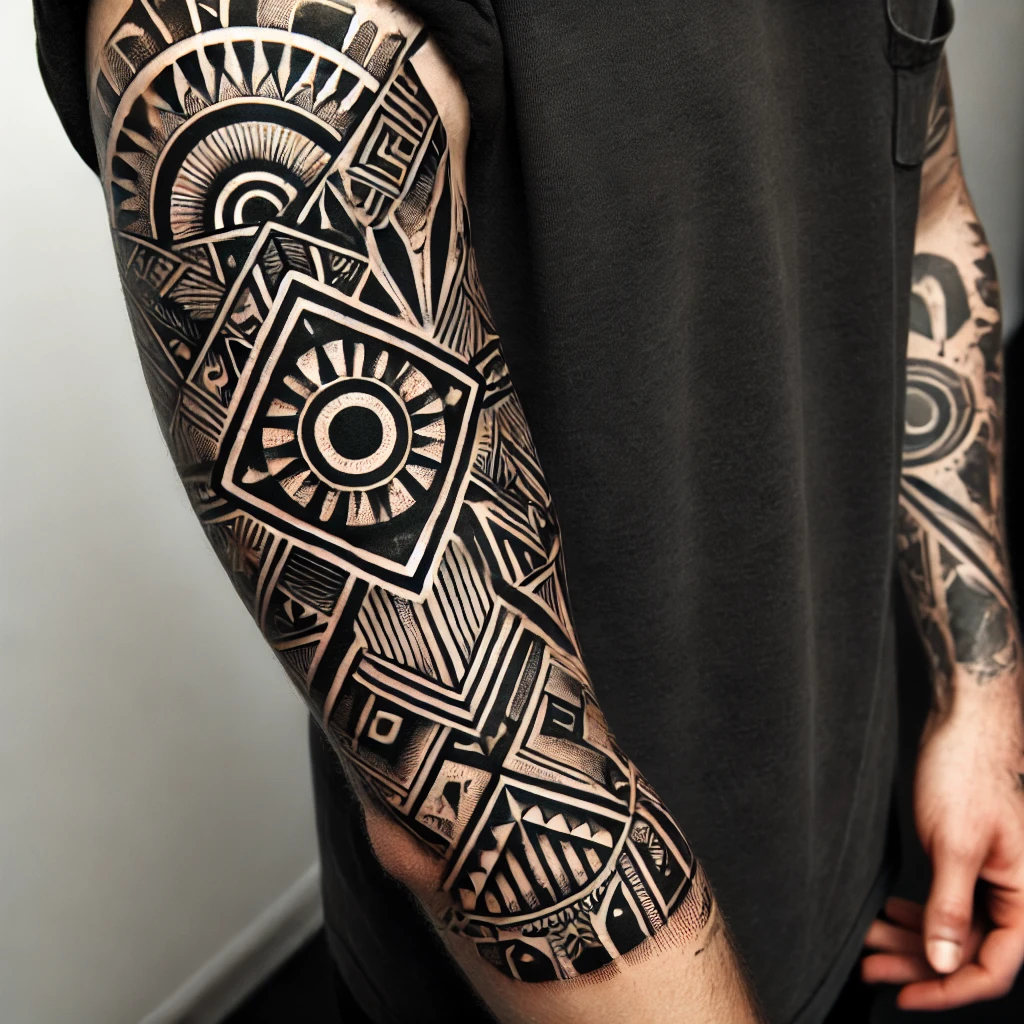
Now that you know the three pillars, you can apply them to an artist’s portfolio. A strong realism artist will have a gallery of healed work, often with timestamps (e.g., 1 year healed, 3 years healed). If they only show fresh shots, that is a red flag. Ask for healed photos directly. A reputable artist will be happy to provide them.
What to Look For in Healed Photos
- Consistency: Does the artist’s healed work look as good as their fresh work? If not, they may be relying on the fresh sheen.
- Longevity: Look for photos taken at least 6 months after the session. This is when the skin has fully settled.
- Scarring: Check for raised lines or skin texture. Overworked tattoos often scar, which distorts the design.
- Color: If the tattoo has color, check for fading or patchiness. Realism with color is harder to heal.
Red Flags in Healed Portfolios
- Only fresh photos, no healed shots.
- Healed photos taken in poor lighting or at angles that hide flaws.
- Healed photos that are heavily edited or filtered.
- Artists who avoid discussing healing or aftercare.
Booking and Safety Questions
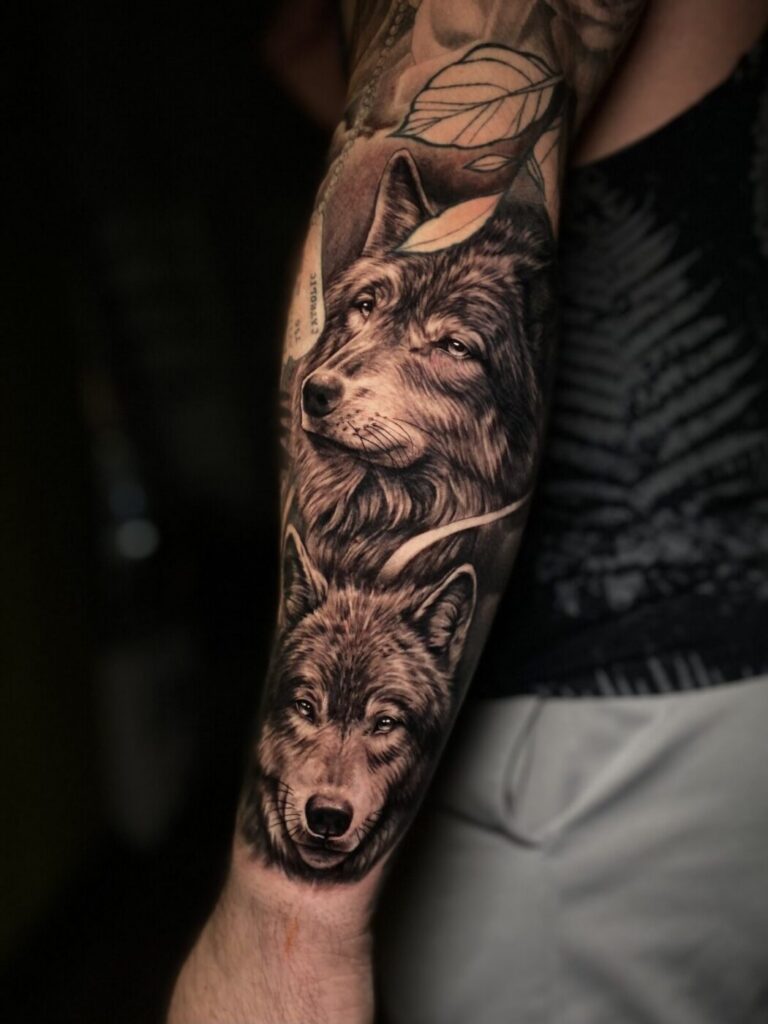
Before you book, you should have a conversation with the artist about their approach to realism and healing. Here are some questions to ask:
- How do you plan for healed contrast? What is your approach to highlights?
- Can you show me a portfolio of healed work from the last 2 years?
- What is your aftercare protocol? How does it affect the healing of fine line and realism?
- Do you use white ink for highlights, or do you rely on skin breaks?
- How do you handle touch-ups for healed realism?
These questions will help you gauge the artist’s experience and philosophy. Remember, a good artist will appreciate your interest in the technical side.
Checklist for Your Next Realism Tattoo
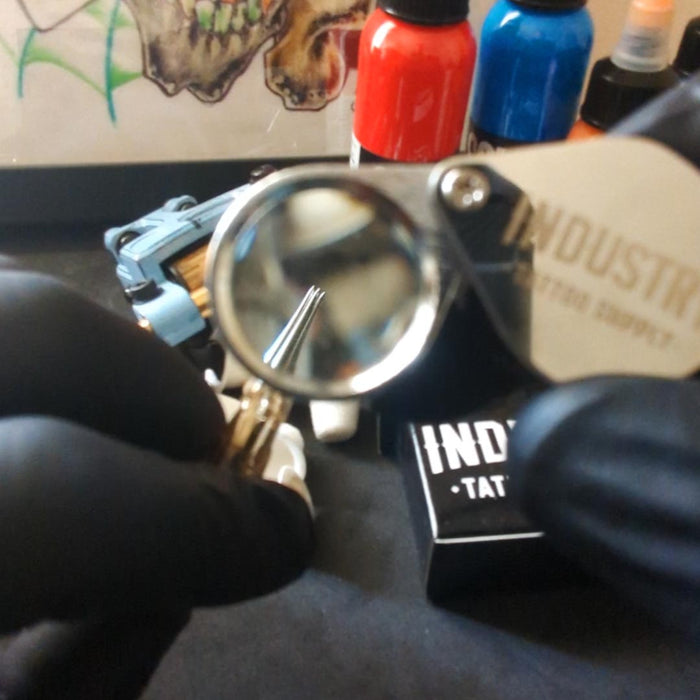
Use this checklist when you visit a studio or review a portfolio. It will keep you focused on the essentials.
- Does the artist have a healed portfolio? Ask for it.
- In healed photos, is the lighting direction consistent?
- Is there a clear focal point that draws your eye?
- Are the fine lines still sharp? Are the dotwork dots distinct?
- Are the highlights still present, or have they faded?
- Does the tattoo look like it belongs on the skin, not on top of it?
- Ask about the artist’s experience with realism and their preferred style (e.g., black and grey realism, micro realism).
- Check the studio’s hygiene and aftercare instructions. You can find more on our studio page.
FAQ

1. How long does it take for a realism tattoo to fully heal?
Surface healing takes about 2-3 weeks, but the deeper layers can take up to 3 months to settle. The final appearance of the tattoo—especially the contrast and detail—will not be visible until then. That is why healed photos should be taken at least 6 months after the session.
2. Can I judge a realism tattoo from a fresh photo?
No. Fresh photos are misleading because the skin is swollen, the ink is oversaturated, and the sheen hides flaws. Always ask for healed photos, preferably taken in natural light.
3. What are the best styles for realism that heal well?
Black and grey realism, micro realism, and dotwork-based realism tend to heal well because they rely on black ink and skin breaks. Color realism is harder to maintain, as colors fade faster. Styles like Japanese traditional and neo-traditional are not realism, but they have their own healing characteristics.
4. How do I know if an artist is skilled in realism?
Look for a portfolio that includes both fresh and healed work. Check for the three pillars: lighting, focal hierarchy, and healed detail. Ask for references or read reviews. You can also use our price estimator to understand the cost, but skill is not directly tied to price.
Final Thoughts
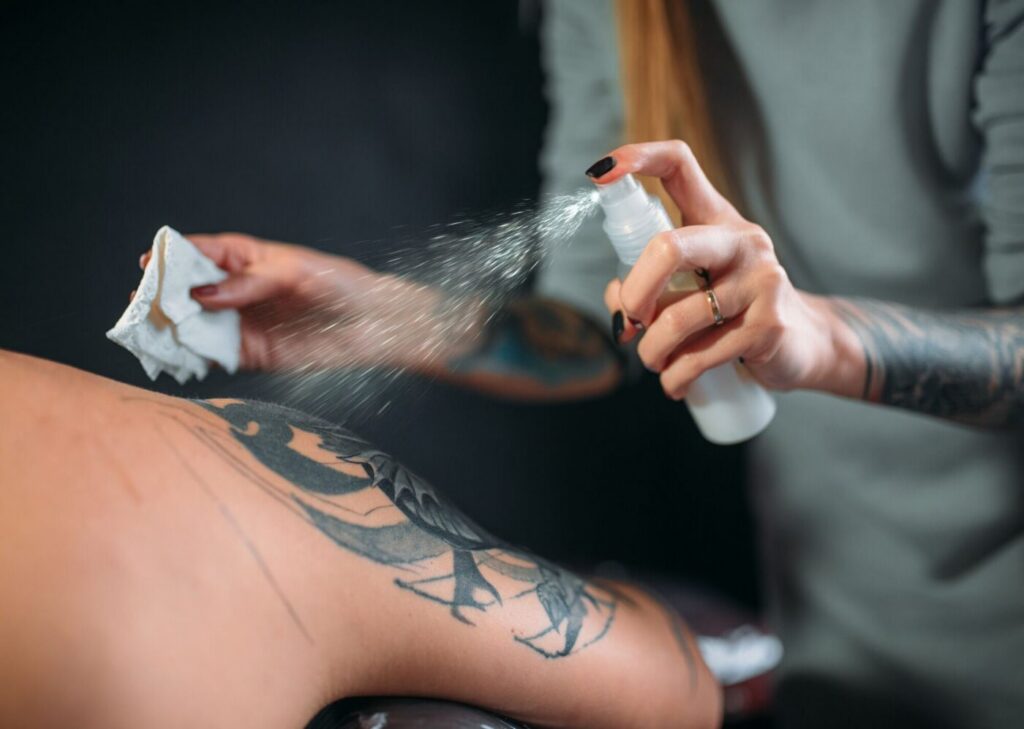
Reviewing a realism tattoo portfolio is about patience and attention to detail. The healed result is the only truth. By focusing on lighting, focal hierarchy, and healed detail, you can make an informed decision and avoid disappointment. Remember, a great realism tattoo is not a sticker; it is a piece of art that lives and breathes with your skin. Take your time, ask the right questions, and choose an artist who respects the craft.
For more inspiration and guidance, explore our tattoo rankings and verified studios. If you are still deciding on a style, check our tattoo magazine for articles on tattoo advice and cost estimation.
Content hub
Tattoo styles pillar
This article belongs to the styles cluster. Open the pillar page to compare Irezumi, Old School, Realistic, Blackwork, Fine line, Geometric and Watercolor.
Related reading
Continue reading
Lettering Tattoo Healed Portfolio Review: Kerning, Baseline & Placement Distortion
A specialist healed-portfolio review guide for Lettering tattoos, focused on kerning, baseline control and placement distortion. Includes concrete…
Lettering Tattoo Placement: A Specialist Guide to Kerning, Baseline Control, and Body-Flow Distortion
A specialist guide to lettering tattoos focusing on kerning, baseline control, and placement distortion. Learn how to plan…

Lettering Tattoo Design Consultation Checklist: Kerning, Baselines, and Placement Distortion
A specialist consultation checklist for lettering tattoos covering kerning, baseline control, and placement distortion. Includes practical tests, booking…