
The Professional’s Guide to Studio Hygiene SOP: Barriers, Disposables, and Cross-Contamination Control
Introduction: Why a Rigorous Hygiene SOP Is Non-Negotiable
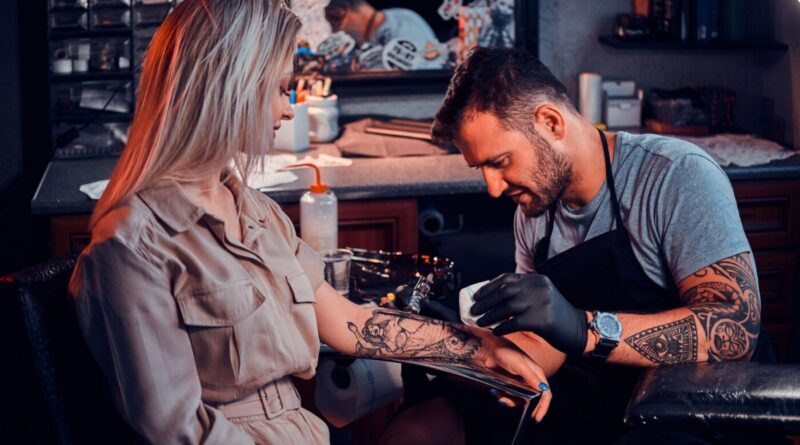
In the tattoo industry, the difference between a professional studio and an amateur setup often comes down to one thing: hygiene. A single lapse in sterile technique can lead to cross-contamination, infections, and irreversible damage to your reputation. This guide covers the essential components of a studio hygiene Standard Operating Procedure (SOP)—barrier films, disposable setups, sharps management, surface disinfection, and client safety protocols. Whether you’re an apprentice or a seasoned artist, these concrete checks will help you maintain a safe, professional environment.
1. Barrier Films: The First Line of Defense
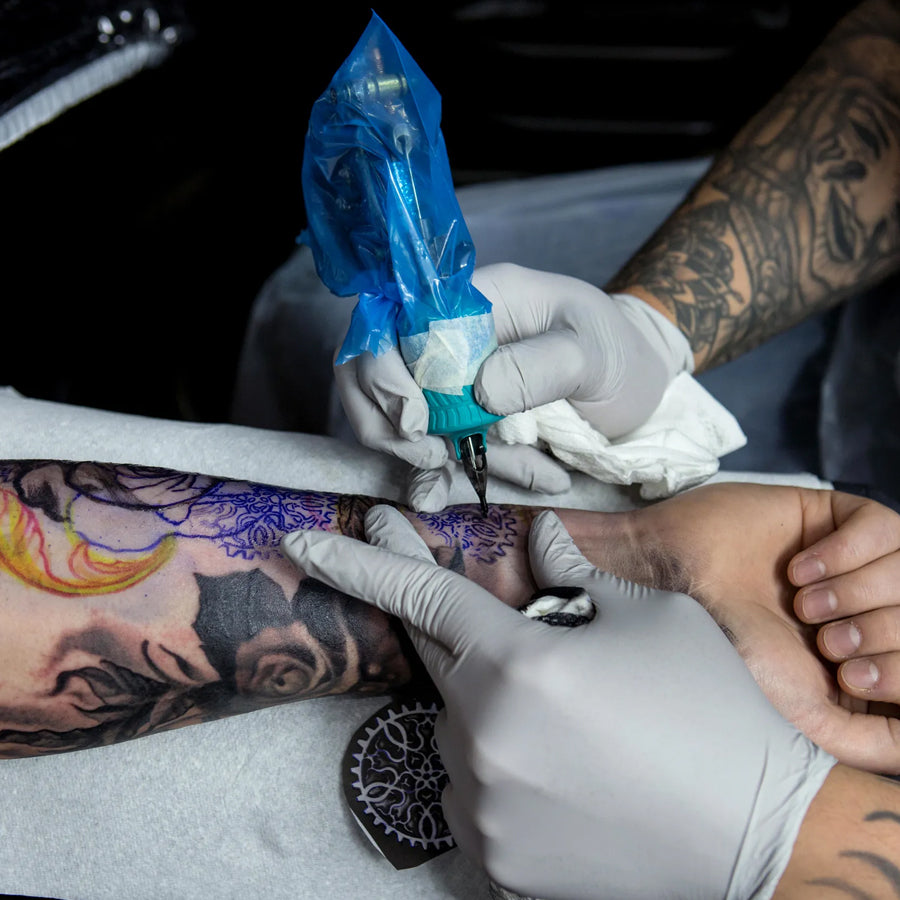
Barrier films are thin, plastic covers that protect non-sterile surfaces (e.g., tattoo machines, grips, clip cords, bottles, and chairs) from contamination. They are single-use and must be replaced between clients.
Key Checks for Barrier Film Application
- Use medical-grade barrier film (not regular plastic wrap) that conforms tightly without tearing.
- Cover all high-touch surfaces: machine grip, clip cord, power supply, ink caps, spray bottle, armrest, and treatment table.
- Apply film before the client enters the room; do not touch the inside of the film.
- Change barriers immediately after each client; never reuse.
- Inspect for tears or holes before starting; if damaged, replace.
Common mistake: Using barriers that are too loose—they can slip and expose surfaces. Always secure with tape if needed.
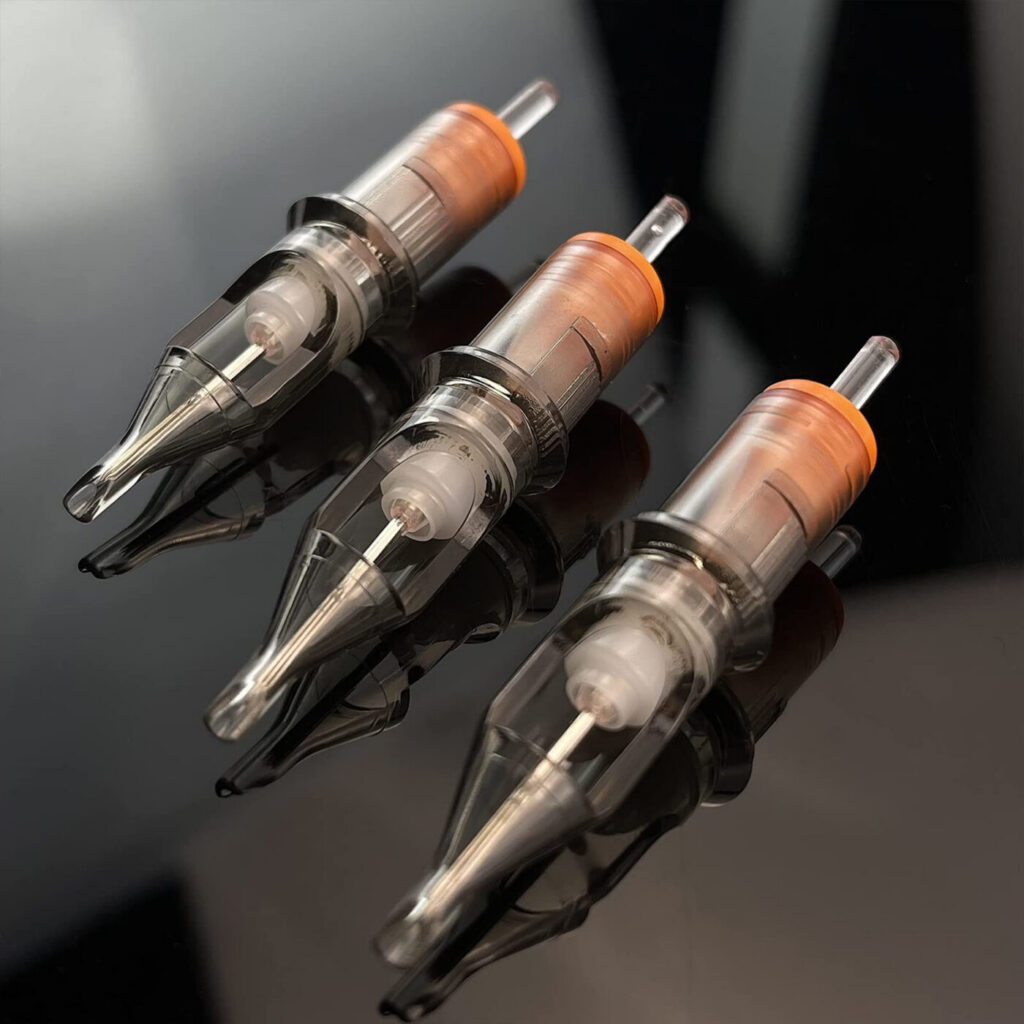
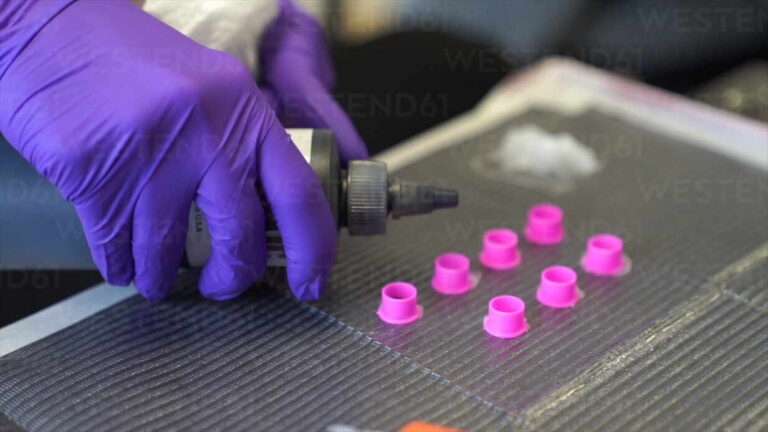
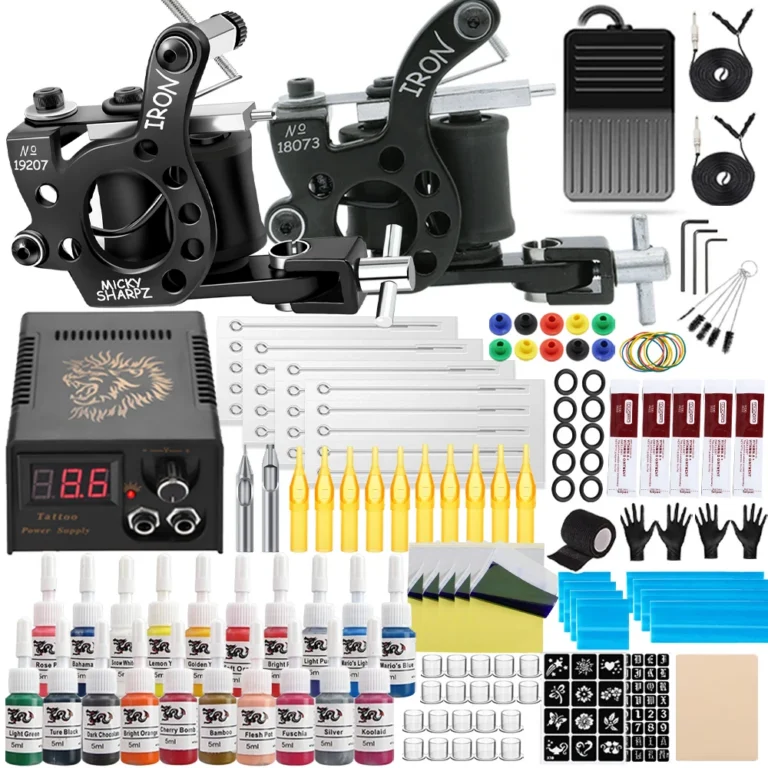
2. Disposable Setup: Single-Use Everything
Disposable setups minimize the risk of cross-contamination by eliminating reusable items that require sterilization. This includes needles, tubes, ink caps, gloves, razors, and stencil paper.
Essential Disposables Checklist
- Needles and tubes: Must be pre-sterilized, single-use, and opened in front of the client.
- Ink caps: Use fresh caps for each color; never dip directly into stock bottles.
- Gloves: Change between tasks (setup, shaving, tattooing, cleanup); use nitrile or latex-free.
- Razors: Single-use only; dispose immediately after shaving.
- Stencil paper: Use thermal paper or transfer paper; discard after use.
- Wipes and towels: Use disposable paper towels; no cloth towels.
Caveat: Some studios still use reusable tubes (e.g., stainless steel) that must be autoclaved. If you do, ensure a validated sterilization cycle and biological indicator testing monthly.
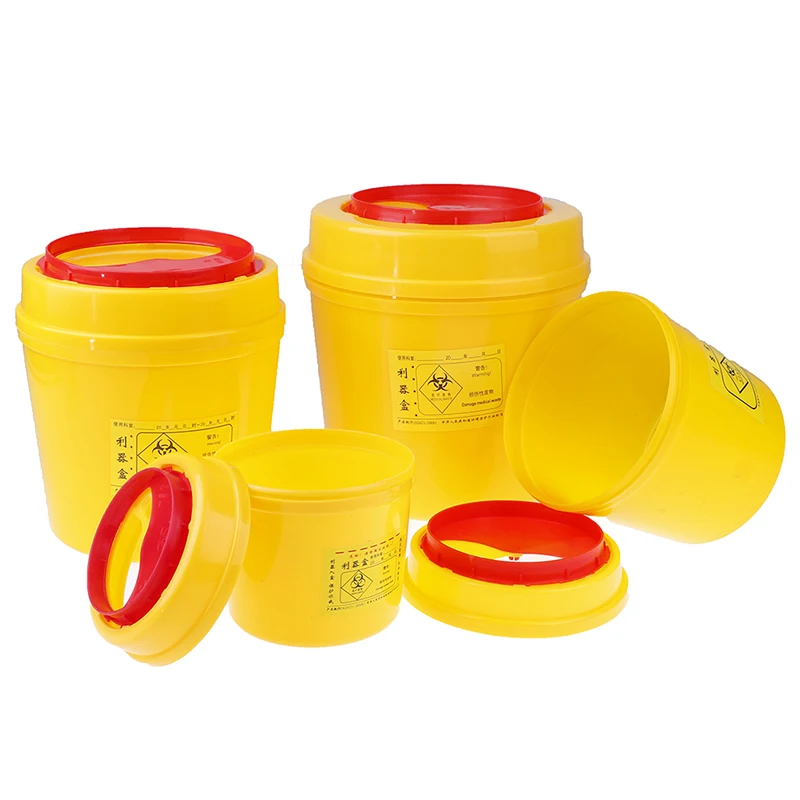
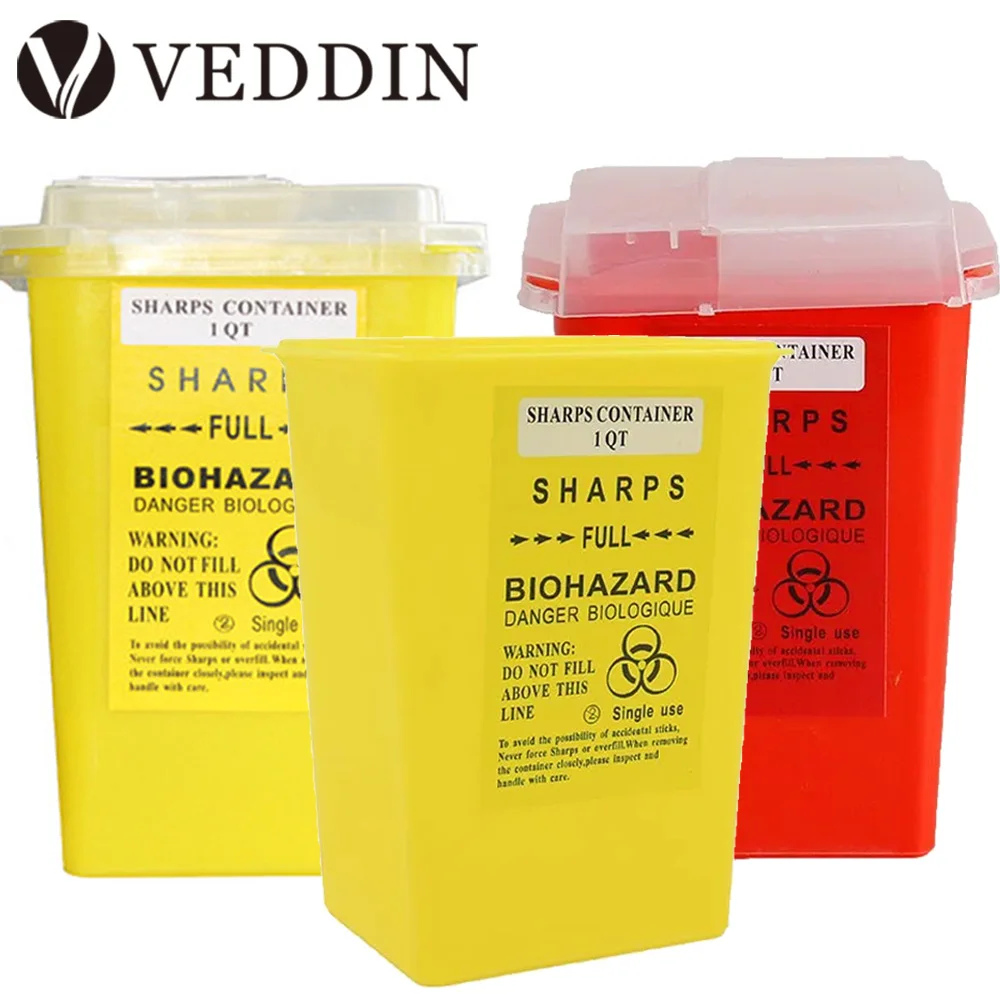
3. Sharps Management: Safety First
Used needles and blades are biohazards. Proper sharps disposal protects you, your staff, and waste handlers.
Sharps Disposal Protocol
- Use a puncture-resistant, labeled sharps container (e.g., OSHA-approved).
- Place the container within arm’s reach during tattooing.
- Never recap used needles; place directly into the container.
- When the container is ¾ full, seal and dispose according to local regulations.
- Document disposal if required by your jurisdiction.
Warning: Do not overfill containers; needles protruding from the top pose a stick injury risk.
4. Surface Disinfection: Between Clients and Daily
All surfaces (tables, chairs, countertops, sinks, floors) must be disinfected between clients and at the end of the day. Use an EPA-registered disinfectant effective against bloodborne pathogens (e.g., bleach solution 1:10, or quaternary ammonium compounds).
Surface Cleaning Steps
- Remove visible debris with a disposable cloth.
- Apply disinfectant and allow appropriate dwell time (check label).
- Wipe with a clean disposable cloth or allow to air dry.
- For non-porous surfaces, follow manufacturer instructions.
Comparison: Alcohol wipes (70% isopropyl) are suitable for small items like machine grips between clients, but not for large surfaces or blood spills.
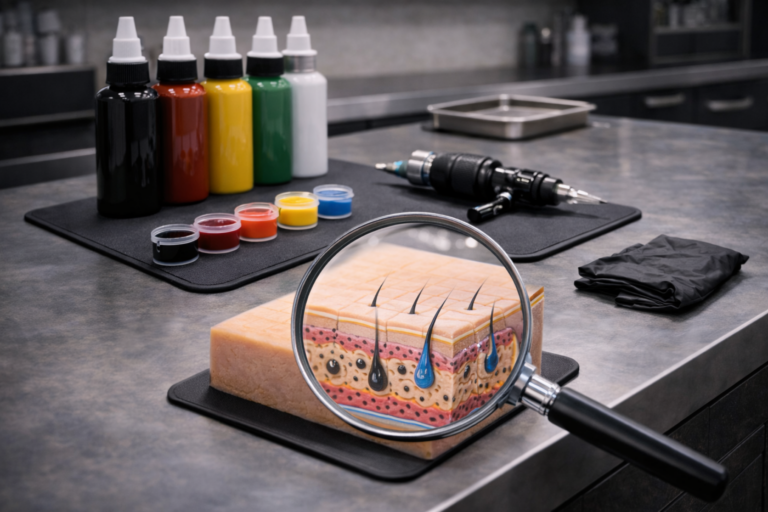
5. Client Safety: From Intake to Aftercare
Client safety starts before the needle touches skin. Implement a thorough intake process and clear aftercare instructions.
Client Protocol Checklist
- Health questionnaire: Screen for contraindications (e.g., skin conditions, pregnancy, medications).
- Consent form: Explain risks, aftercare, and studio policies.
- Skin preparation: Clean the area with antiseptic (e.g., chlorhexidine) before shaving.
- During tattoo: Maintain a sterile field; avoid touching non-sterile items with gloved hands.
- Aftercare: Provide written instructions, including cleaning, moisturizing, and signs of infection.
Decision point: If a client has a contagious skin condition (e.g., staph, herpes), postpone the appointment until cleared by a doctor.
6. Cross-Contamination Control: Practical Strategies
Cross-contamination occurs when pathogens transfer from one surface or person to another. Common vectors include hands, equipment, and environmental surfaces.
Prevention Tactics
- Hand hygiene: Wash with antimicrobial soap before gloving and after removing gloves.
- Glove changes: Replace gloves after touching any non-sterile item (e.g., phone, door handle).
- Separate clean and dirty zones: Use a designated clean area for setup and a dirty area for disposal.
- Traffic flow: Minimize movement in and out of the treatment room during procedures.
- Ventilation: Ensure proper airflow to reduce airborne contaminants.
Example: A common breach is an artist answering their phone while gloved. If you must, remove gloves, wash hands, answer, then re-glove.
7. Daily and Weekly Cleaning Schedules
Consistency is key. Create a schedule that covers daily, weekly, and monthly tasks.
Daily Tasks
- Disinfect all treatment surfaces.
- Empty and replace sharps containers if needed.
- Mop floors with disinfectant.
- Launder reusable cloth items (if any) in hot water with bleach.
Weekly Tasks
- Deep clean autoclave (if used) and perform spore testing.
- Disinfect storage shelves and drawers.
- Check expiration dates on supplies.
Tool: Use a cleaning log to track completion and initial each task.
8. Staff Training and Compliance
Every team member must be trained on the SOP and held accountable.
Training Requirements
- Initial training: Cover all SOP components, including barrier application, sharps disposal, and disinfection.
- Annual refresher: Review updates in regulations and best practices.
- Competency check: Observe each staff member performing a setup and cleanup.
Internal link: For more on studio standards, see our verified studios page.
FAQ
1. Can I reuse barrier film if it looks clean?
No. Barrier film is single-use. Even if it appears clean, microscopic contamination can occur. Always replace between clients.
2. What disinfectant is best for tattoo studios?
Use an EPA-registered hospital-grade disinfectant with a label claim against bloodborne pathogens. Examples include bleach (1:10 dilution) or quaternary ammonium compounds. Follow dwell time instructions.
3. How often should I autoclave reusable equipment?
Reusable items (e.g., stainless steel tubes) must be autoclaved after each use. Perform biological indicator testing at least monthly to verify sterilization.
4. What should I do if I accidentally stick myself with a used needle?
Immediately wash the area with soap and water, apply antiseptic, and seek medical evaluation. Report the incident to your supervisor and document it.
For more resources, check our magazine and consultation pages.
Keep exploring Vietnam Tattoo
- Browse Ranking for notable studios by city, style, and intent.
- Search studios by city, verification level, and contact channel.
- View verified profiles to check approved and verified entries.
- Request a consultation if you need help choosing style, placement, or a suitable studio.
Content hub
Pro corner hub
Read more about needles, inks, machines, cartridges and safer professional practice.
Related reading
Continue reading
The Professional Tattoo Stencil Workflow: Printer, Transfer Gel, Skin Prep & Placement
Master the tattoo stencil workflow: printer selection, transfer gels, skin prep, and placement checks. Avoid failures with expert…
Rotary vs Coil vs Pen Tattoo Machines: The Pro’s Guide to Torque, Stroke & Performance
Compare rotary, coil, and pen tattoo machines: torque, stroke, give, maintenance, noise, and best use cases. Expert guide…
Pro Studio Checklist: Tattoo Ink Storage & Pigment Safety — The Complete Guide
A complete professional checklist for tattoo ink storage and pigment safety: temperature, expiry, contamination prevention, labeling, SOP, and…