

The Professional Tattoo Stencil Workflow: Printer, Transfer Gel, Skin Prep & Placement
Introduction: Why Stencil Workflow Matters

Every great tattoo starts with a perfect stencil. A blurry, smudged, or misaligned stencil can ruin hours of design work and compromise the final result. This guide covers the complete stencil workflow for studios: from printer selection and transfer products to skin preparation and placement verification. Whether you’re a new apprentice or a seasoned artist, these concrete checks will help you avoid failure and deliver crisp, lasting stencils every time.
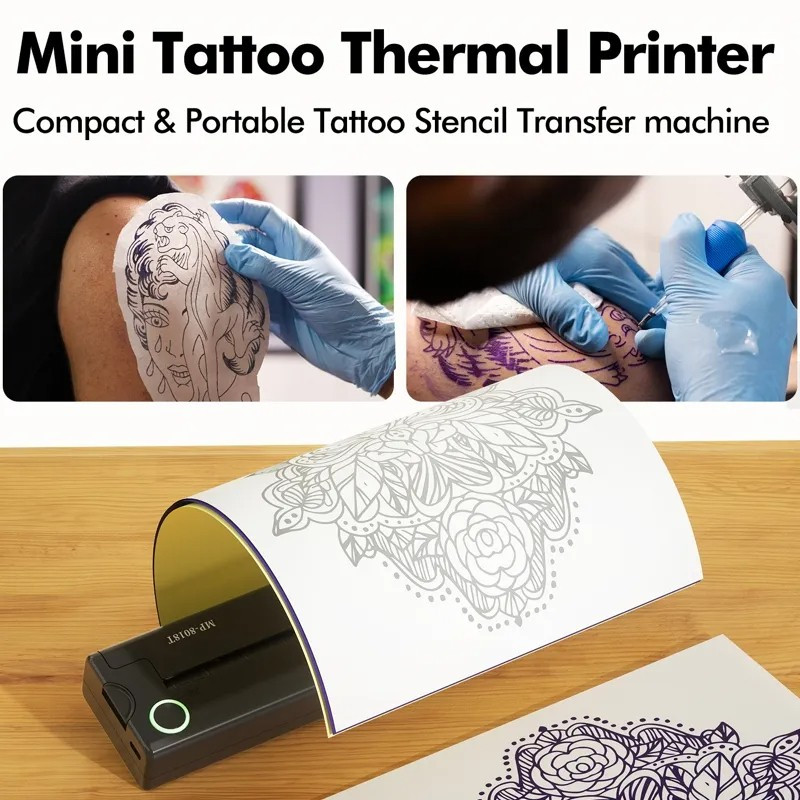
1. Choosing the Right Stencil Printer
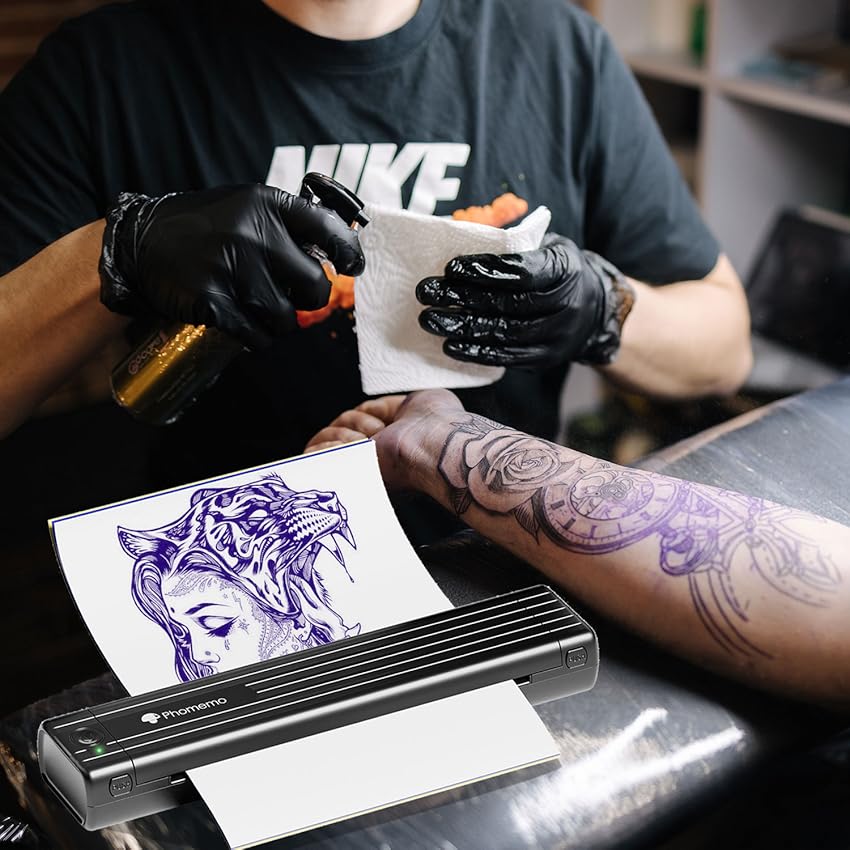
The printer is the first critical link. Thermal stencil printers are the industry standard for their speed and precision. Key considerations:
- Thermal vs. Inkjet: Thermal printers use heat to transfer carbon from thermal paper to the stencil film, producing sharp, waterproof lines. Inkjet printers are less common for stencils due to smudging risks.
- Resolution: Look for at least 300 DPI. Higher resolution (600 DPI) is better for fine line and dotwork designs.
- Paper Compatibility: Use only genuine thermal transfer paper (e.g., Spirit, Electra, or Thermoprint). Cheap paper can jam or produce faint lines.
- Maintenance: Clean the print head regularly with isopropyl alcohol to prevent buildup.
Checklist: Test print on scrap paper before each session. Adjust darkness and contrast settings for optimal transfer.
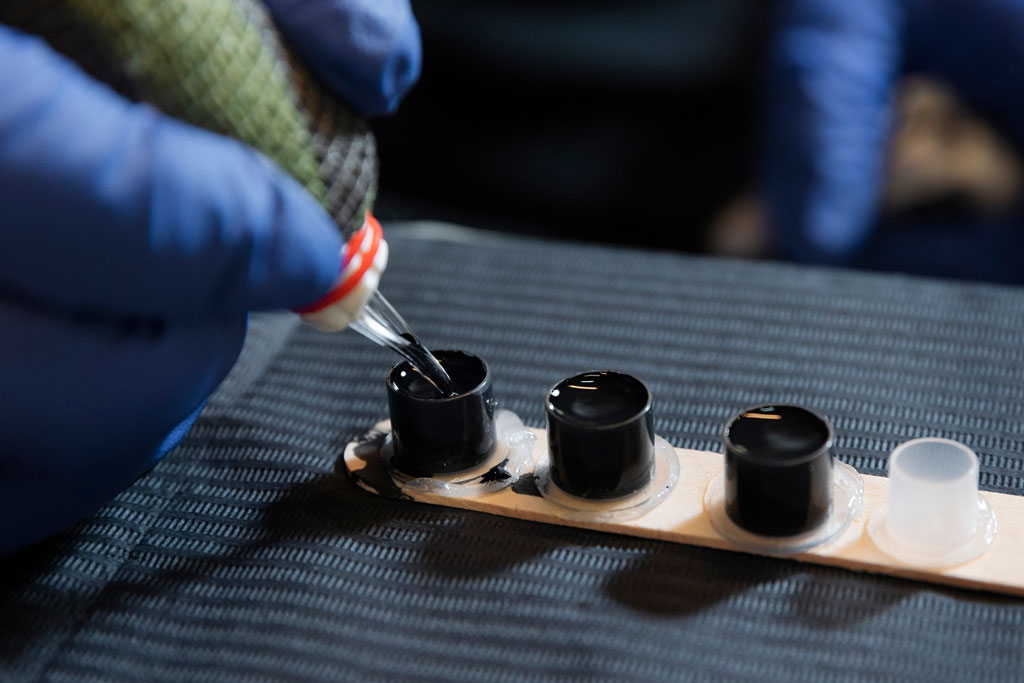
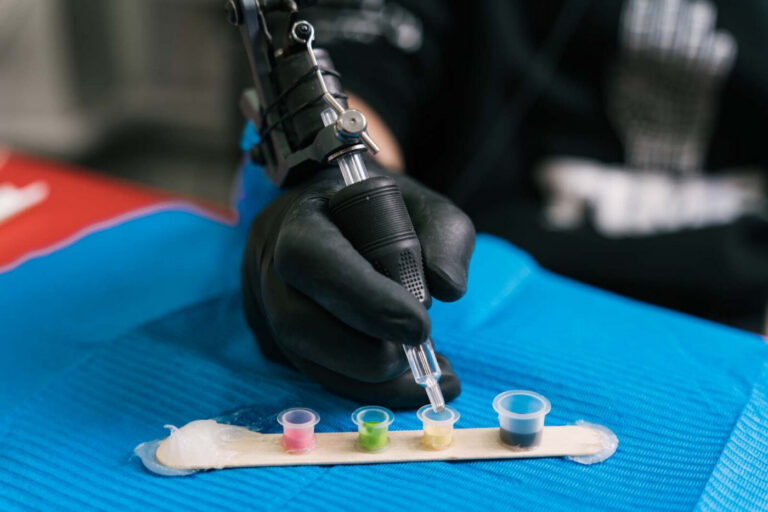
2. Transfer Gels and Deodorants: Which One to Use?
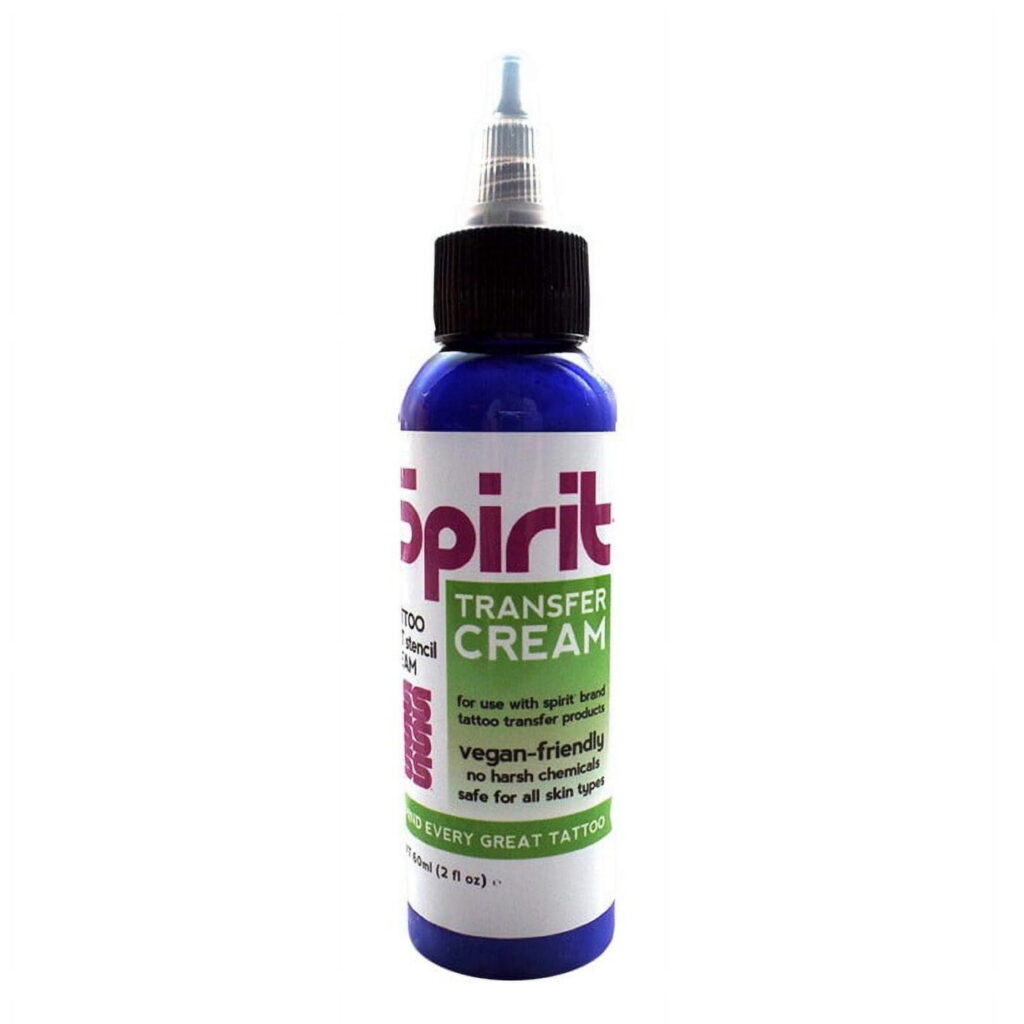
The transfer medium is crucial for adhesion and clarity. Two main options:
Transfer Gel (Stencil Gel)
Thick, clear gel that provides excellent adhesion and prevents bleeding. Best for large designs and areas with movement (e.g., ribs, inner bicep). Apply a thin, even layer; too much gel can cause the stencil to slide or blur.
Stencil Deodorant (Stencil Stick)
Solid stick that leaves a waxy residue. Preferred for small to medium designs and flat areas (e.g., forearm, calf). Offers less slip and dries faster.
Comparison: Gel gives stronger hold but takes longer to set; deodorant is quicker but less forgiving on curves. Many artists use gel for the initial outline and deodorant for touch-ups.
3. Skin Preparation: The Foundation for a Clean Transfer
Proper skin prep ensures the stencil sticks and stays visible. Steps:
- Clean the skin: Use antibacterial soap (e.g., green soap) to remove dirt, oil, and dead skin. Rinse thoroughly and pat dry with a lint-free towel.
- Shave the area: Use a single-use razor to remove hair. Shave against the grain for a closer cut. Do this after cleaning to avoid infection.
- Degrease: Wipe with 70% isopropyl alcohol to remove remaining oils. Let it evaporate completely.
- Apply transfer product: As chosen above.
Caveat: Avoid over-alcoholing as it can dry out the skin and cause flaking. For sensitive skin, use a gentle toner instead.
4. Stencil Placement and Alignment
Placement can make or break a tattoo. Follow these steps:
- Visual assessment: Have the client stand in a natural position. Use a mirror to check alignment from multiple angles.
- Use anatomical landmarks: Align with bones, muscles, or existing tattoos. For symmetrical designs, measure distances from midline.
- Temporary placement: Apply the stencil lightly first, then press firmly once satisfied. Use a clean paper towel to avoid smudging.
- Check again: Ask the client to move (bend, twist) to ensure the design flows with the body. Adjust if needed.
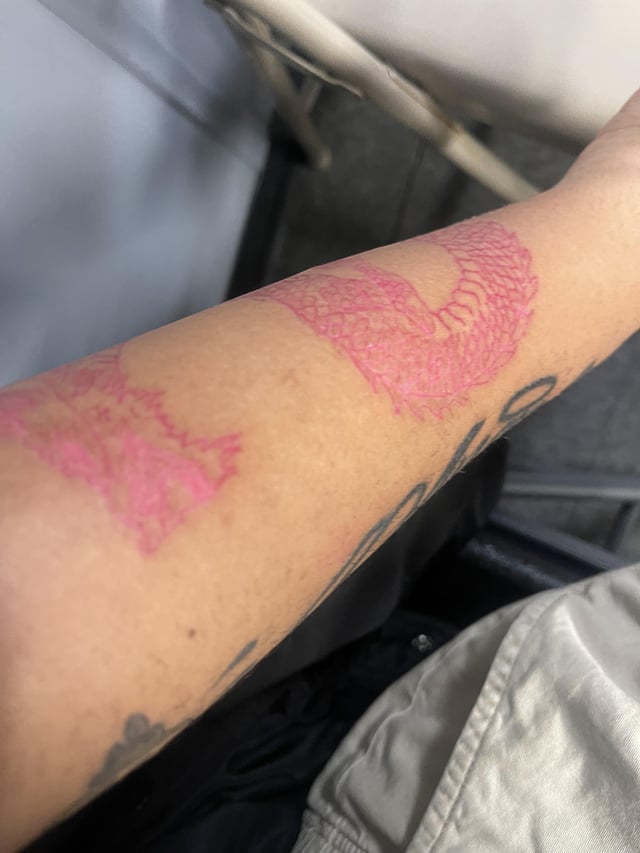
5. Failure Prevention: Common Mistakes and Fixes

Even experienced artists encounter stencil issues. Here are fixes:
| Problem | Cause | Solution |
|---|---|---|
| Faint stencil | Low printer darkness, old transfer paper | Increase darkness setting; use fresh paper |
| Smudged lines | Too much transfer gel, skin not dry | Use less gel; wait for alcohol to evaporate |
| Stencil slides | Oily skin, excessive movement | Degrease more; use gel instead of deodorant |
| Stencil won’t stick | Hair regrowth, lotion residue | Shave again; clean with alcohol |
Pro tip: Always have a backup stencil printed. If the first one fails, you can quickly reapply without reprinting.
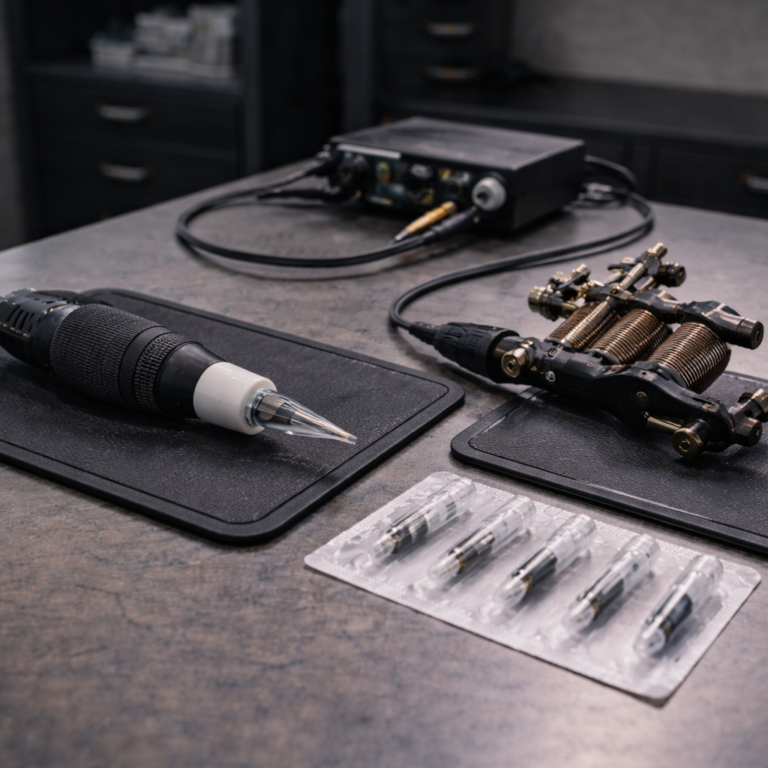
6. Advanced Techniques for Complex Designs
For intricate styles like Micro realism, Dotwork, or Japanese traditional, consider:
- Multi-part stencils: Break a large design into sections, applying each part sequentially.
- Stencil transfer film: Use transparent film for easier alignment on curved surfaces.
- Freehand touch-up: After transfer, use a fine liner to reinforce faded lines.
7. Product Review: Top Transfer Gels and Papers
Based on industry feedback (not sponsored):
- Spirit Stencil Gel: Thick, long-lasting hold. Ideal for large areas.
- Electra Stencil Deodorant: Smooth application, quick drying.
- Thermoprint Thermal Paper: High contrast, reliable.
- Green Soap: Standard for skin prep.
Always test new products on yourself before client use.
8. FAQ
Q1: Can I use a regular printer for stencils?
No. Regular inkjet printers produce water-soluble lines that blur. Use a thermal printer with thermal transfer paper.
Q2: How do I prevent stencil from fading during tattooing?
Apply a thin layer of Vaseline or stencil lock gel after placement. Wipe gently with a damp cloth, not alcohol.
Q3: What’s the best way to transfer stencil on dark skin?
Use a purple or blue transfer paper for visibility. Ensure the skin is clean and dry. A gel medium works best.
Q4: How long should I let the stencil dry before tattooing?
Wait at least 5-10 minutes for the transfer product to set. For gel, up to 15 minutes in humid conditions.
For more professional tips, visit our magazine and consultation sections.
Keep exploring Vietnam Tattoo
- Browse Ranking for notable studios by city, style, and intent.
- Search studios by city, verification level, and contact channel.
- View verified profiles to check approved and verified entries.
- Request a consultation if you need help choosing style, placement, or a suitable studio.
Content hub
Pro corner hub
Read more about needles, inks, machines, cartridges and safer professional practice.
Related reading
Continue reading
Tattoo Machine Stroke Length: Lining, Shading, and Color Packing Decisions – A Pro Guide
Master the relationship between stroke length and tattoo results. Expert guide on lining, shading, and color packing machine…
The Pro’s Guide to Tattoo Ink Mixing: Greywash, Color Dilution & Safety Workflow
Master ink mixing for pros: greywash ratios, color dilution techniques, and a step-by-step safety workflow to prevent contamination…
Mastering Tattoo Needle Depth: Skin Layers, Blowout Prevention, and Clean Line Control – A Pro Guide for Apprentices
Master tattoo needle depth with this pro guide: understand skin layers, prevent blowout, and achieve clean lines. Essential…