
The Dotwork Consultation: A Specialist Checklist for Density, Gradient, and Session Planning
Introduction: The Dotwork Consultation Is a Technical Conversation

Dotwork is not a single style—it is a technical discipline that underpins everything from geometric tattoos to fine-line blackwork and micro-realism. When a client sits down for a consultation, the conversation should not begin with “what design do you want?” but with a precise discussion of dot density, gradient control, and session planning. These three pillars determine whether a piece ages gracefully or becomes a muddy blur. This guide is built for tattoo artists and serious clients who want to approach dotwork with the same rigor as a technical drawing. It is not a style overview; it is a checklist for a productive, specialist consultation.
1. Dot Density: The Foundation of Every Decision
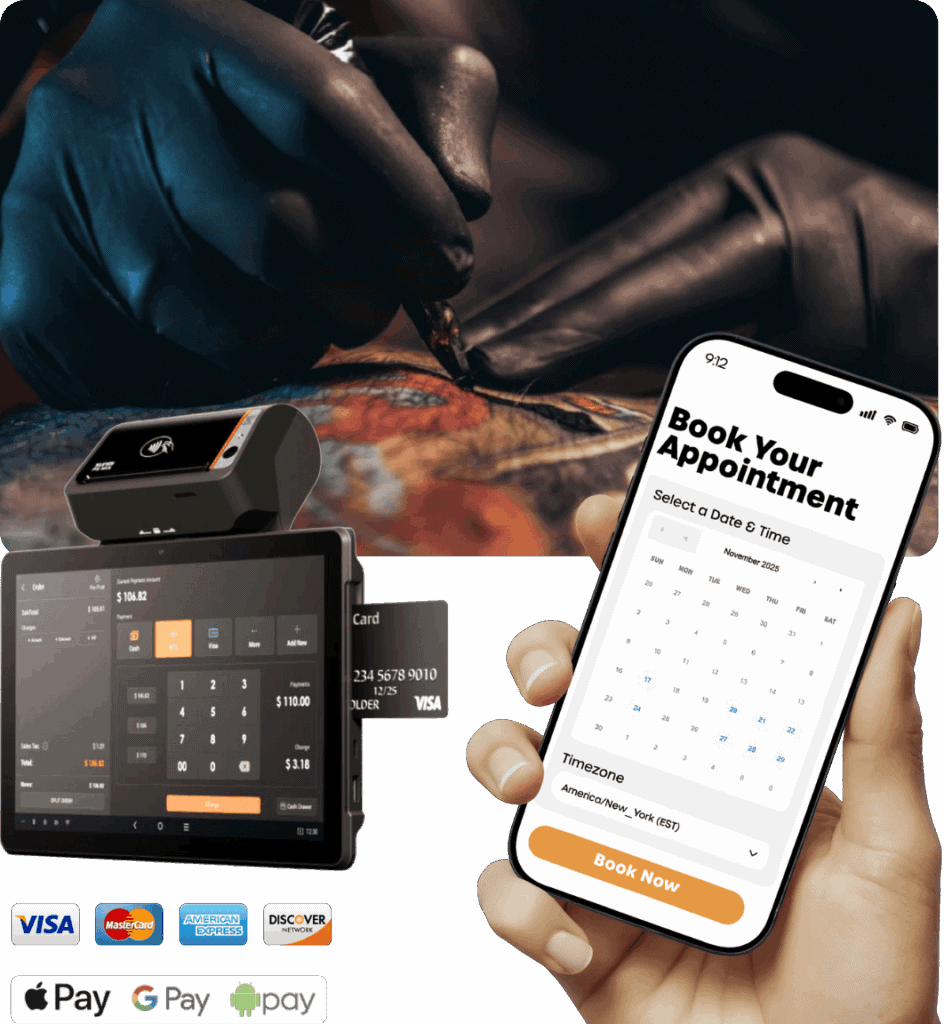
Dot density refers to the number of dots per square centimeter and the spacing between them. It dictates the tonal range you can achieve and the overall texture of the tattoo. During the consultation, you must assess the client’s skin type, the placement, and the desired aesthetic to determine an appropriate density range.
Key Consultation Checks for Dot Density
- Skin elasticity and texture: Loose or thin skin (e.g., inner arm, collarbone) may not hold dense dot clusters as well as firmer areas (e.g., forearm, calf). Test with a single needle on a small area if needed.
- Healing behavior: Ask about previous tattoos—did they experience blowouts or fading? This informs whether you need to adjust density to avoid spreading.
- Design complexity: For fine-line geometric or ornamental work, you might use a single needle with low density for delicate shading. For bold blackwork or neo-traditional pieces, higher density with a round shader may be necessary.
- Long-term aging: Dots spaced too closely can merge over time, turning gradients into solid gray. Plan for a 10-year horizon: if in doubt, err on the side of slightly larger spacing.
Practical example: A client wants a micro-realism portrait. You explain that dotwork micro-realism requires a density range of 60–80 dots per cm² for dark shadows, but the mid-tones need 30–40 dots per cm² to allow skin to breathe. Without this discussion, the client might expect a single-session finish—unrealistic for that density.
2. Gradient Control: Mapping Tonal Transitions
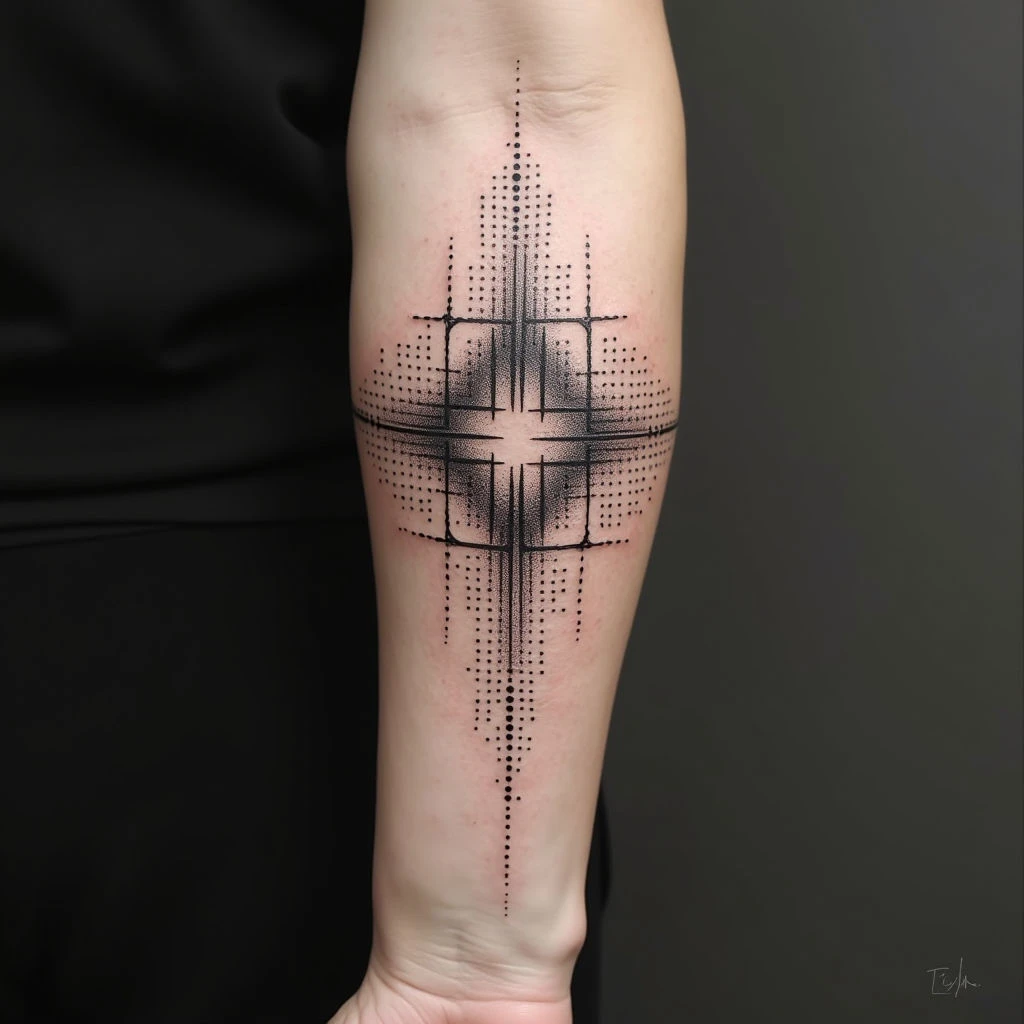
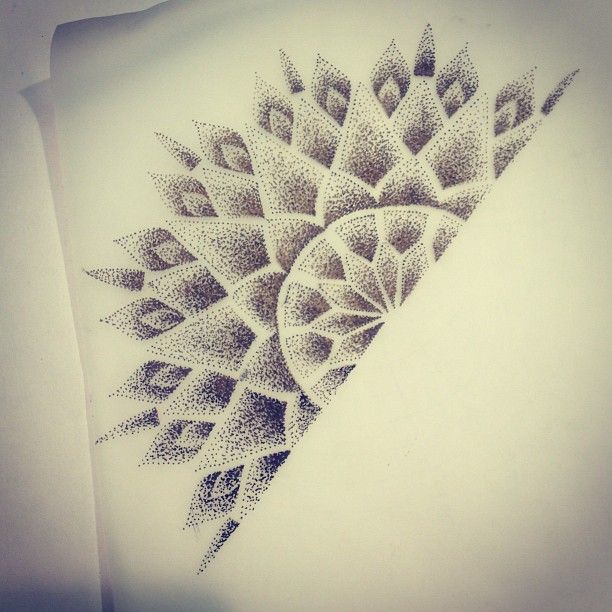
Gradient control is the art of transitioning from light to dark without harsh lines. In dotwork, this is achieved by varying dot size, spacing, and layering. A consultation must include a visual walkthrough of the gradient map for the proposed design.
Creating a Gradient Map
- Identify the light source: For realism or geometric pieces, determine where the light hits. This defines the darkest and lightest areas.
- Assign dot sizes: Use smaller dots for lighter areas and larger dots for shadows. In practice, you might switch from a single needle to a tight 3-round liner for denser shadows.
- Plan layering passes: Explain that multiple passes are often needed. The first pass establishes a base tone; subsequent passes build depth. Each pass adds 10–15 minutes of work per 5 cm².
- Discuss blending techniques: Mention that stippling (random dot placement) vs. dot matrix (grid-based) affects gradient smoothness. Stippling is more organic; dot matrix suits geometric or abstract styles.
Checklist for the client: Show them a reference image and point out where you will use a soft gradient (e.g., skin highlights) and where a hard gradient (e.g., deep shadow) is needed. Ask them if they prefer a more textured, visible dot pattern or a smoother blend—this affects technique choice.
3. Session Planning: Realistic Timelines and Healing Breaks

Dotwork is time-intensive. A 10 cm² piece with fine gradients can take 3–4 hours. Larger pieces require multiple sessions. The consultation must set clear expectations about duration, pain, and healing intervals.
Session Planning Checklist
- Estimate total hours: Break the design into zones. For example, a geometric sleeve might have a linework phase (2–3 hours), a shading phase (4–6 hours), and a detailing phase (2–3 hours). Use your experience to give a range, not a fixed quote.
- Determine session breaks: For large areas, schedule 2–3 sessions, spaced 4–6 weeks apart. This allows the skin to fully regenerate and prevents overworking.
- Address pain management: Dotwork can be more painful than linework because of repeated impacts. Discuss numbing options if the client is sensitive, but note that numbing can affect skin texture temporarily.
- Plan for touch-ups: Even with perfect technique, some dots may fall out. Include a touch-up session in the overall plan—usually 4–8 weeks after the final session.
Realistic caveat: If a client asks for a full back piece in dotwork, explain that this could take 15–20 hours over 5–6 sessions. Do not promise a single “marathon” session—it compromises quality and healing.
4. Design Consultation: From Reference to Dotwork Blueprint
Before you discuss density and gradients, you need a design that translates well into dotwork. Not every style suits this technique. For example, Japanese traditional relies on bold, solid shading; dotwork can soften it but may lose the iconic contrast. Conversely, geometric, abstract, and ornamental styles are natural fits.
Design Checklist
- Line weight: Dotwork often pairs with fine lines. Ask if the client wants a purely dotwork piece or a hybrid (e.g., dotwork shading with fine-line outlines).
- Negative space: Dotwork thrives on negative space. Ensure the design has clear areas of untouched skin to create contrast.
- Scale and placement: Small, intricate designs may lose detail if dots are too large. For a 3 cm piece, you might need a single needle and lower density—this increases time.
- Style compatibility: If the client brings a watercolor reference, explain that dotwork can mimic the soft edges but not the vibrant color gradients—unless you incorporate color dots, which is a separate technique.
Example: A client wants a neo-traditional animal with dotwork shading. You suggest keeping the bold outlines but using dotwork for the fur texture and background. This hybrid approach respects the style while showcasing dotwork.
5. Pre-Tattoo Questions Every Client Should Ask
As a specialist, you should encourage clients to ask these questions—it builds trust and ensures they understand the commitment.
- “How many dots per square centimeter will you use in the darkest area?” This shows they understand density.
- “How many passes will the gradient require?” This sets expectations for session length.
- “What needle configurations do you plan to use?” Single needle vs. round shader changes texture.
- “How will this age over 20 years?” A good artist will give an honest answer about spreading.
6. Aftercare and Long-Term Maintenance
Dotwork requires specific aftercare to preserve dot definition. During the consultation, provide a written aftercare sheet—do not rely on verbal instructions alone.
- Moisturizing: Use unscented lotion to prevent dry skin, which can make dots appear patchy.
- Sun protection: UV exposure breaks down ink and can cause dots to blur. Recommend SPF 50 on healed tattoos.
- Avoid picking: Scabbing is normal, but picking can pull out dots.
- Touch-up policy: Clarify what your studio charges for touch-ups—some offer one free session within a year.
7. Tools and Techniques to Discuss
In a specialist consultation, you should mention the tools you use and why. This reinforces your expertise.
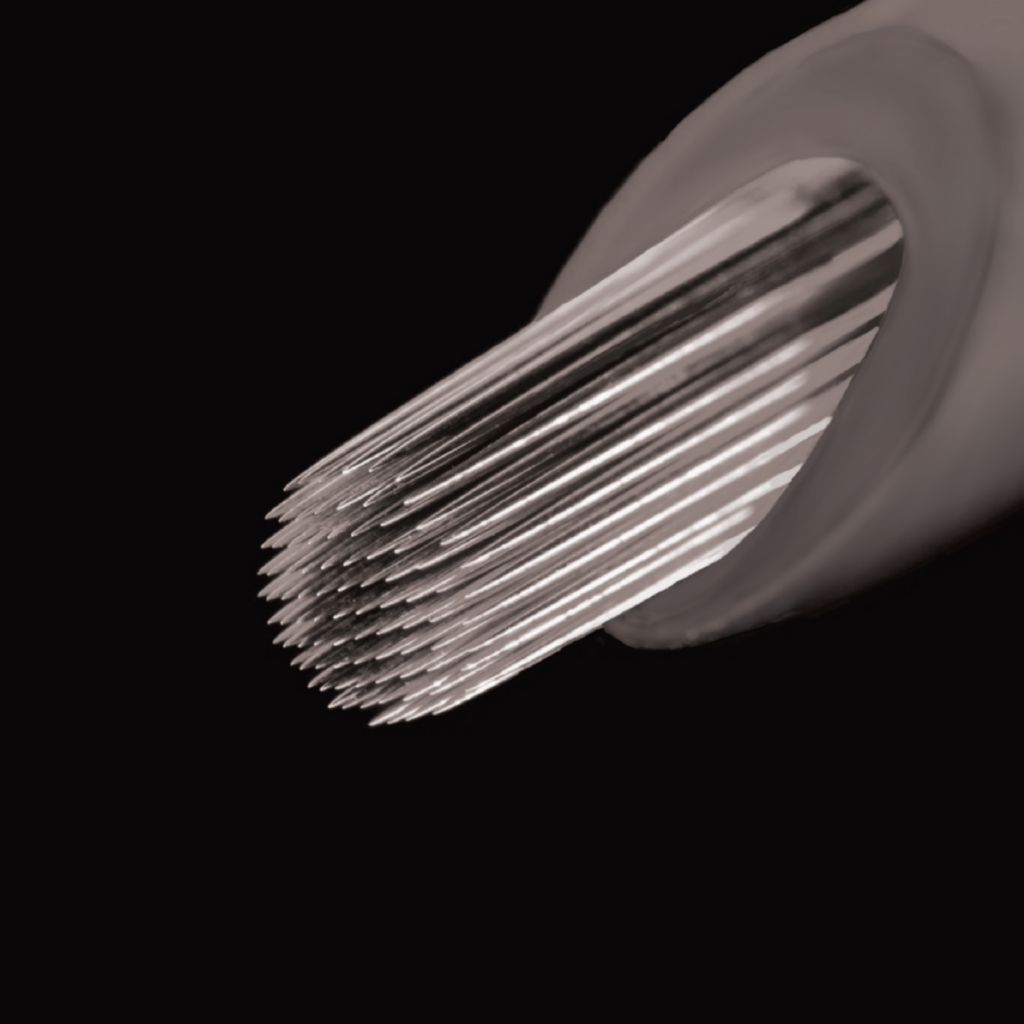
- Needle types: Explain the difference between a single needle (fine detail) and a round shader (faster shading).
- Machine settings: Voltage and speed affect dot placement. For example, a lower voltage with a faster hand speed creates lighter dots.
- Stencil vs. freehand: For geometric dotwork, a stencil is crucial for precision. For abstract, freehand might be more organic.
8. The Business Side: Pricing and Booking
Pricing for dotwork is often higher per hour because of the meticulous nature. Be transparent about your rates and deposit policies.
- Hourly rate vs. project quote: Dotwork is unpredictable; many artists charge hourly. If you offer a fixed quote, include a clause for additional sessions.
- Deposit: A non-refundable deposit (e.g., $50–$100) secures the consultation and design time.
- Cancellation policy: Because sessions are long, require 48-hour notice for rescheduling.
For more on pricing, see our tattoo cost estimator.
9. Red Flags to Avoid in a Dotwork Consultation
Not every artist is a dotwork specialist. If you are the client, watch for these warning signs:
- Vague answers about density: An artist who cannot explain dot spacing may not have the technical knowledge.
- Overpromising timelines: If they claim a full back piece in one session, run.
- No portfolio of healed dotwork: Ask to see healed photos—dotwork changes over time.
- Pressure to start immediately: A good artist will want a consultation first.
10. Finalizing the Design: The Mockup
Before the session, provide a detailed mockup that includes a gradient map and dot density annotations. This is your blueprint.
- Scale: Print the design at actual size so the client can see the dot pattern.
- Annotations: Mark areas of high density (H), medium (M), and low (L).
- Approval: Have the client sign off on the mockup to avoid disputes later.
FAQ
1. How long does a dotwork tattoo take to heal?
Initial healing takes 2–3 weeks, but full settling can take up to 2 months. Dots may appear darker initially and lighten as the skin regenerates. Avoid sun exposure during this period.
2. Can dotwork be done over an old tattoo?
Yes, but it depends on the existing ink. Dark, solid tattoos may not allow dotwork to show. A consultation is essential to assess the contrast and plan a cover-up or integration.
3. Is dotwork more painful than linework?
Many clients report that dotwork feels like a repeated scratching sensation, which can be more irritating than smooth linework. Pain varies by location—areas with thin skin (ribs, feet) are more sensitive.
4. How do I choose between dotwork and solid shading?
Dotwork offers a softer, more textured look that ages gracefully if done well. Solid shading is bolder but can blur over time. Your artist can show you examples of both to help you decide based on your skin and style preference.
Conclusion: The Specialist’s Advantage
A dotwork consultation is your opportunity to demonstrate mastery. By focusing on density, gradient control, and session planning, you set the stage for a tattoo that is both beautiful and durable. Use this checklist to guide your next conversation—whether you are the artist or the client. For more inspiration, explore our tattoo magazine and consultation guides. If you are ready to book, browse verified studios on our platform.
Read more
- Magazine for more tattoo knowledge, style guides and aftercare notes.
- Request a consultation if you need help with style, placement or preparation.
- Marketplace for equipment, supplies and learning resources.
Content hub
Tattoo styles pillar
This article belongs to the styles cluster. Open the pillar page to compare Irezumi, Old School, Realistic, Blackwork, Fine line, Geometric and Watercolor.
Related reading
Continue reading
Lettering Tattoo Healed Portfolio Review: Kerning, Baseline & Placement Distortion
A specialist healed-portfolio review guide for Lettering tattoos, focused on kerning, baseline control and placement distortion. Includes concrete…
Lettering Tattoo Placement: A Specialist Guide to Kerning, Baseline Control, and Body-Flow Distortion
A specialist guide to lettering tattoos focusing on kerning, baseline control, and placement distortion. Learn how to plan…
Lettering Tattoo Design Consultation Checklist: Kerning, Baselines, and Placement Distortion
A specialist consultation checklist for lettering tattoos covering kerning, baseline control, and placement distortion. Includes practical tests, booking…