Realism Tattoo: The Design Consultation Checklist for Healed Detail
Why the Consultation Is the Make-or-Break Stage for Realism
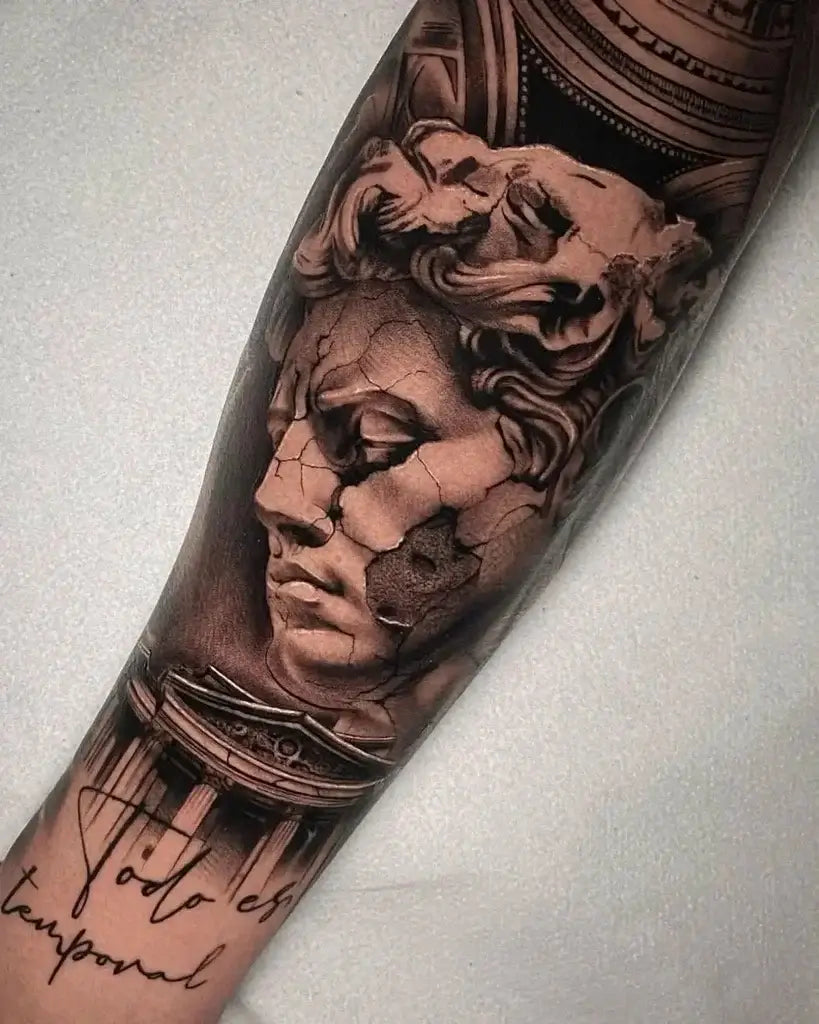
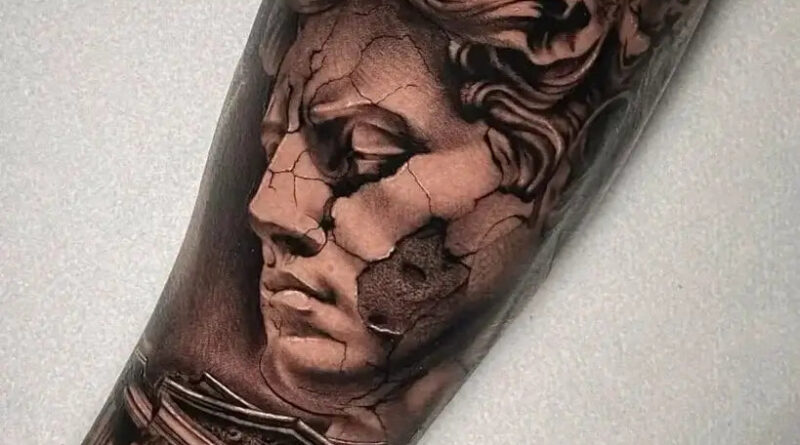
Realism tattoo is not a style you improvise. Unlike Geometric tattoo or Lettering, where line weight and spacing can be adjusted on the fly, realism depends on a precise translation of light, texture, and depth. The consultation is where that translation begins. If you walk in without a clear idea of your reference’s lighting and focal point, you’ll leave with a tattoo that looks flat or muddy once healed. This guide gives you a practical checklist to use in your next consultation—whether you’re the client or the artist.
Reference Lighting: The Foundation of Every Realism Piece
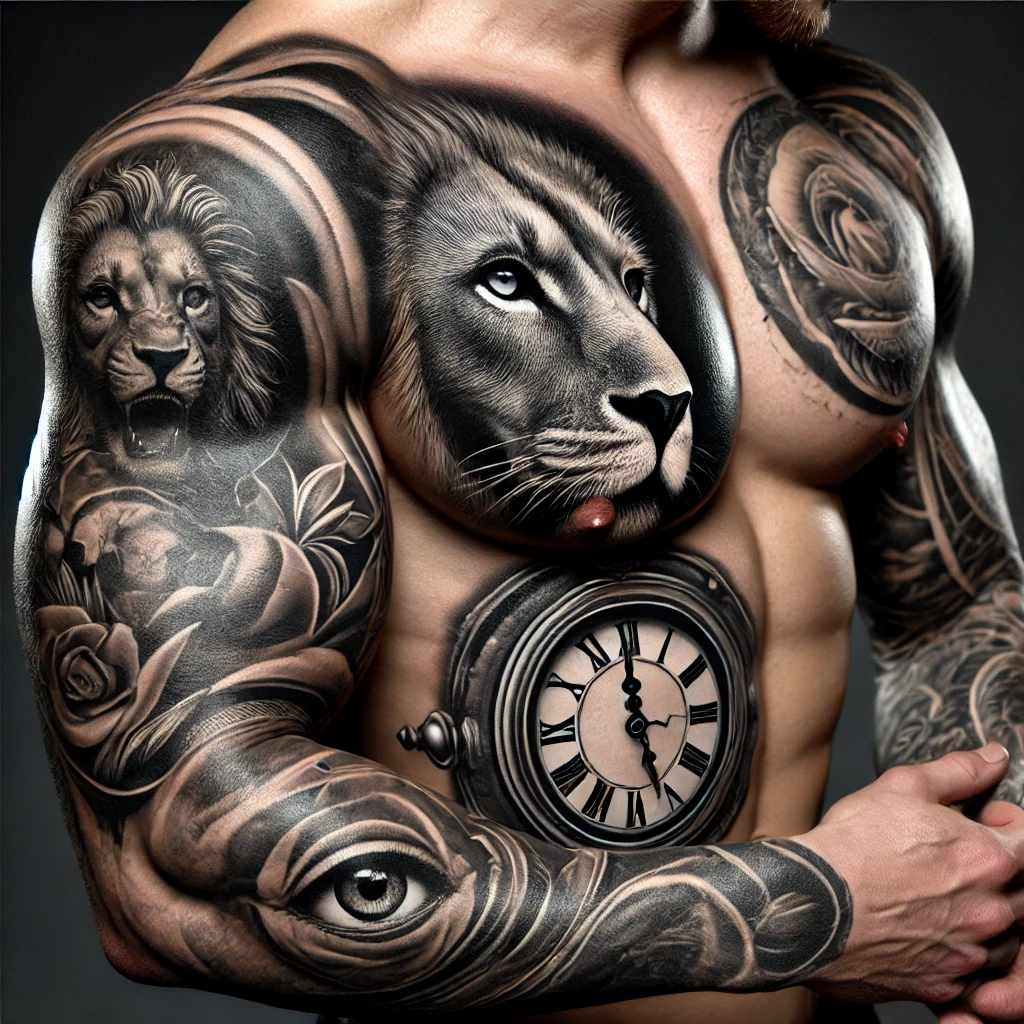
Lighting determines how your tattoo reads from across the room and up close. In realism, there are three lighting scenarios you must discuss:
- Single-source lighting – a strong, directional light (e.g., a spotlight) creates high contrast and dramatic shadows. Ideal for portraits or animal eyes.
- Diffused lighting – soft, even light (like overcast sky) reduces contrast and makes the piece look gentle and timeless. Often used for skin tones and floral realism.
- Mixed lighting – multiple light sources (e.g., window light plus a lamp) can create complex reflections, but they also increase the risk of visual confusion. Only choose this if you’re working with an experienced Realism specialist.
Checklist for Reference Lighting
- Bring 3–5 high-resolution reference photos that show the subject under different lighting.
- Ask your artist which lighting they recommend for your skin tone and placement.
- Discuss whether you want the tattoo to mimic the exact lighting of the reference or adapt it for better longevity.
- For portraits, specify the direction of the light (e.g., from the left, from above) so the artist can plan the shadows.
Pro tip: If your reference is a photo taken with a flash, the harsh shadows may not translate well into a tattoo. Your artist may suggest softening them using Dotwork or Fine line shading.
Focal Hierarchy: What Should the Eye See First?

Every realism tattoo needs a clear focal point—the area of highest contrast and detail. Without it, the design becomes a flat gray mess. During the consultation, you and your artist should decide:
- The main subject – the face, the eye, the flower’s center, etc.
- Secondary elements – supporting shapes that add context without stealing attention.
- Negative space – areas of bare skin that give the eye a place to rest.
How to Define Focal Hierarchy
- Ask your artist to sketch a thumbnail with a clear value scale: darkest darks, lightest lights, and mid-tones.
- Discuss the placement of the focal point relative to your body’s natural lines (e.g., along the collarbone, on the bicep).
- If you’re combining realism with Abstract tattoo or Graphic tattoo elements, make sure the realism part remains dominant.
For example, a realism portrait of a lion might have the eye as the focal point, with the mane fading into Blackwork or Micro realism details. The consultation should map out where the eye sits and how the rest of the design supports it.
Healed Detail: Planning for the Long Term
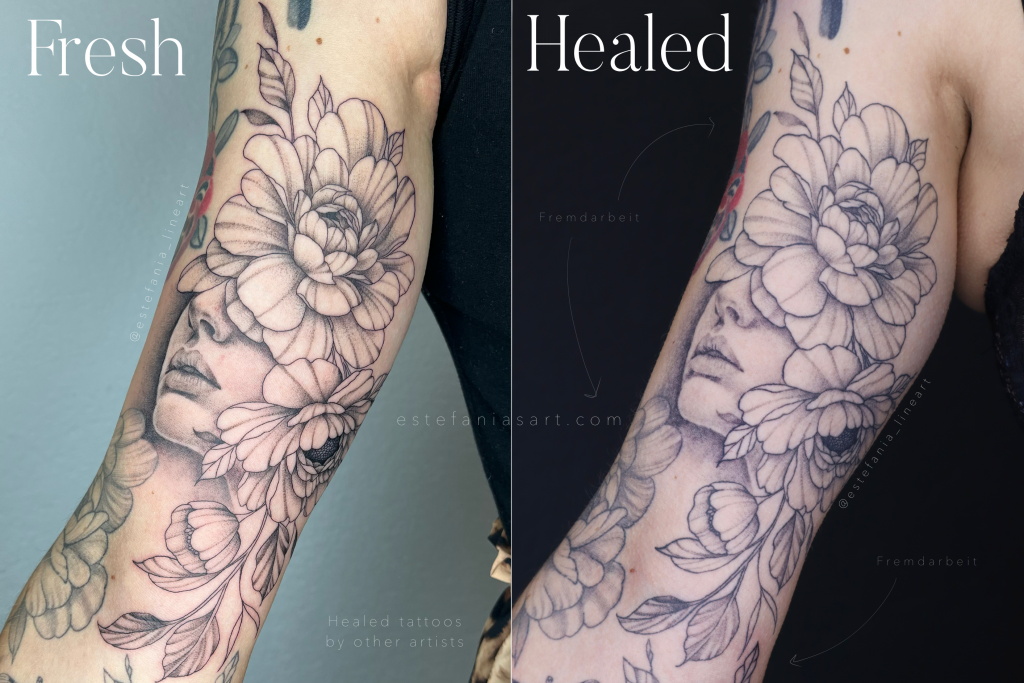
Realism tattoos are notorious for losing detail over time if not designed with healing in mind. Ink spreads slightly as it settles, and fine lines can blur. Your consultation must address how the design will look at 5, 10, and 20 years.
Key Considerations for Healed Detail
- Contrast – high contrast between light and dark areas ensures the design remains readable even if the ink spreads.
- Size – small realism pieces (<5 cm) will lose detail quickly. If you want a portrait, be prepared to go larger.
- Skin quality – areas with thin skin (like the inner wrist) or high movement (like the hands) are risky for fine details. Your artist may suggest a simpler composition.
- Ink saturation – solid blacks and well-packed color heal more predictably than light gray washes. Discuss the artist’s approach to shading.
Ask your artist to show you healed photos of similar realism tattoos they’ve done. Look at how the fine lines held up. If they look soft, the artist may need to adjust their technique or your design.
Practical Checklist for Your Realism Consultation

Bring this list to your appointment:
- Printed or digital references with clear lighting.
- A list of your favorite details (e.g., “the reflection in the eye” or “the texture of the fur”).
- Questions about placement size and healing.
- An open mind to the artist’s suggestions on simplifying the design for longevity.
Also, ask about the artist’s experience with Micro realism and Fine line if you’re going for a delicate piece. Not every realism artist is comfortable with tiny details.
Booking and Safety Questions to Ask
Before you book, make sure you’re on the same page about aftercare and touch-ups:
- Does the artist offer a free touch-up session within 6 months? (Most realism pieces need a small touch-up.)
- What aftercare products do they recommend? (Avoid anything with petroleum jelly; it can pull out ink.)
- How should you protect the tattoo from sun exposure during the first year? (Sunlight is the #1 enemy of healed detail.)
- Are there any medical conditions that could affect healing? (Be honest about skin conditions like eczema or psoriasis.)
If you’re unsure about the studio’s hygiene standards, check their verified studios list. It’s better to travel further for a safe experience than to risk an infection.
FAQ

1. How long does a realism tattoo consultation usually take?
A thorough consultation can take 30–60 minutes. If it’s shorter, the artist may not be asking enough about your reference and expectations.
2. Can I bring a photo of a celebrity for a realism portrait?
Yes, but you need the artist’s consent and ideally a release from the celebrity. Many artists refuse to do celebrity portraits without a release. Discuss this in the consultation.
3. What’s the best placement for a realism tattoo that will age well?
Flat, stable areas like the upper arm, thigh, or back are ideal. Avoid areas that stretch or wrinkle, like the stomach or elbows.
4. How do I know if my artist is good at realism?
Ask to see a portfolio of healed realism tattoos, not just fresh ones. Look for consistent contrast and clean linework. You can also check studio reviews online.
For more inspiration, browse our tattoo magazine or use our price calculator to budget for your piece. If you’re still deciding on a style, our consultation guide can help.
Read more
- Magazine for more tattoo knowledge, style guides and aftercare notes.
- Request a consultation if you need help with style, placement or preparation.
- Marketplace for equipment, supplies and learning resources.
Content hub
Tattoo styles pillar
This article belongs to the styles cluster. Open the pillar page to compare Irezumi, Old School, Realistic, Blackwork, Fine line, Geometric and Watercolor.
Related reading
Continue reading
Lettering Tattoo Healed Portfolio Review: Kerning, Baseline & Placement Distortion
A specialist healed-portfolio review guide for Lettering tattoos, focused on kerning, baseline control and placement distortion. Includes concrete…
Lettering Tattoo Placement: A Specialist Guide to Kerning, Baseline Control, and Body-Flow Distortion
A specialist guide to lettering tattoos focusing on kerning, baseline control, and placement distortion. Learn how to plan…

Lettering Tattoo Design Consultation Checklist: Kerning, Baselines, and Placement Distortion
A specialist consultation checklist for lettering tattoos covering kerning, baseline control, and placement distortion. Includes practical tests, booking…