Ornamental Tattoo Design: A Specialist’s Checklist for Pattern Rhythm, Central Alignment, and Negative Space
Introduction: Beyond the Style Label
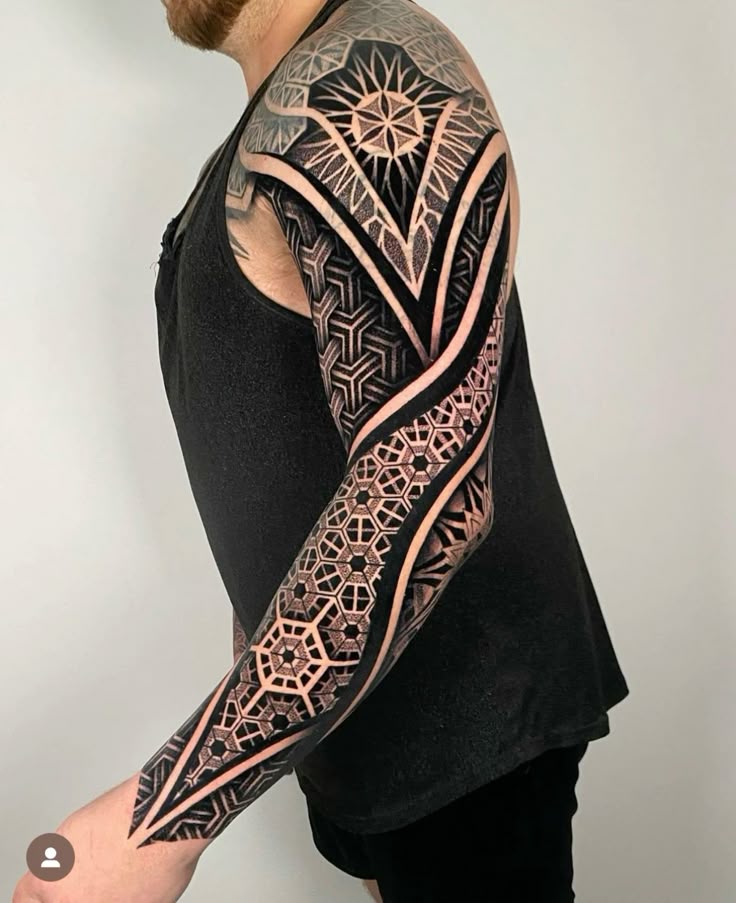
Ornamental tattooing is often mistaken for a catch-all category of decorative patterns. In reality, it is a discipline built on structural precision. When you ask for an ornamental piece, you are not choosing a motif—you are choosing a system of visual logic. The difference between a tattoo that looks like a sticker and one that looks like architecture lies in three elements: pattern rhythm, central alignment, and negative space. This guide is written for clients who want a specialist result, not a generic ornament. Use it as a checklist before you book, during consultation, and before the needle touches skin.
1. Pattern Rhythm: The Pulse of Your Design
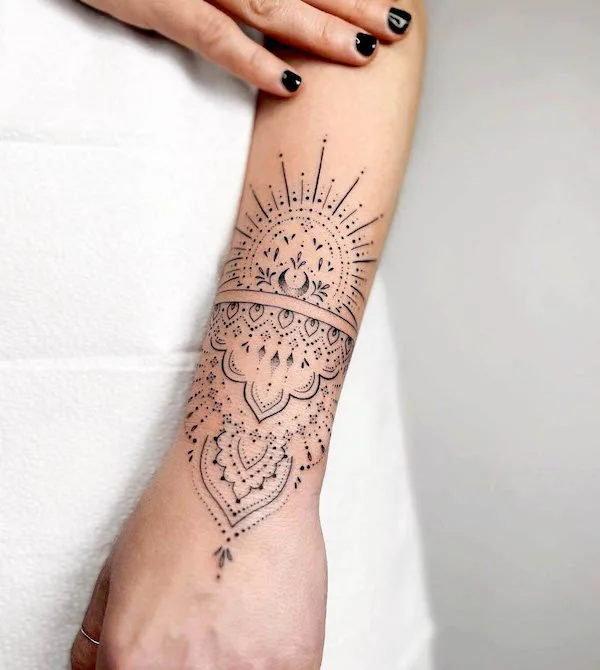
Rhythm in ornament is the repetition and variation of elements that guide the eye. Without it, a design feels static or chaotic. In a consultation, ask your artist to explain the rhythmic structure of your piece. Here’s what to listen for:
1.1. Repetition with Intent
Repetition is not copying. A strong ornamental design uses repeated shapes—diamonds, arcs, leaves—but alters scale, spacing, or direction to create movement. For example, a band of concentric diamonds that gradually widen toward the center creates a pulse. If every element is identical, the rhythm becomes monotonous. Ask: “Where is the variation in this repeat?”
1.2. Symmetry vs. Asymmetry
Symmetry is common in ornamental work, but perfect symmetry can feel static. Asymmetrical rhythm—where one side carries a heavier visual weight—is more dynamic but harder to balance. For a symmetrical design, check that the mirror image feels intentional, not lazy. For asymmetrical, ask how the artist compensates for imbalance (e.g., with a larger motif on one side or a shift in density).
1.3. Flow Around the Body
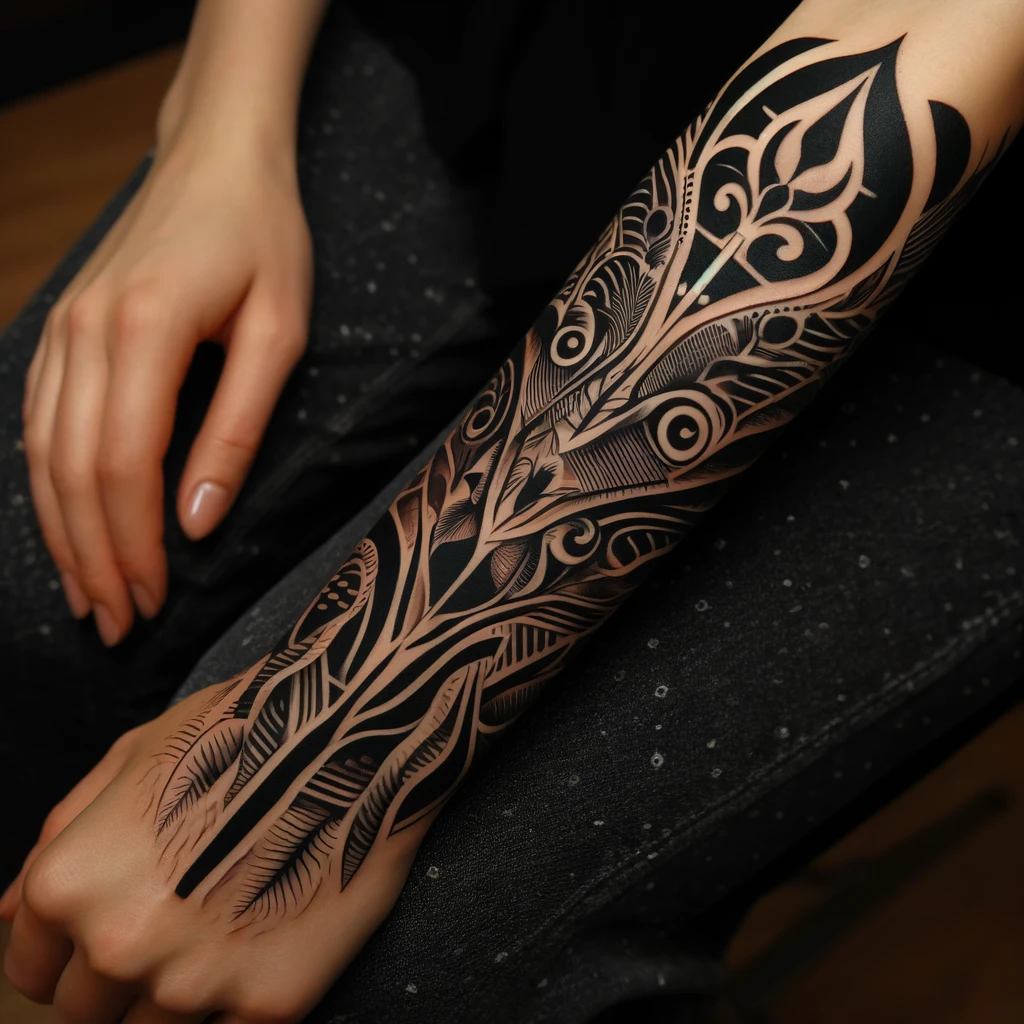
Patterns must follow the body’s contours, not just the paper sketch. A rhythm that works on a flat forearm may break when it wraps around the wrist. During consultation, ask to see a stencil applied and check how the pattern repeats across the curve. The spacing between elements should remain consistent even when the surface bends.
2. Central Alignment: The Anchor of the Composition
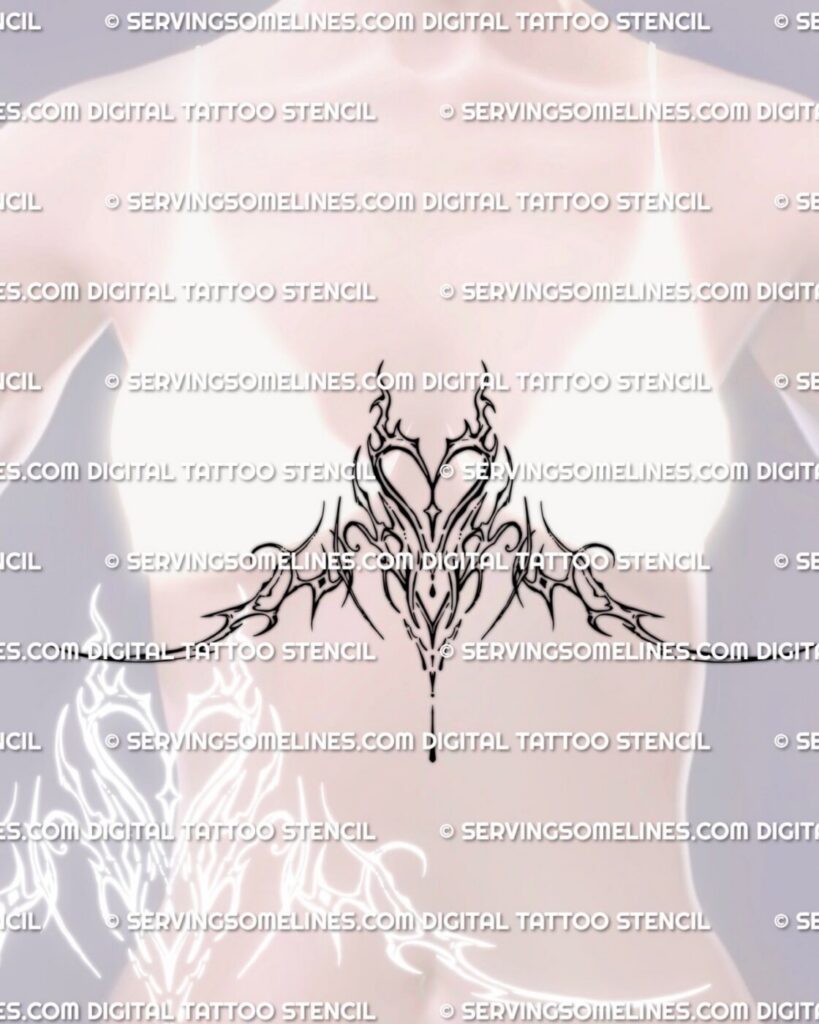
Central alignment is the spine of your tattoo. It determines how the eye enters and exits the design. A misaligned center can make the whole piece feel crooked, even if the pattern is flawless. Here are the checks to run:
2.1. Anatomical Landmarks
The center of your design should align with a natural landmark—the sternum, the spine, the center of the shoulder blade, or the middle of the forearm. For a chest piece, the center line must match the sternum exactly. For a back piece, the vertical axis should follow the spine. Ask your artist to mark these landmarks with a ruler or string before applying the stencil.
2.2. Orientation and Gaze
Ornamental designs often have a focal point—a central medallion, a diamond, or a knot. This focal point should be positioned so that it naturally draws the eye. For example, on a shoulder cap, the center should be the visual apex of the shoulder, not shifted toward the front or back. Test this by looking in a mirror from multiple angles: the design should appear balanced from straight-on and side views.
2.3. Stencil Placement
Never rush the stencil stage. The artist will place the stencil, and you must check it in a full-length mirror, not just a handheld one. Walk around, raise your arm, twist your torso. The center should remain aligned in all positions. If the stencil shifts during the process, the final result will be off. Ask for a second stencil application if you have any doubt.
3. Negative Space: The Unseen Power
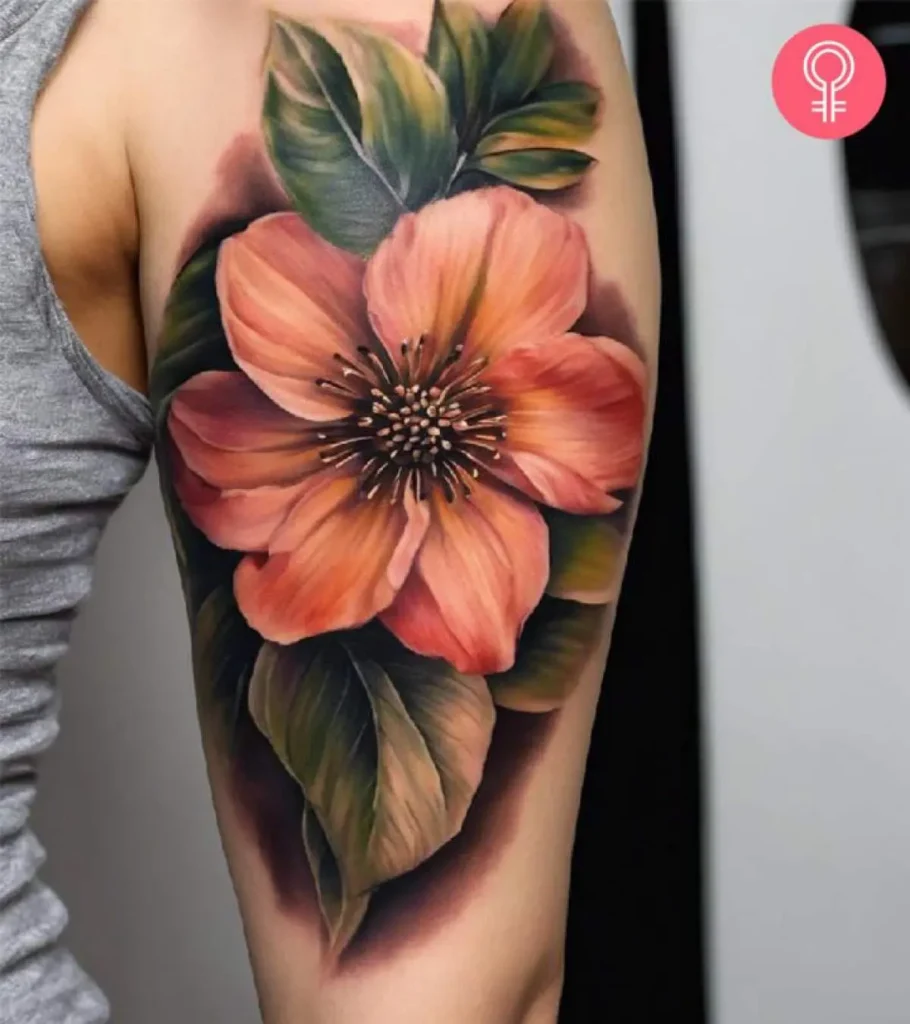
Negative space is the skin left uninked. In ornamental tattooing, it is as important as the ink. It defines shapes, creates contrast, and prevents the design from becoming a muddy mass. Here is how to evaluate it:
3.1. The Ratio of Ink to Skin
A common mistake is overfilling. If the design has too much ink, it loses the airy, lace-like quality that makes ornament distinctive. Ask your artist to show you the negative space in the sketch. There should be clear “holes” where skin shows through—these are not empty spaces but active elements. A good rule of thumb: you should be able to trace a line through the negative space without crossing ink.
3.2. Creating Depth with Uninked Gaps
Negative space can simulate depth. In a geometric ornamental piece, a series of concentric lines with varying gaps can create a three-dimensional illusion. The gap between lines is as important as the line width. During consultation, discuss the line weight and spacing. For example, a thick outer line with a thin inner line and a wide gap between them creates a stronger contrast than equal spacing.
3.3. Aging and Negative Space
Over time, ink spreads slightly. If negative spaces are too narrow, they may close up, turning your delicate ornament into a blob. Ask your artist how the design will age. For fine line work, the negative space should be at least 2-3 mm wide to allow for spread. For bold blackwork, the gaps can be smaller, but still need breathing room.
4. The Consultation Checklist: Questions to Ask
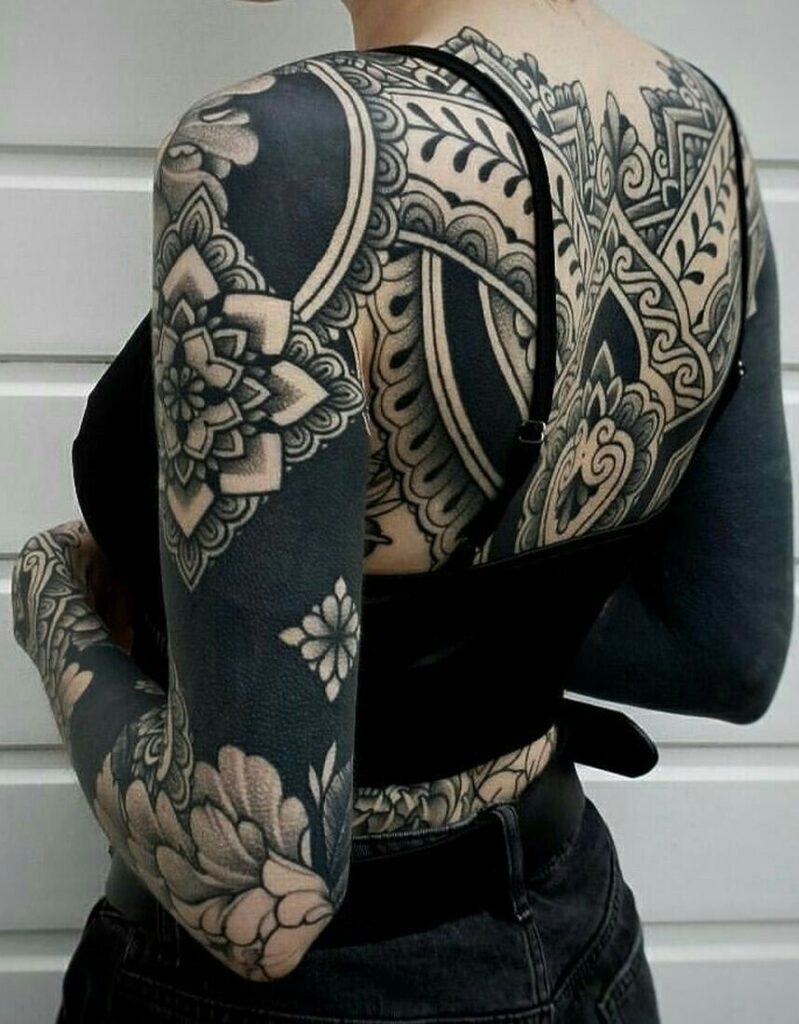
Bring this list to your consultation. It will separate a specialist from a generalist.
- Rhythm: “How do you vary the repetition to create movement?”
- Alignment: “Which anatomical landmark is the center of this design?”
- Negative space: “Where are the key negative space areas, and how will they age?”
- Proportions: “How does the design scale to my body part?”
- Style integration: “Can you blend fine line and dotwork without losing the ornamental structure?”
- Placement: “How will the pattern wrap around my wrist/ankle/neck?”
- Healing: “How will the fine lines hold up over time?”
If the artist cannot answer these with specificity, consider it a red flag. A specialist will discuss rhythm in terms of visual flow, not just “it looks nice.”
5. Booking and Safety: Practical Considerations
Once the design is solid, focus on the logistics. Ask to see a portfolio of healed ornamental tattoos—not just fresh ones. Check that the artist has experience with your chosen style (e.g., blackwork, dotwork, or fine line). Inquire about hygiene protocols: autoclave sterilization, single-use needles, and disposable tubes. These are non-negotiable. Also, discuss aftercare in detail, especially for areas that bend or rub. For example, a wrist tattoo needs extra care during the healing week. If you have any medical conditions (e.g., diabetes, keloid scarring), disclose them beforehand. A professional will adjust their approach or advise against certain placements.
6. FAQ: Four Questions Clients Always Ask
Q1: Can I combine ornamental with other styles like realism or neo-traditional?
Yes, but it requires a delicate balance. Ornamental is structural, while realism or neo-traditional is illustrative. A common approach is to use ornamental as a frame or background for a central realistic or neo-traditional focal piece. Ensure that the rhythm and negative space of the ornamental part do not compete with the focal point. Ask your artist to show examples of such hybrid designs.
Q2: How do I know if the pattern will fit my body?
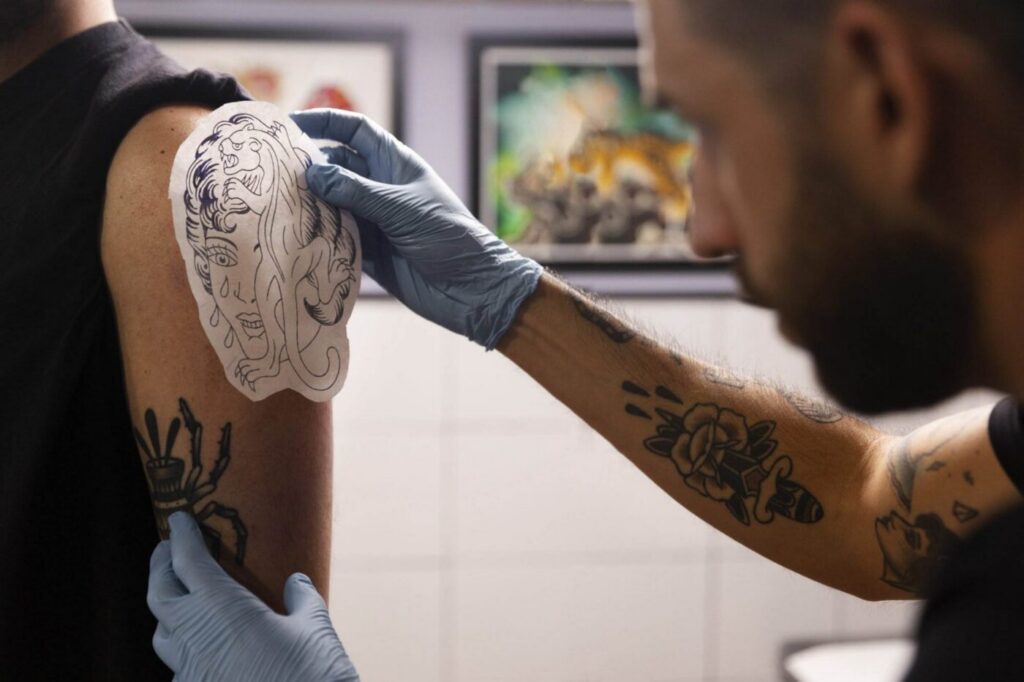
Ask for a custom stencil that is sized and curved to your anatomy. A good artist will take multiple measurements and apply the stencil for a test fit. You should see the stencil in a mirror from all angles. If the pattern has to be shrunk or enlarged, ask how that affects the rhythm. Sometimes scaling down makes the pattern too busy, or scaling up makes it lose detail.
Q3: Is ornamental tattoo more painful than other styles?
Pain depends on placement and technique, not style. However, ornamental designs often involve long sessions with fine lines and dotwork, which can be tedious. Areas with thin skin (like the ribs or inner wrist) are more sensitive. Discuss pain management options with your artist, but never accept numbing creams that are not approved for tattoo use—some can alter skin texture.
Q4: What is the best body part for an ornamental tattoo?
Ornamental works best on areas that allow for symmetrical placement and natural flow: the spine, sternum, shoulder caps, forearms, and thighs. These areas have enough surface for the pattern to breathe and align with anatomical landmarks. Avoid areas that distort heavily with weight gain or muscle growth, as the pattern may warp. Your artist can advise based on your body.
7. Final Thoughts: The Art of Precision
Ornamental tattoos are not trends; they are timeless exercises in control. By focusing on pattern rhythm, central alignment, and negative space, you ensure that your tattoo is not just decorative but intentional. Use this checklist, ask the right questions, and you will walk away with a piece that feels engineered for your body. For further guidance on choosing a specialist, explore our verified studios or read more in our tattoo journal. If you need help estimating the cost, use our price estimator. Remember, a great ornamental tattoo is a collaboration—come prepared, and you will leave with art that lasts.
Read more
- Magazine for more tattoo knowledge, style guides and aftercare notes.
- Request a consultation if you need help with style, placement or preparation.
- Marketplace for equipment, supplies and learning resources.
Content hub
Tattoo styles pillar
This article belongs to the styles cluster. Open the pillar page to compare Irezumi, Old School, Realistic, Blackwork, Fine line, Geometric and Watercolor.
Related reading
Continue reading
Lettering Tattoo Healed Portfolio Review: Kerning, Baseline & Placement Distortion
A specialist healed-portfolio review guide for Lettering tattoos, focused on kerning, baseline control and placement distortion. Includes concrete…
Lettering Tattoo Placement: A Specialist Guide to Kerning, Baseline Control, and Body-Flow Distortion
A specialist guide to lettering tattoos focusing on kerning, baseline control, and placement distortion. Learn how to plan…

Lettering Tattoo Design Consultation Checklist: Kerning, Baselines, and Placement Distortion
A specialist consultation checklist for lettering tattoos covering kerning, baseline control, and placement distortion. Includes practical tests, booking…