Dotwork Tattoo: Density, Gradient Control & Session Planning
Dotwork Is a Precision Discipline
Dotwork is not a fallback for artists who cannot pull a clean line. It is a separate technical language built on controlled point placement, density mapping, and healing behavior. If you are choosing dotwork for your next piece, the decisions start before the needle touches skin: where the dots sit, how tightly they cluster, and how the gradient will age over years.
This guide is written for collectors who want a specialist approach. We will skip the generic style overview and focus on the factors that separate a flat, muddy tattoo from a deep, dimensional one.
Placement: Read the Body’s Natural Contours
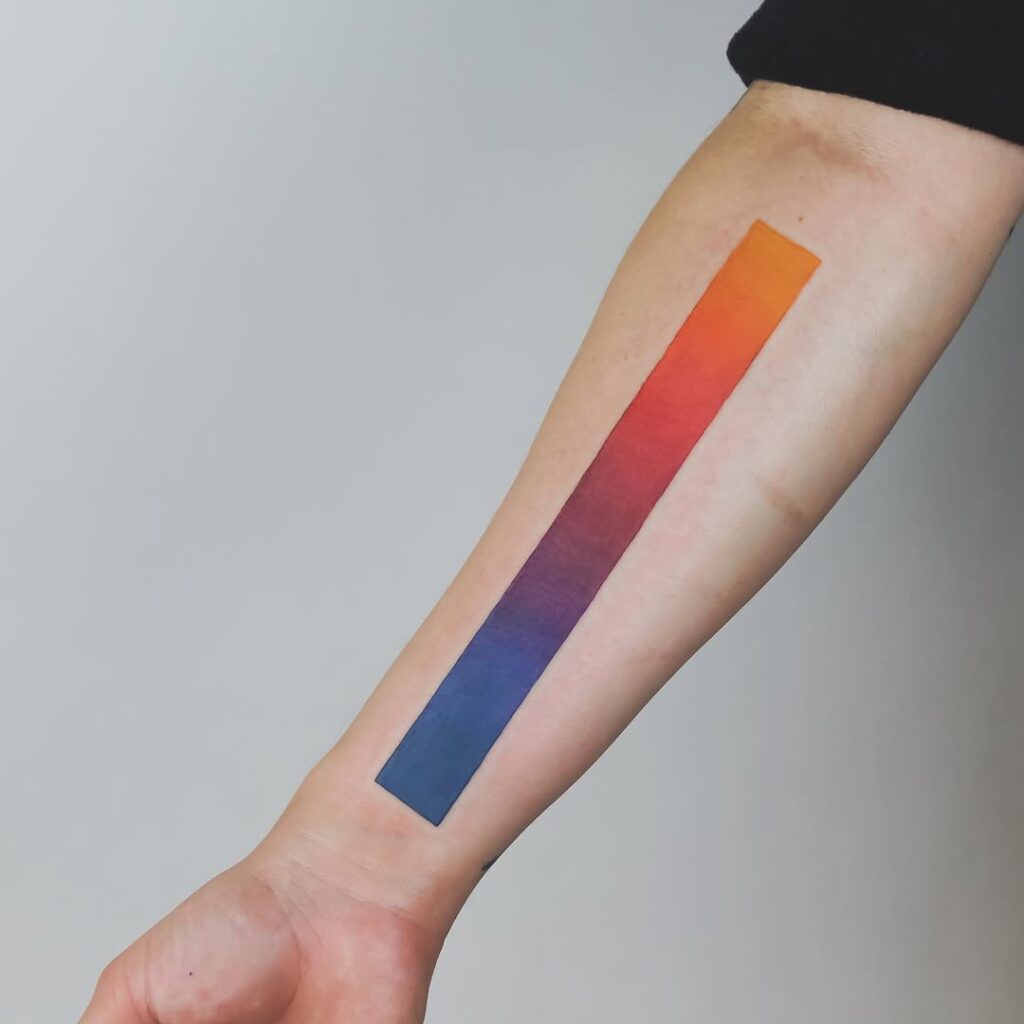
Dotwork relies on the body’s topography to create form. A flat surface like the upper back or outer forearm behaves differently than a curved area such as the shoulder cap, ribs, or shin. Before you book, analyze how the design will wrap and where the light hits.
Curvature and Dot Spread
On convex areas (shoulder, calf), dots placed too far apart will visually stretch as the skin moves. On concave areas (inner elbow, lower back), dots may compress, making gradients appear darker than intended. Ask your artist to adjust dot spacing based on the specific muscle and bone structure.
Symmetry and Movement
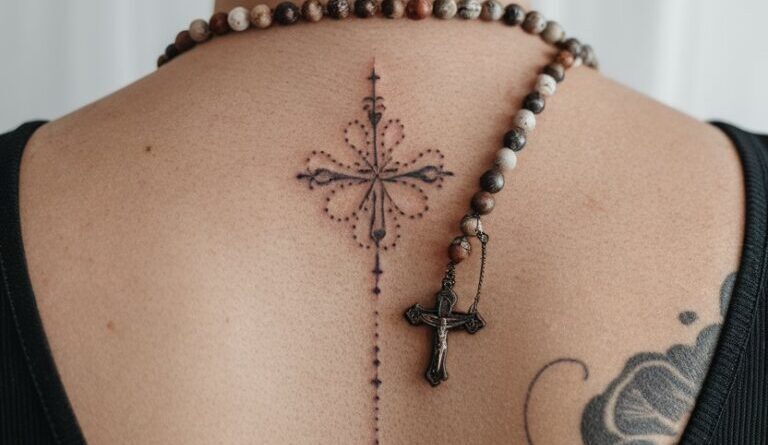
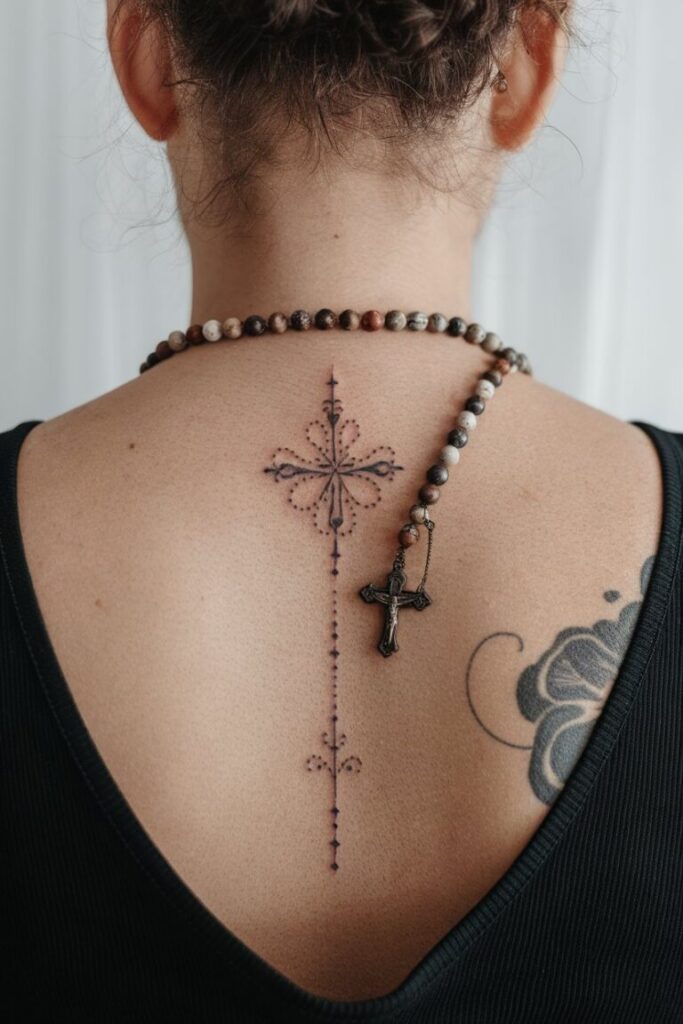
If your design is geometric or ornamental, the placement must respect the body’s symmetry lines. A central spine piece requires precise vertical alignment. A flowing abstract dotwork piece should follow the direction of muscle fibers or the natural flow of the limb, not fight it.
Dot Density: The Core of Dimensionality
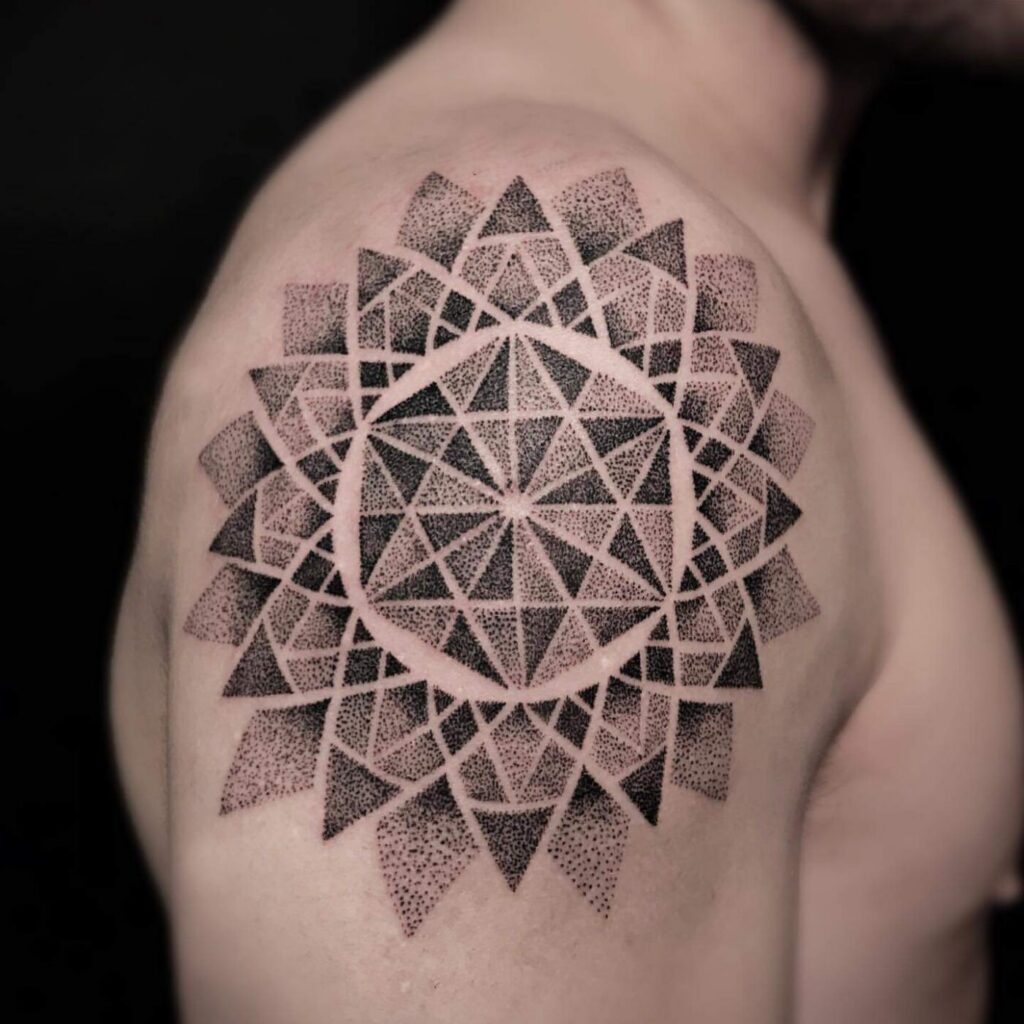
Dot density refers to the distance between individual dots. This is the primary tool for creating value in dotwork. There is no universal ‘correct’ density; it depends on the desired effect and the skin’s healing response.
Low Density (Wide Spacing)
Used for highlights, soft transitions, and airy areas. Dots are often 2-3 mm apart. Be aware that over time, skin regeneration can make these areas fade faster, so the artist may need to add more dots than initially expected.
Medium Density (Tight Clusters)
This creates mid-tones and texture. Spacing of 1-2 mm is common. It is the workhorse of gradient control, providing a smooth transition between light and dark.
High Density (Nearly Solid)
Dots are placed so close that they merge into a solid black area. This is used for deep shadows and strong contrast. It requires more passes and longer healing, but it anchors the design.
Gradient Control: From Dark to Light Without Mud
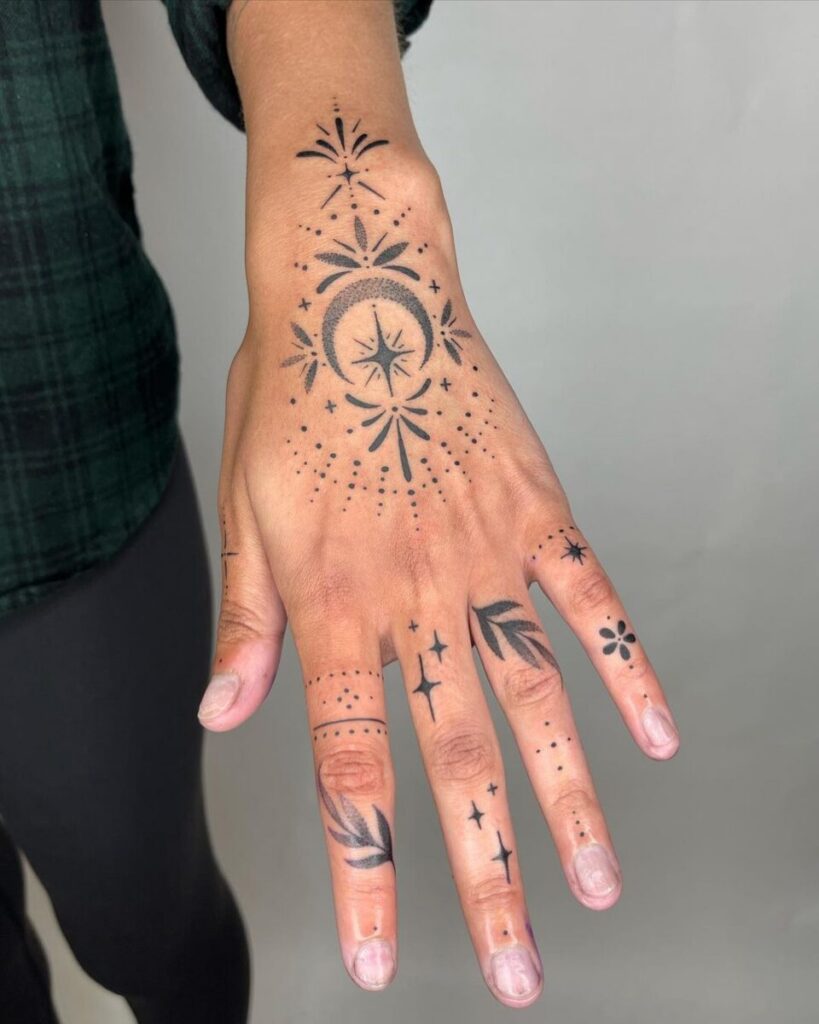
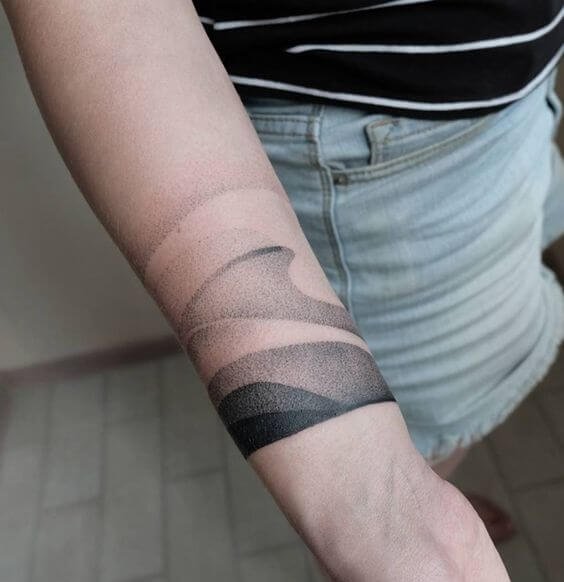
The hallmark of excellent dotwork is a seamless gradient. This is not achieved by randomly scattering dots. It requires a systematic approach to layering.
Layering Instead of Heavy Hand
Artists build gradients by layering multiple passes of dots at different densities. For example, a first pass at low density covers the entire area. A second pass adds dots only in the mid-tone zone. A third pass increases density in the shadow zone. This creates a smooth, controlled fade.
Stippling Techniques
There are two main stippling methods: single-needle stippling (slow, precise, ideal for fine details) and machine stippling with a tight group (faster, but requires careful control). Discuss with your artist which method they will use and how it affects the final texture.
Avoiding Mud
Mud occurs when dots are placed too close together without a clear structure, or when the artist tries to darken an area by overworking the skin. The result is a gray, blurry patch with no definition. To avoid this, the artist must always maintain a clear map of where each dot goes.
Session Planning: Time, Healing, and Multiple Sessions
Dotwork is time-intensive. A small palm-sized piece can take 2-3 hours. A full back piece in dotwork can take 20+ hours, spread over multiple sessions. Plan accordingly.
Session Length and Breaks
Long sessions are possible, but the skin becomes more sensitive after a few hours. For large pieces, schedule 3-4 hour sessions with breaks. This keeps the artist’s hand steady and your pain manageable.
Healing Between Sessions
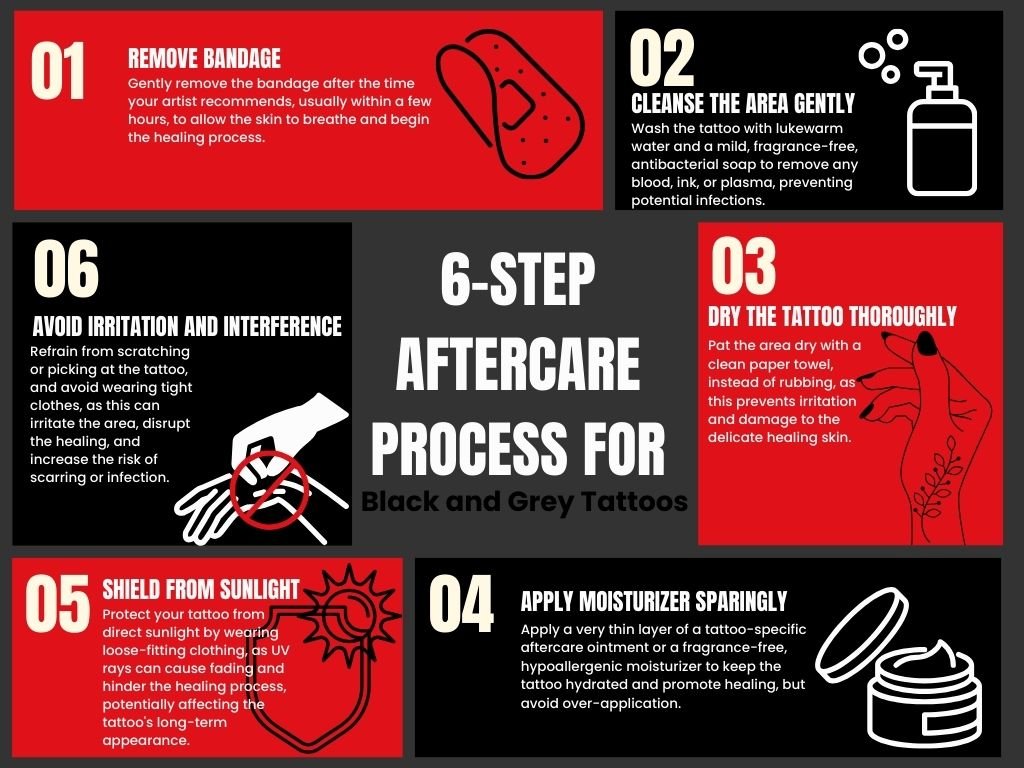
You must wait at least 4-6 weeks between sessions to allow the skin to fully regenerate. If you rush, the new dots will not settle properly, and the gradient may look uneven. Use this time to moisturize and protect the tattoo from sun exposure.
Touch-Up Planning
Even with perfect technique, some dots will fade or fall out during healing. Schedule a touch-up session 2-3 months after the final session. This is not a sign of poor work; it is a normal part of the process.
Checklist Before You Book

- Review the artist’s portfolio for even gradients and clean dot placement.
- Ask about their stippling technique and how they plan to layer.
- Discuss placement and how the design will interact with your body’s movement.
- Clarify the estimated number of sessions and total cost.
- Ask about aftercare specifics for dotwork, especially sun protection.
FAQ: Dotwork Tattoo Questions

How much does a dotwork tattoo cost?
Pricing depends on size, complexity, and the artist’s hourly rate. Dotwork often requires more time than linework, so expect a higher quote. Use our tattoo cost estimator for a rough idea, but always get a personalized quote.
Does dotwork hurt more than other styles?
Pain is subjective, but dotwork can be less intense than solid shading because the needle is not constantly in contact. However, the repetitive tapping can cause a different kind of irritation. It is generally manageable.
How long does a dotwork tattoo take to heal?
The initial healing takes 2-3 weeks, but the skin continues to regenerate for up to 2 months. During this time, the dots may appear darker or lighter than expected. Be patient.
Can dotwork be combined with other styles?
Yes, dotwork is often used in Geometric tattoo, Abstract tattoo, and Fine line pieces. It can also add texture to Realism or Micro realism. The key is to have a cohesive plan.
Final Considerations
Dotwork is a commitment to precision. Choose an artist who specializes in it, not someone who does it occasionally. Look for verified portfolios on our verified studios page and read our tattoo magazine for more technical insights. If you are still unsure, consult with a professional via our consultation service.
Remember, a well-executed dotwork tattoo is a masterpiece of patience. Plan your placement, trust your artist’s density control, and allow proper healing. The result will be a timeless piece that ages gracefully.
Read more
- Magazine for more tattoo knowledge, style guides and aftercare notes.
- Request a consultation if you need help with style, placement or preparation.
- Marketplace for equipment, supplies and learning resources.
Content hub
Tattoo styles pillar
This article belongs to the styles cluster. Open the pillar page to compare Irezumi, Old School, Realistic, Blackwork, Fine line, Geometric and Watercolor.
Related reading
Continue reading
Lettering Tattoo Healed Portfolio Review: Kerning, Baseline & Placement Distortion
A specialist healed-portfolio review guide for Lettering tattoos, focused on kerning, baseline control and placement distortion. Includes concrete…
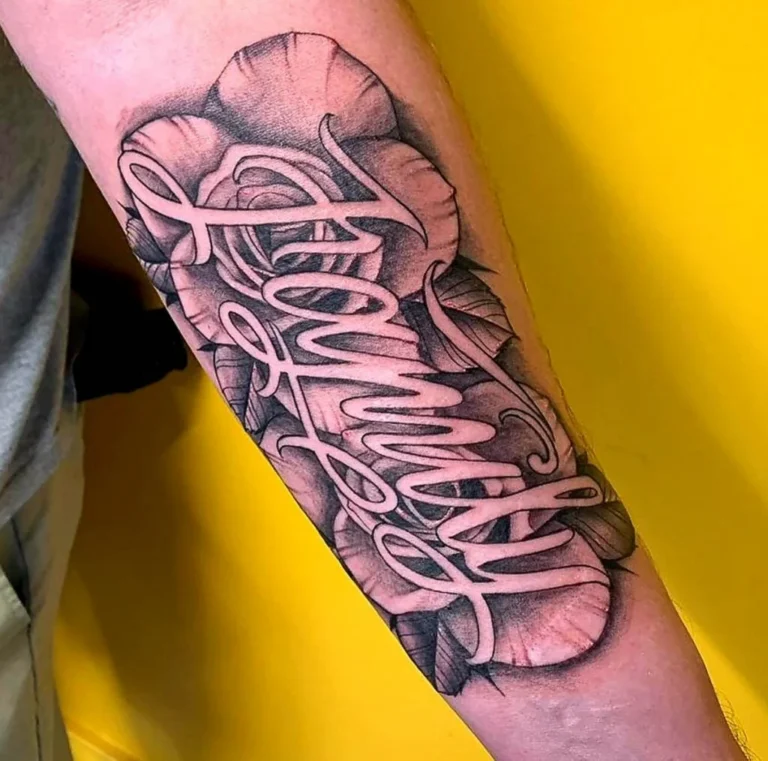
Lettering Tattoo Placement: A Specialist Guide to Kerning, Baseline Control, and Body-Flow Distortion
A specialist guide to lettering tattoos focusing on kerning, baseline control, and placement distortion. Learn how to plan…

Lettering Tattoo Design Consultation Checklist: Kerning, Baselines, and Placement Distortion
A specialist consultation checklist for lettering tattoos covering kerning, baseline control, and placement distortion. Includes practical tests, booking…