
The Complete Tattoo Consultation Checklist: What You Must Know Before Booking a Custom Design
Why a Thorough Consultation Matters

Booking a custom tattoo is not like picking a design off a wall. It’s a collaborative process between you and your artist. A proper consultation ensures your idea becomes a tattoo you’ll love for decades. Without it, you risk miscommunication, poor placement, or a design that doesn’t fit your body. This guide walks you through every step—from preparing your idea brief to asking the right safety questions—so you walk into your appointment confident and prepared.
Step 1: Build Your Idea Brief
Before you even contact an artist, crystallize your concept. A vague idea like ‘I want a lion’ is not enough. Ask yourself: What does this tattoo mean to me? What style appeals? Do I want color or black and grey? Write down keywords, emotions, and any symbolic elements. For example, ‘a geometric lion in blackwork, representing courage and family, with a subtle dotwork background.’ Bring reference images that capture the mood, not just the subject. Pinterest boards, Instagram saves, or sketches all help. But remember: your artist will create an original design, not copy someone else’s work.
What to Include in Your Brief
- Theme or meaning
- Preferred style (e.g., Geometric, Fine Line, Realism, Neo-traditional)
- Color or black and grey
- Any specific elements (e.g., flowers, animals, symbols)
- Size range (e.g., palm-sized, forearm-length)
- Placement preference (but be open to artist’s advice)
Step 2: Gather and Organize References
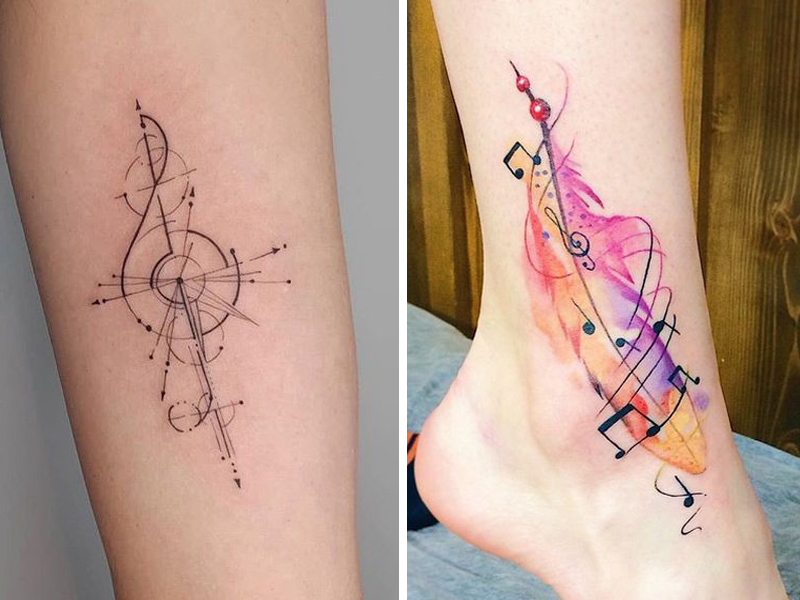
References are your visual language. Collect 3-5 images that show the style, composition, and feeling you want. Avoid showing just one tattoo and saying ‘I want this exact thing.’ Instead, point out what you like: the line weight in this one, the shading in that one, the placement of another. This helps the artist understand your taste without copying. Also include references for elements you want to combine—for example, a flower from one photo and a geometric pattern from another. Be honest about what you don’t like, too.
Step 3: Assess Your Skin and Health
Your skin is the canvas. During consultation, the artist will examine the area for scars, moles, stretch marks, or texture changes. Be upfront about any skin conditions like eczema, psoriasis, or allergies. If you have a history of keloids or poor healing, mention it. Also disclose any medical conditions (diabetes, heart issues) or medications (blood thinners, immunosuppressants) that could affect healing. Tattoo artists are not doctors, but they need this info to adjust their approach or advise you to consult a physician.
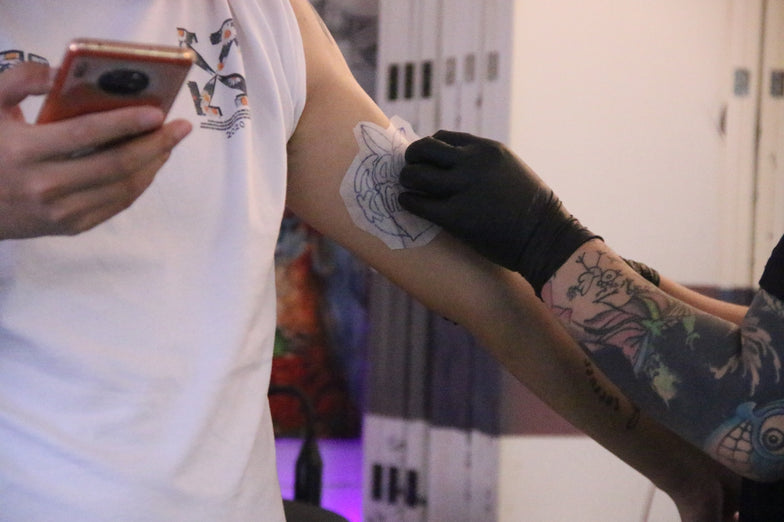
Step 4: Discuss Placement and Design Flow
Placement is not just about ‘where it looks good.’ It’s about how the design interacts with your body’s contours, muscles, and movement. A good artist will suggest placement that follows the natural lines of your body. For example, a forearm tattoo might wrap slightly with the muscle, while a shoulder piece flows with the deltoid. Bring up your daily life: will a wrist tattoo be visible at work? Will a rib piece rub against clothing? The artist can also show you a stencil preview to see scale and position.
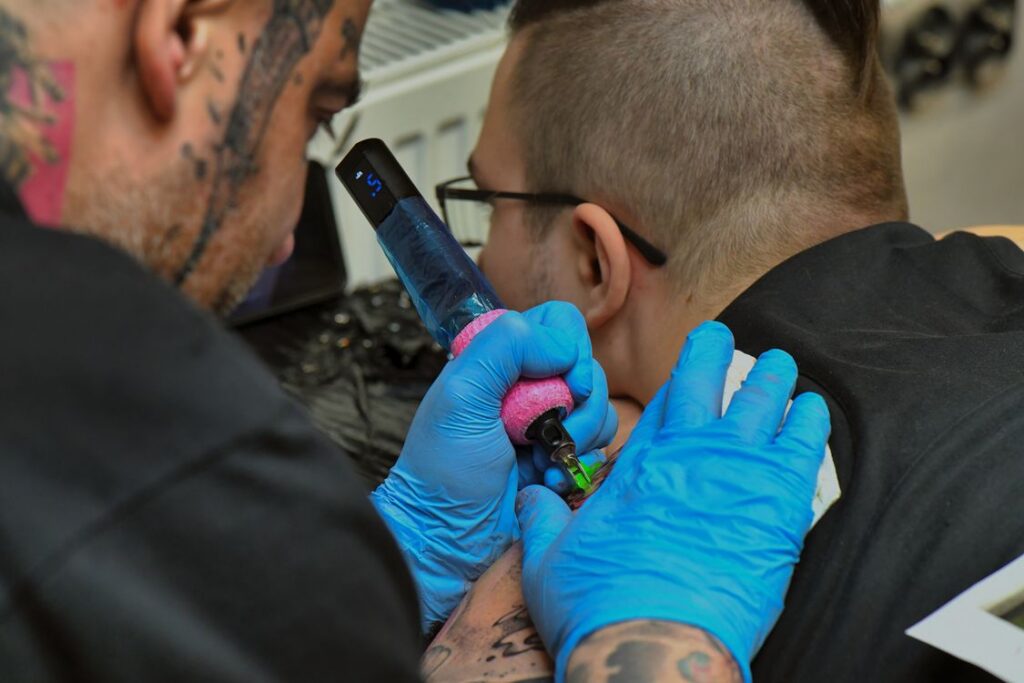
Step 5: Understand Pain and Endurance

Pain varies by location, size, and your personal tolerance. The artist can give you a realistic idea: bony areas (ribs, spine, collarbone) hurt more; fleshy areas (outer arm, thigh) are more comfortable. But also consider session length. A small fine-line tattoo might take an hour; a large realism piece could take multiple sessions of 4-6 hours each. Ask about breaks, numbing options, and what to expect during healing. Remember: pain is temporary, but the tattoo is permanent. Don’t let fear dictate your design, but do prepare mentally.
Step 6: Clarify Budget and Pricing
Custom tattoos are an investment. Prices vary widely based on the artist’s experience, design complexity, size, and location. During consultation, ask for a clear estimate: hourly rate or flat fee? Does it include the design time? Are touch-ups free? A typical range might be $150-$300 per hour for an experienced artist, but some charge a day rate. Be wary of extremely low prices—they often mean inexperience or poor hygiene. Set a realistic budget and communicate it. The artist can then design within that scope, perhaps simplifying details to fit your wallet.
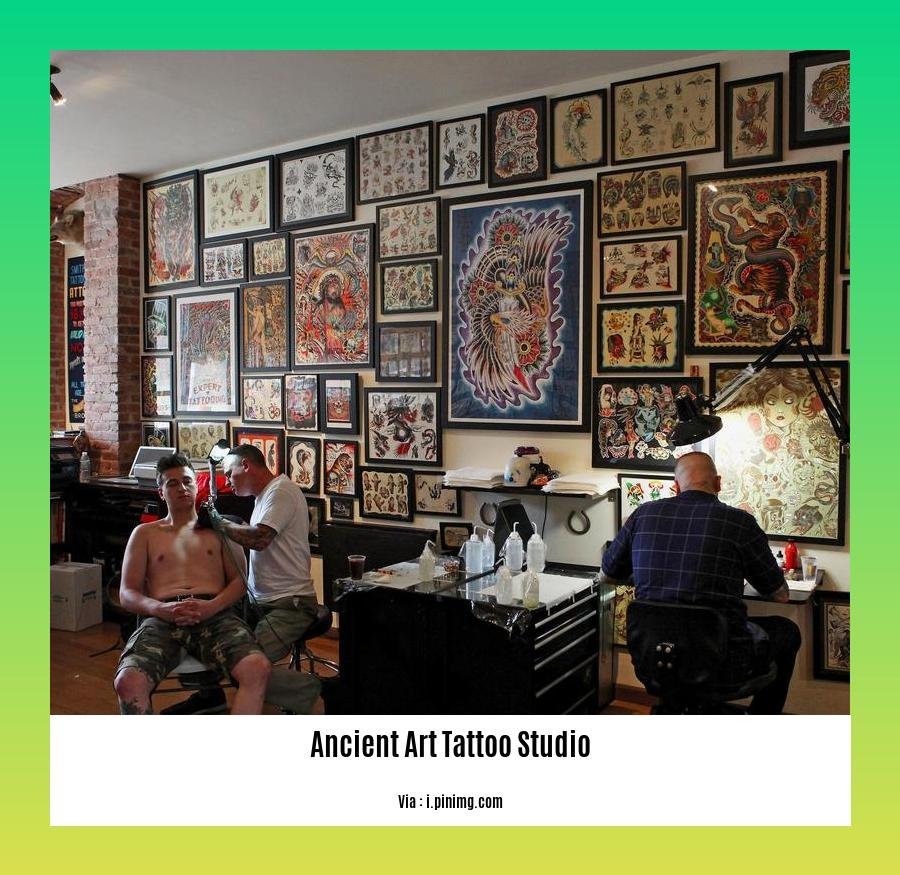
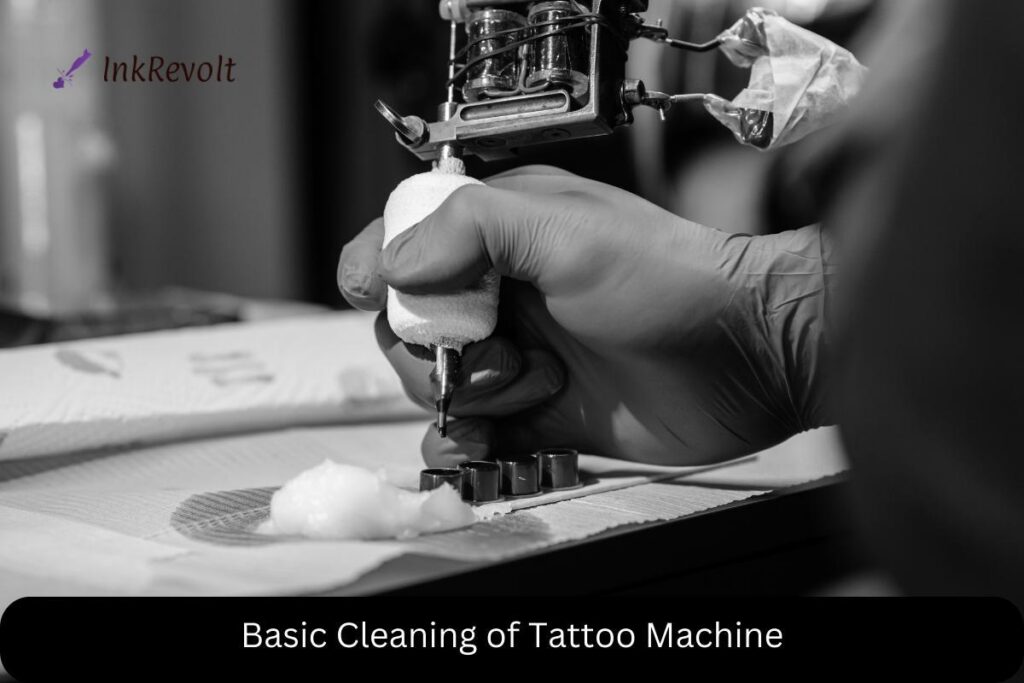
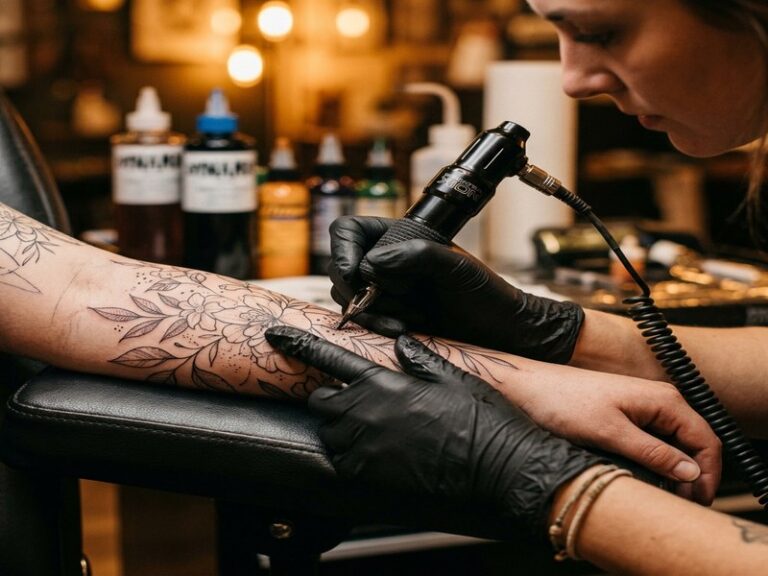
Step 7: Ask Safety Questions

Your health is non-negotiable. Before booking, verify the studio’s hygiene standards. Ask: Are needles single-use and sterilized? Is the workspace clean and organized? Does the artist wear gloves and change them frequently? Do they use professional-grade ink? Also check that the studio follows local health regulations. A reputable artist will be happy to explain their process. If you feel rushed or dismissed, walk away.
Key Safety Questions to Ask
- How do you sterilize equipment?
- Can I see the autoclave (sterilizer) spore test results?
- Do you use single-use ink caps and needles?
- What is your aftercare protocol?
- Do you have a portfolio that shows healed work?
Step 8: Review the Booking Checklist
Before you confirm, run through this final checklist:
- Design concept agreed in writing or sketch
- Placement and size confirmed
- Price and payment method clear
- Deposit amount and refund policy understood
- Appointment date and expected duration set
- Aftercare instructions provided
- Contact info for follow-up questions
If anything is unclear, ask again. A professional artist wants you to feel informed and comfortable.
FAQ
How long before the appointment should I have a consultation?
Ideally 1-2 weeks before. This gives the artist time to design and you time to prepare your skin (hydrate, avoid sunburn). Some artists require a consultation in person; others do it via video call.
Can I change my design after the consultation?
Minor tweaks are usually fine, but major changes may require a new consultation or fee. Discuss this upfront.
What if I don’t like the design on the day?
You have the right to say no. A good artist will adjust or reschedule. Never feel pressured to get tattooed if you’re unhappy.
Do I need to tip my tattoo artist?
Tipping is customary in many places, typically 15-20% of the total. It shows appreciation for the artist’s skill and time.
Read more
- Magazine for more tattoo knowledge, style guides and aftercare notes.
- Request a consultation if you need help with style, placement or preparation.
- Marketplace for equipment, supplies and learning resources.
What is a tattoo consultation?
A tattoo consultation is the planning session before the appointment. It helps the client and artist align on concept, body placement, size, reference images, budget, pain tolerance, schedule and aftercare expectations before any needle touches skin.
What to prepare before a consultation
- Bring 3-5 references showing style, mood and details you like.
- Know your preferred placement and approximate size in centimeters.
- Tell the artist about scars, old tattoos, allergies or sensitive skin.
- Ask whether the piece needs one session or multiple sittings.
If the main question is budget, use the AI tattoo price estimator before contacting a studio. For studio selection, compare options through the Vietnam Tattoo ranking page.
Content hub
Tattoo aftercare pillar
This article belongs to the aftercare cluster. Open the pillar page for the healing timeline, cleaning routine, moisturizing basics and warning signs.
Related reading
Continue reading
First Tattoo Consultation in Ho Chi Minh City: 10 Essential Questions to Ask
Essential questions to ask during your first tattoo consultation in Ho Chi Minh City. Includes safety checks, cost…
How to Choose a Safe Tattoo Studio in Vietnam
A practical guide for first-time clients comparing hygiene, portfolio quality, consultation and pricing before booking a tattoo studio…

Tattoo Pain and Placement in Da Nang: A Practical Guide for Your First or Next Tattoo
Honest guide to tattoo pain and placement in Da Nang. Learn pain levels, best spots for local climate,…