The Advanced Realism Tattoo Guide: Lighting, Contrast, and Healed Detail Checklist
Introduction: What Makes Realism Tattoos Truly Exceptional?
Realism tattoos aim to replicate photographs or real-life subjects with stunning accuracy. But technical skill alone isn’t enough—lighting, contrast, and healed detail determine whether a piece remains readable and striking for years. This guide is for experienced collectors and artists who want to push beyond the basics. We’ll break down the essential checks for high-end realism, from reference selection to scar tissue management.
1. Reference Selection: The Foundation of Realism
1.1 High-Resolution Source Material
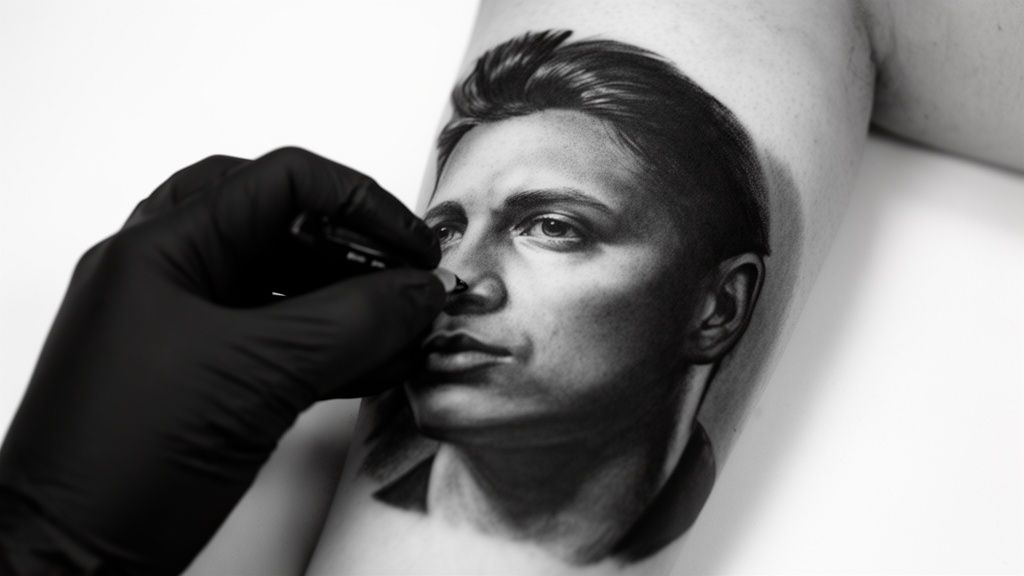
Your tattoo is only as good as your reference. Use images with at least 300 DPI, clear shadows, and defined highlights. Avoid overexposed or blurry photos. For portraits, choose references with distinct catchlights in the eyes—these tiny reflections create life.
1.2 Lighting Analysis
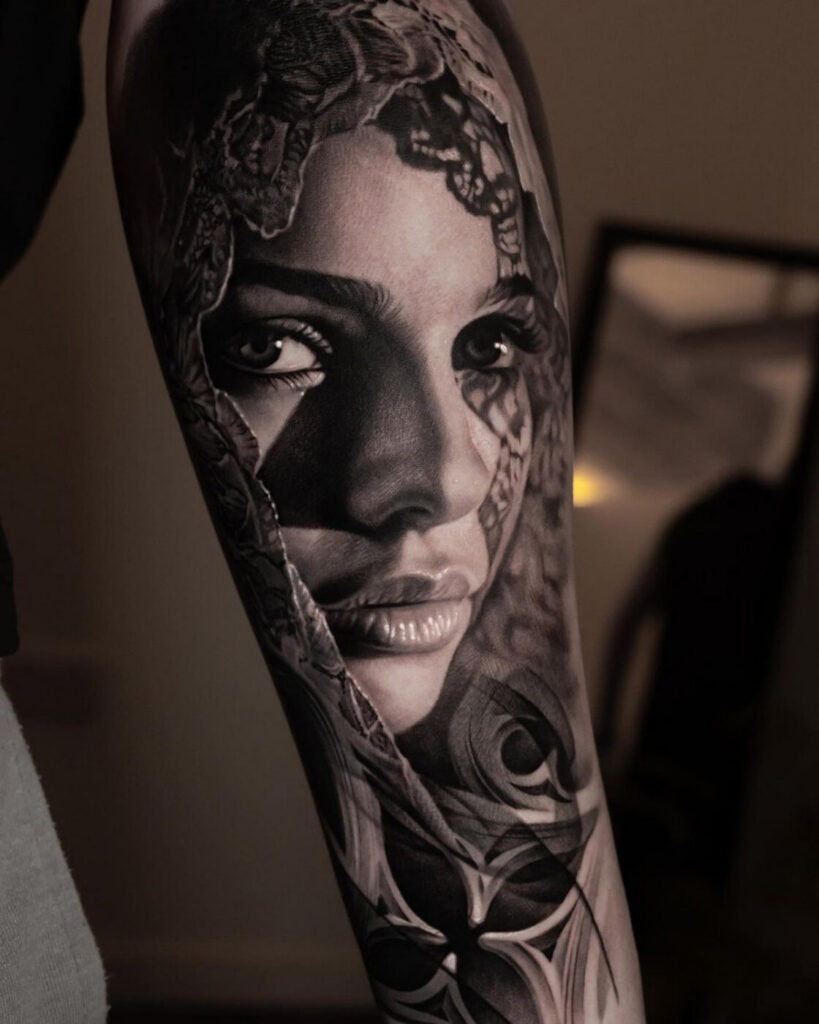
Study the light source direction: is it top-down, side-lit, or rim-lit? The tattoo must replicate that directionality to maintain depth. A common mistake is using multiple light sources, which flattens the image. Stick to one dominant light source for cohesive shading.
2. Contrast and Value Range
2.1 The 10-Step Value Scale
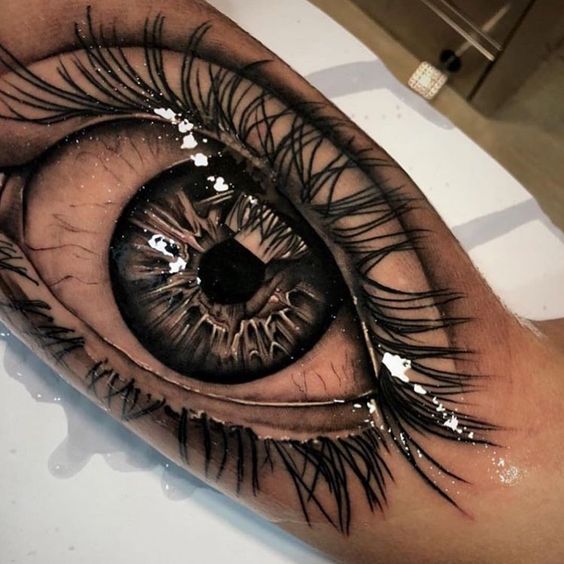
Realism requires a full range from pure white (skin) to deep black. Use a 10-step grayscale: 0 (white) to 10 (black). A good realism tattoo uses at least 6-8 distinct values. Check your design: if the darkest area is only a 6, you’ll lose contrast as the ink heals and spreads.
2.2 Black Saturation Technique
Deep blacks come from proper saturation, not heavy hand pressure. Use a tight 3RL or 5RL needle at 6-7 volts, with a 45-degree angle. Pack black in small circles until the skin reaches a solid, glossy state. Wait 2-3 minutes before wiping to allow ink to settle.
3. Skin Texture and Detail Rendering
3.1 Pore Simulation
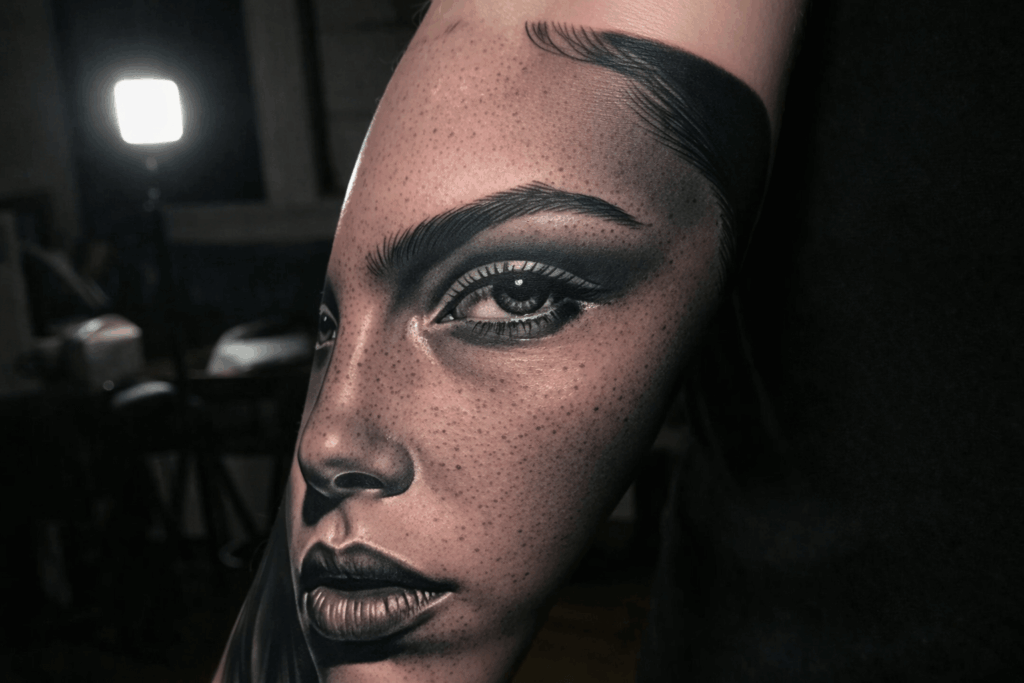
For hyper-realistic skin, add stippled pores using a 9RM or 11RM shader. Apply at 30% opacity in a random pattern, avoiding symmetrical rows. This tricks the eye into seeing real skin texture.
3.2 Hair and Fur Rendering
Use single-needle lines for fine hairs, then soften with whip shading. For fur, layer multiple passes: first a base shape, then mid-tones with a 7M, and finally highlights with a 3RL. Keep stroke direction consistent with natural growth patterns.
4. Healed Detail Checklist
- Edge sharpness: After 6 weeks, edges should be crisp with no blowout. If blurred, your needle depth was too deep or angle too steep.
- Value retention: Mid-tones should remain distinct from highlights. If they merge, your contrast range was too narrow.
- Scar tissue: Slight textural changes are normal, but raised scars indicate overworking. Use lighter passes in sensitive areas like the inner arm.
- Color shift: Black may turn slightly greenish if too much yellow was in the ink. Use carbon-based blacks for neutral tones.
5. Common Pitfalls and How to Avoid Them
5.1 Over-Blending
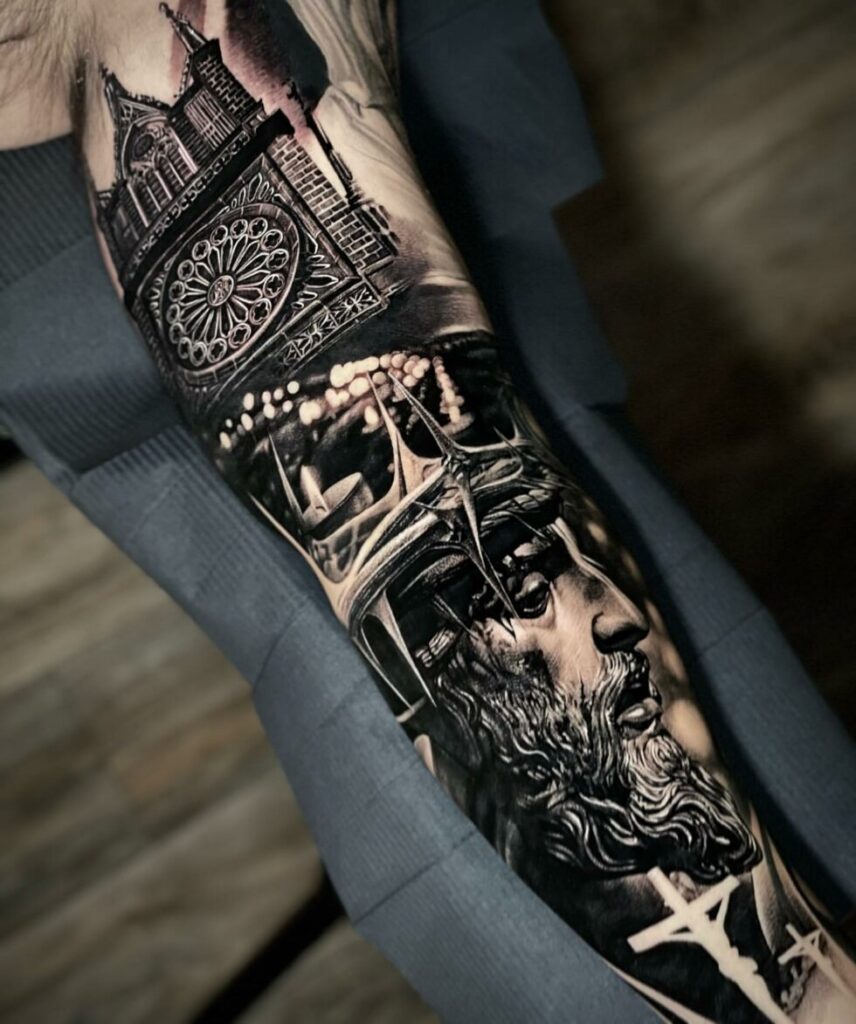
Too much blending kills contrast. Leave some sharp edges between light and dark. The eye needs hard transitions to perceive form.
5.2 Ignoring Skin Undertones
Warm skin (yellow/olive) requires cooler grays to avoid muddiness. Cool skin (pink/blue) needs warmer grays. Test on a small patch first.
6. The Role of Aftercare in Healed Realism
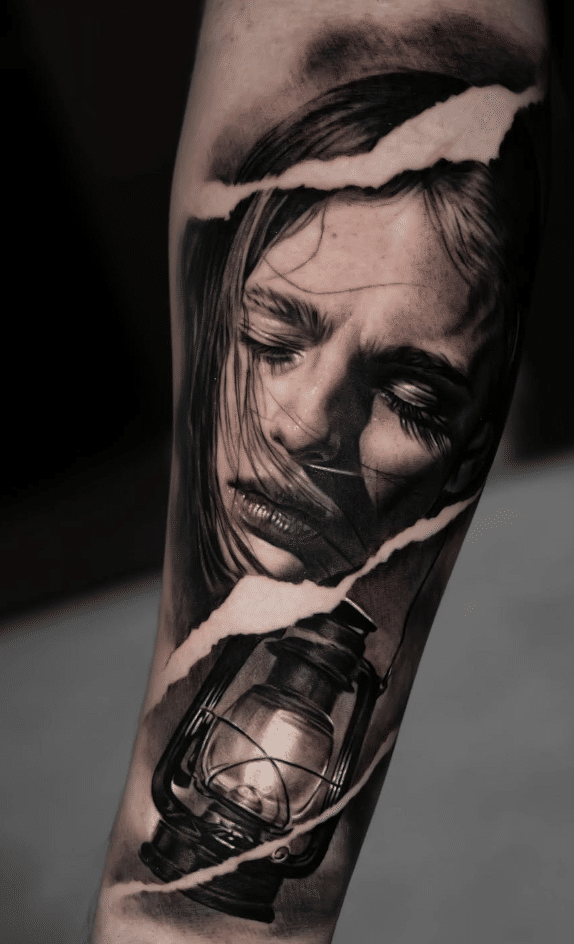
Healing directly impacts detail. Keep the tattoo moist but not wet—over-moisturizing can cause ink to pool and blur. Use a thin layer of unscented lotion after the first 3 days. Avoid sun exposure for 4 weeks; UV light breaks down ink particles and fades highlights.
FAQ
Q: How long does a realism tattoo take to heal fully?
The surface heals in 2-3 weeks, but deeper layers take 3-6 months to settle. Final contrast and sharpness are only visible after 6 months.
Q: Can I get a realism tattoo on dark skin?
Yes, but contrast needs to be adjusted. Use deeper blacks and lighter highlights—sometimes leaving skin uninked for highlights works better than white ink.
Q: Why does my realism tattoo look blurry after healing?
Common causes: needle depth too deep (blowout), contrast too low, or improper aftercare (excessive moisture). Consult your artist for a touch-up after 3 months.
Q: What is the best body placement for realism?
Flat, stable areas like the forearm, thigh, or chest. Avoid joints, ribs, and hands as skin movement distorts the image over time.
For more insights, check our magazine and consultation pages.
Read more
- Magazine for more tattoo knowledge, style guides and aftercare notes.
- Request a consultation if you need help with style, placement or preparation.
- Marketplace for equipment, supplies and learning resources.
Content hub
Tattoo styles pillar
This article belongs to the styles cluster. Open the pillar page to compare Irezumi, Old School, Realistic, Blackwork, Fine line, Geometric and Watercolor.
Related reading
Continue reading
Lettering Tattoo Healed Portfolio Review: Kerning, Baseline & Placement Distortion
A specialist healed-portfolio review guide for Lettering tattoos, focused on kerning, baseline control and placement distortion. Includes concrete…
Lettering Tattoo Placement: A Specialist Guide to Kerning, Baseline Control, and Body-Flow Distortion
A specialist guide to lettering tattoos focusing on kerning, baseline control, and placement distortion. Learn how to plan…
Lettering Tattoo Design Consultation Checklist: Kerning, Baselines, and Placement Distortion
A specialist consultation checklist for lettering tattoos covering kerning, baseline control, and placement distortion. Includes practical tests, booking…