
Black and Grey Tattoo: Value Control, Soft Shading and Long-Term Contrast
Introduction
Black and grey tattooing is a discipline that relies on value control—the careful management of light and dark to create depth, volume, and realism. Unlike color work, which can rely on hue shifts, black and grey demands a masterful understanding of shading, dilution, and contrast. This guide explores the techniques, tools, and decision points that define premium black and grey work, with a focus on soft shading and maintaining contrast over time.
Understanding Value Control
Value control is the foundation of black and grey. It refers to the range of tones from pure black to skin tone, achieved through dilution, stippling, or layering. A skilled artist uses value to sculpt form, creating the illusion of three-dimensionality. The key is to avoid muddy transitions—every shade must have a purpose.
- Black ink: Use high-quality carbon-based blacks for deep, stable tones.
- Dilution: Mix with distilled water or witch hazel to create grey washes. Ratios vary: 1:1 for dark grey, 1:4 for light grey.
- Layering: Build up values gradually. Rushing leads to blowouts or uneven saturation.
Soft Shading Techniques
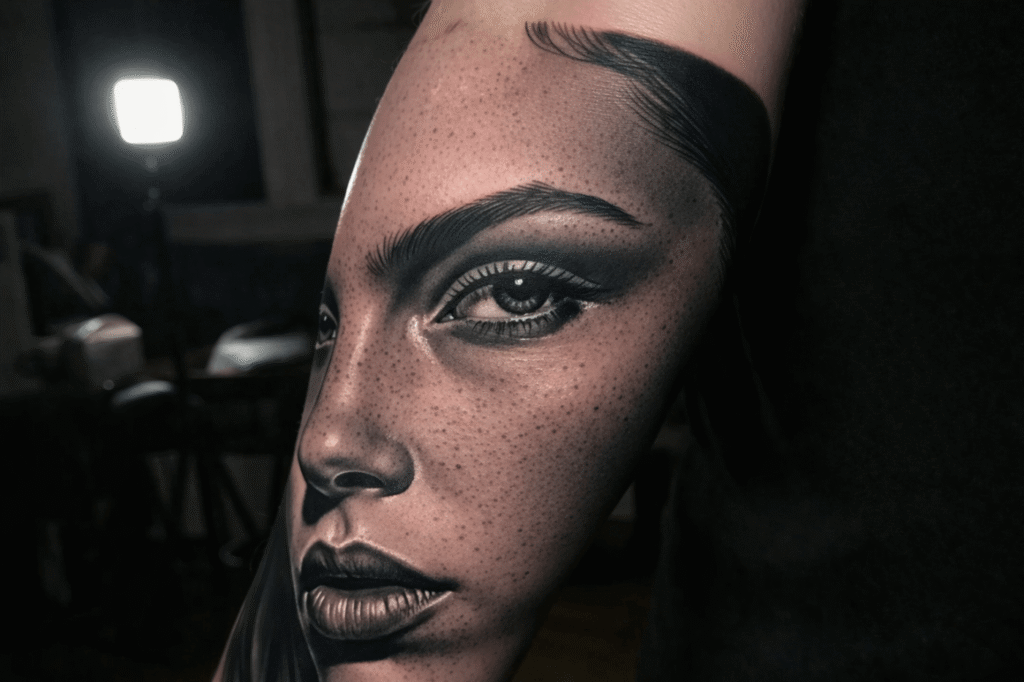
Soft shading is the hallmark of smooth transitions. Common methods include:
- Stippling: Dot patterns that blend from dense to sparse. Ideal for organic textures.
- Whip shading: A fast, sweeping motion that deposits ink in a gradient. Works best with a mag needle.
- Pepper shading: A hybrid of stippling and whip, creating a soft, airy look.
- Brush shading: Using a brush-like needle grouping to paint values.
Each method requires practice. A common mistake is overworking the skin, causing trauma and scarring. Tip: Always test your dilution on a practice skin or your own leg first. Monitor how the skin reacts—some areas (like ribs) are more sensitive and prone to blowouts.
Long-Term Contrast: What Fades and What Stays
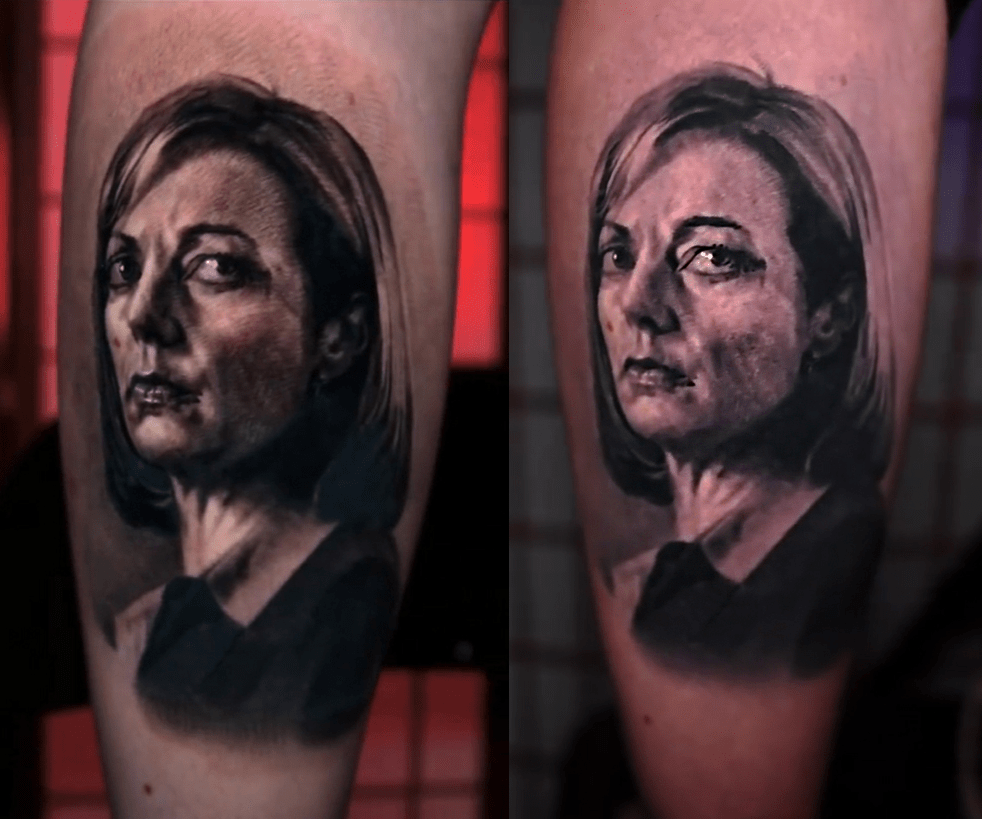
Contrast determines readability. Over time, all tattoos fade, but black and grey is especially vulnerable to losing distinction. Factors affecting longevity:
- Ink quality: Cheap blacks turn blue or green. Invest in reputable brands.
- Depth: Too shallow = fading; too deep = blurring. Aim for consistent needle depth (1-2 mm) in the dermis.
- Sun exposure: UV breaks down pigment. Advise clients to use SPF 50+.
- Skin type: Oily skin pushes ink out faster; dry skin may hold better.
To preserve contrast, use a full range of values: pure black for shadows, skin tone for highlights, and at least three mid-tones. Avoid large areas of mid-grey that will blend together as they fade. Caveat: Even with perfect technique, some loss of contrast is inevitable. Educate clients on touch-ups every 5-10 years.
Tools of the Trade
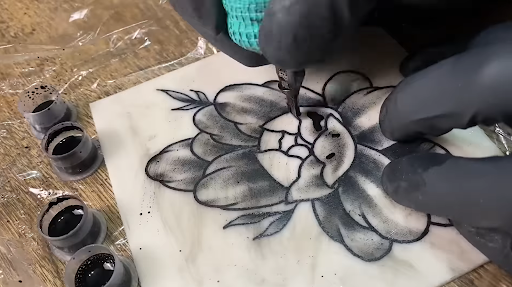
Your needle selection and machine setup matter:
- Needles: Round shaders (RS) for soft edges, magnums (M1, M2) for shading, liners (RL) for crisp lines.
- Machine: Rotary machines offer smoother shading; coils give more control for lining. Choose based on your technique.
- Power supply: Consistent voltage prevents uneven saturation. Use a digital supply.
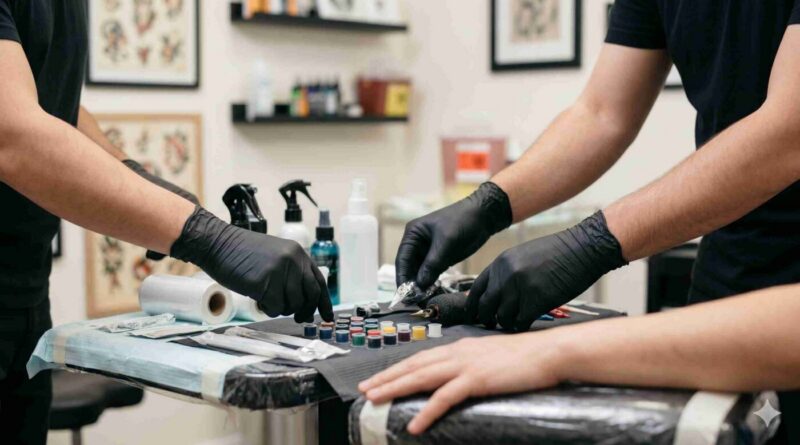
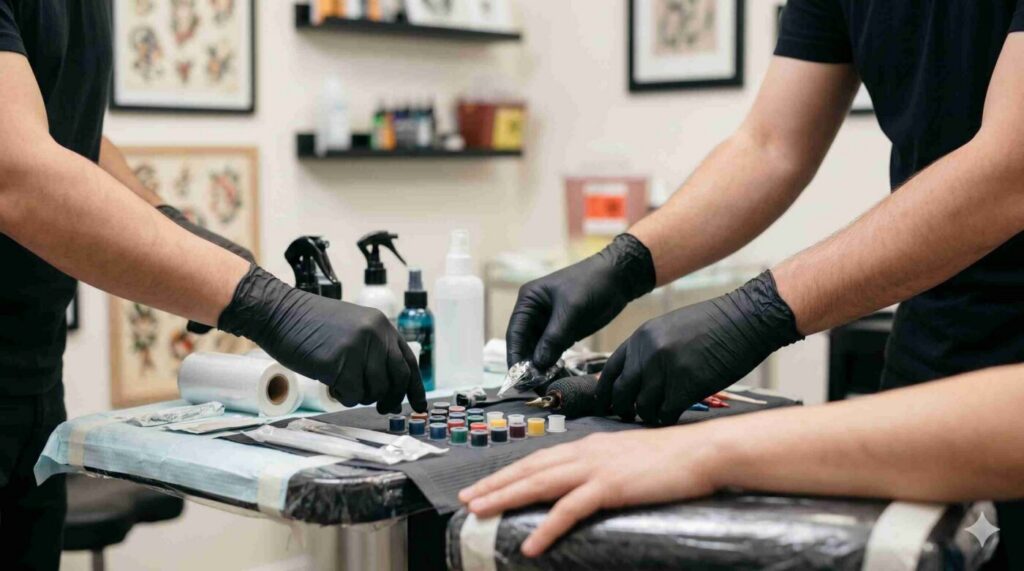
Checklist before starting: Sterilize all equipment, check needle integrity, prepare fresh ink caps, and ensure proper ventilation.
Common Mistakes and How to Avoid Them
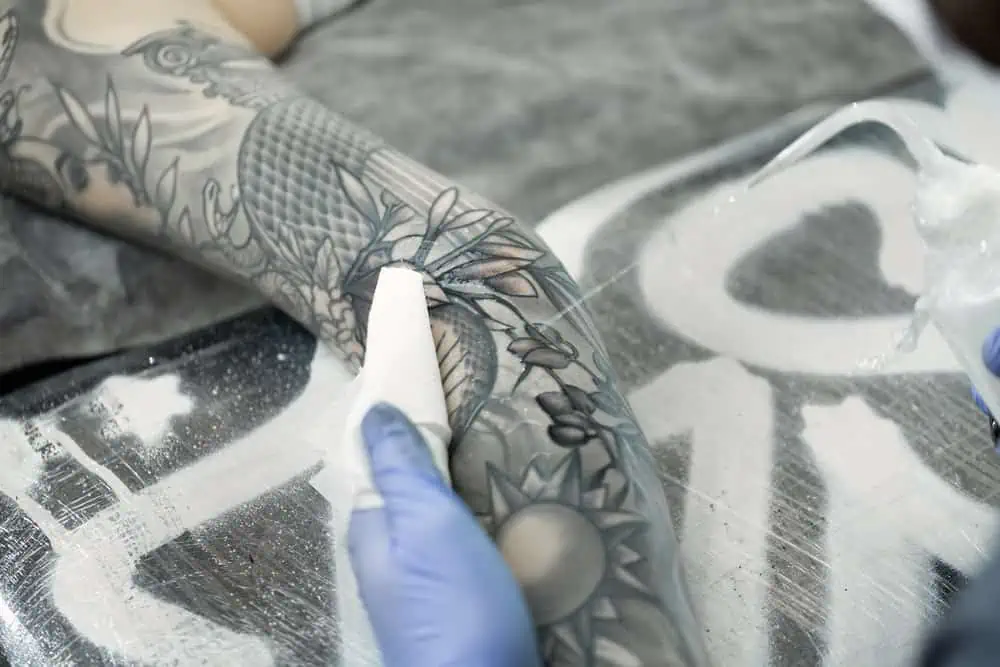
- Muddy transitions: Result from too many passes or incorrect dilution. Solution: Use a single pass with the right needle grouping.
- Blowouts: Ink spreads under the skin. Cause: needle too deep or angle too steep. Solution: Keep needle at 45° and depth consistent.
- Uneven saturation: Patchy areas. Cause: inconsistent hand speed or voltage. Solution: Practice on fake skin to find your rhythm.
- Overworking: Leads to scarring and poor healing. Stop when the skin shows visible trauma (redness, raised skin).
Comparison: Black and Grey vs. Color Realism
Both styles require value control, but the approach differs:
| Aspect | Black and Grey | Color |
|---|---|---|
| Value range | Black to skin tone | Hue + value |
| Shading | Single pigment dilution | Multiple colors |
| Fading | Uniform if done well | Uneven color loss |
| Healing | Faster (less ink) | Slower (more trauma) |
For clients wanting timeless, low-maintenance pieces, black and grey often wins. But color offers vibrancy that some prefer. Discuss both options.
FAQ
How long does a black and grey tattoo last before needing a touch-up?
With proper care, 5-10 years. Factors include sun exposure, skin type, and ink quality. Annual touch-ups are common for high-contrast areas.
Can black and grey tattoos be covered later?
Yes, but dark values may show through. A cover-up requires heavy saturation or color. Consult an artist experienced in cover-ups.
Is black and grey more painful than color?
No. Pain depends on location and artist technique, not ink type. Black and grey may require fewer passes, reducing overall discomfort.
What is the best aftercare for black and grey?
Keep it clean, moisturized, and sun-protected. Avoid soaking for 2 weeks. Use unscented lotion. Do not pick scabs—this pulls out ink.
Final Thoughts
Mastering black and grey is a lifelong journey. Focus on value control, practice soft shading, and think about long-term contrast. Every piece is a lesson. For more inspiration, check out our magazine and consultation pages. If you’re looking for an artist, browse our studio directory or verified profiles.
Read more
- Magazine for more tattoo knowledge, style guides and aftercare notes.
- Request a consultation if you need help with style, placement or preparation.
- Marketplace for equipment, supplies and learning resources.
Content hub
Tattoo styles pillar
This article belongs to the styles cluster. Open the pillar page to compare Irezumi, Old School, Realistic, Blackwork, Fine line, Geometric and Watercolor.
Related reading
Continue reading
Lettering Tattoo Healed Portfolio Review: Kerning, Baseline & Placement Distortion
A specialist healed-portfolio review guide for Lettering tattoos, focused on kerning, baseline control and placement distortion. Includes concrete…
Lettering Tattoo Placement: A Specialist Guide to Kerning, Baseline Control, and Body-Flow Distortion
A specialist guide to lettering tattoos focusing on kerning, baseline control, and placement distortion. Learn how to plan…

Lettering Tattoo Design Consultation Checklist: Kerning, Baselines, and Placement Distortion
A specialist consultation checklist for lettering tattoos covering kerning, baseline control, and placement distortion. Includes practical tests, booking…