
Geometric Tattoo: The Expert Guide to Symmetry, Stencil Planning & Body Flow
Introduction
Geometric tattoos are a celebration of precision. Unlike freehand styles, every line, angle, and intersection must be mathematically intentional. As a senior tattoo editor, I’ve seen how a poorly planned geometric piece can distort on the body, while a well-executed one becomes a timeless work of art. This guide breaks down the structural pillars: symmetry, stencil planning, and body flow. Whether you’re a collector or an artist, these insights will elevate your understanding.
The Anatomy of Geometric Tattoos
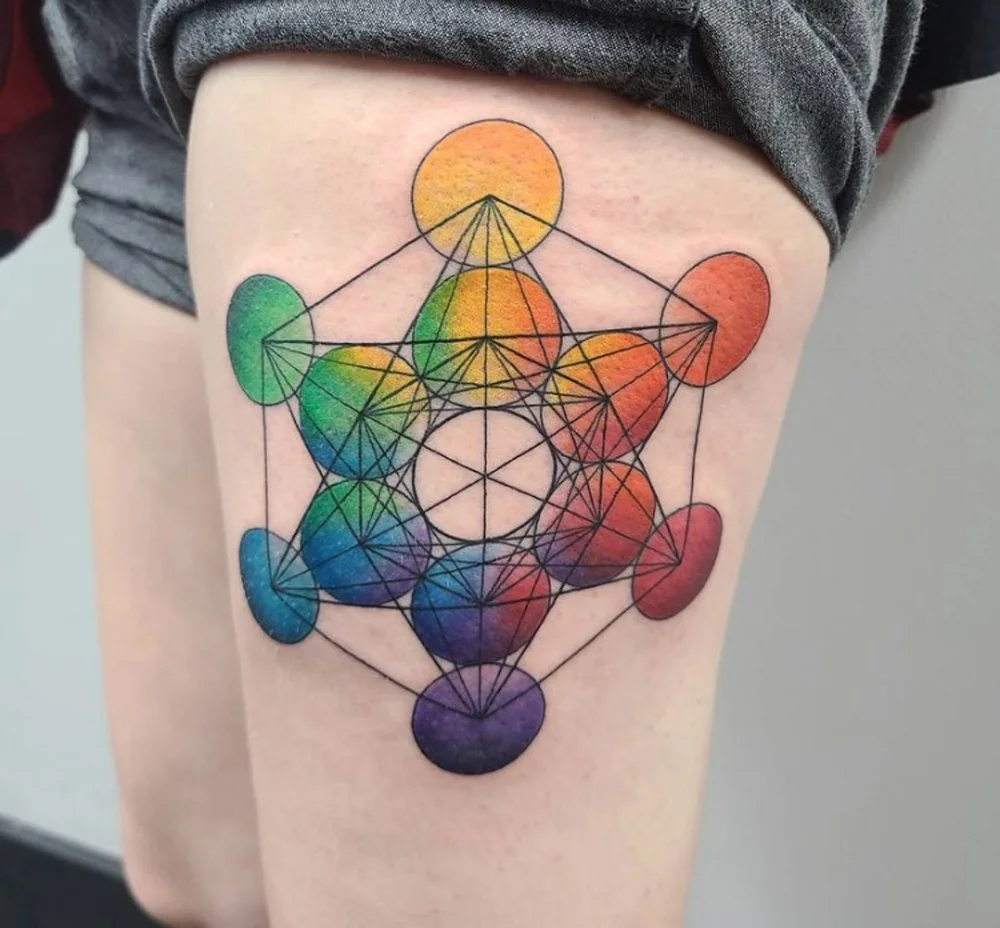
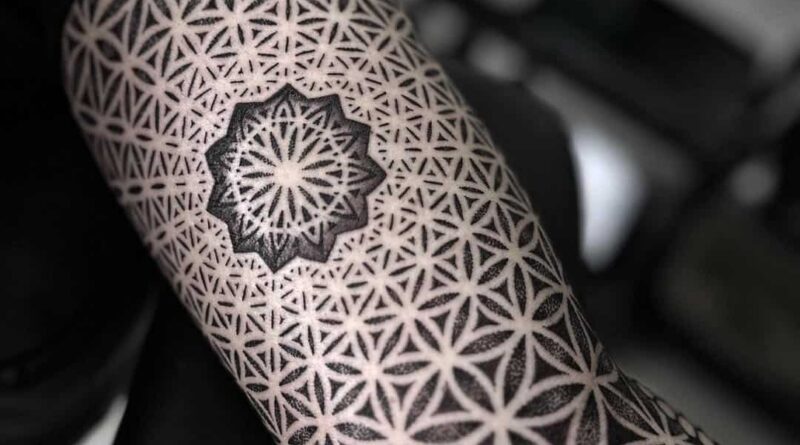
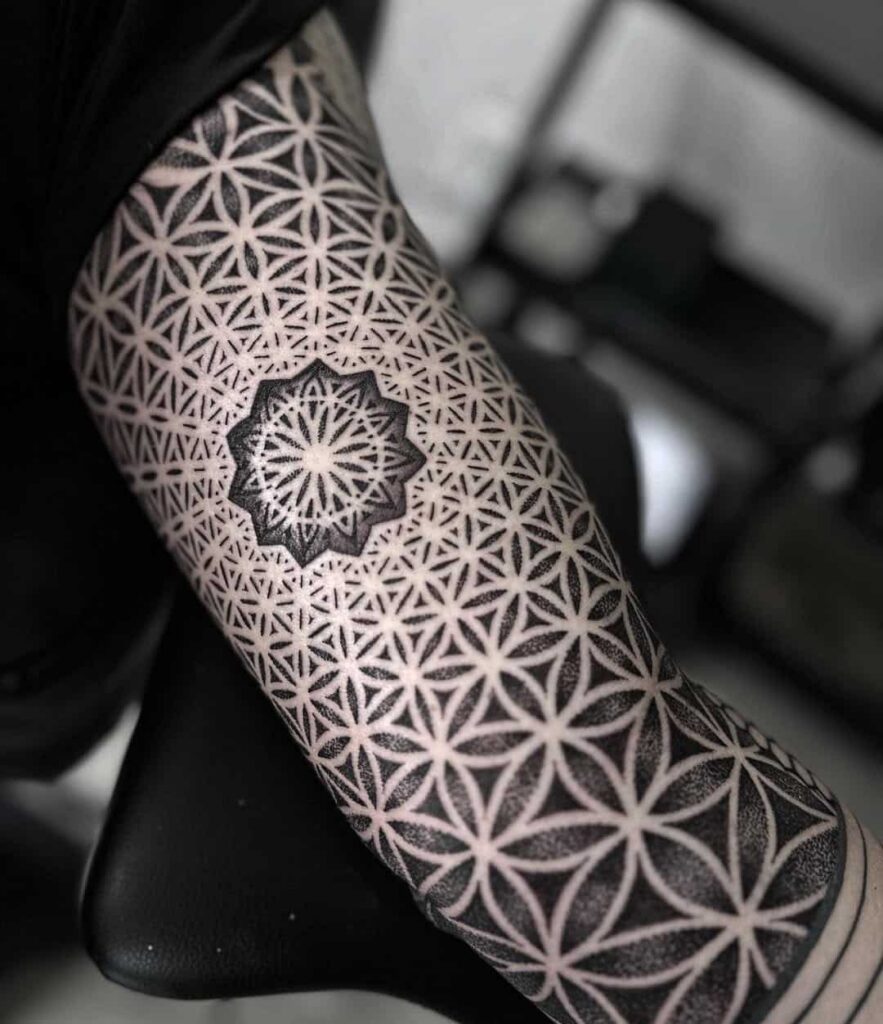
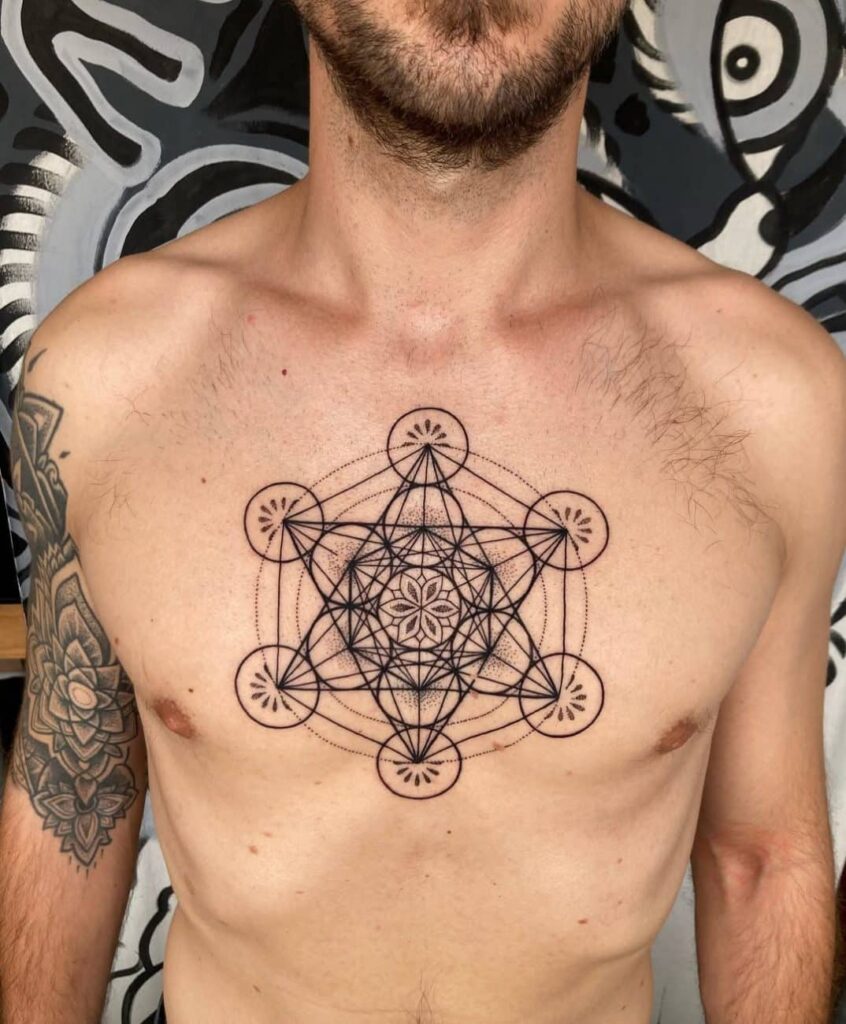
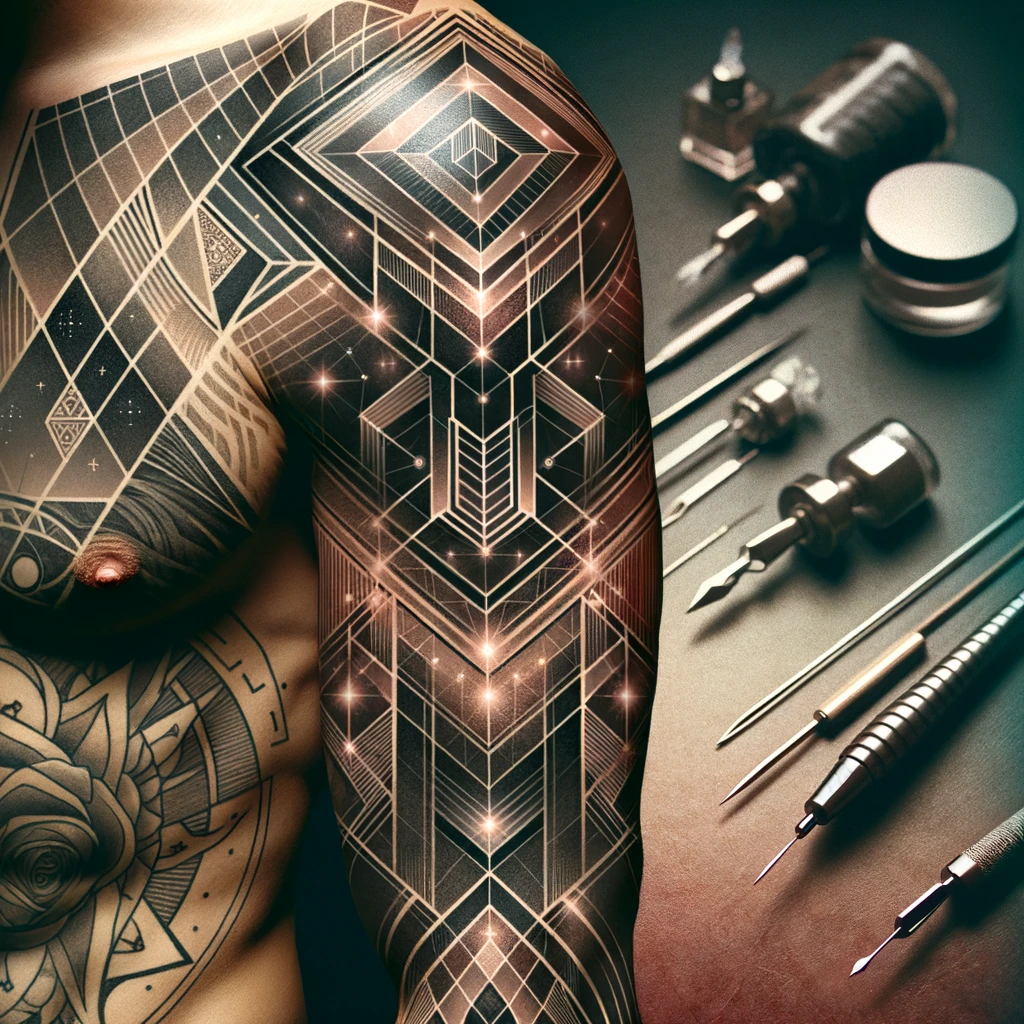
Geometric tattoos rely on repeating patterns, sacred geometry, or abstract shapes. The key is structural integrity—each element must relate to the whole. Common motifs include mandalas, triangles, hexagons, and overlapping circles. The challenge? The human body is curved, not flat. A design that looks perfect on paper can warp on a bicep or ribcage.
Symmetry: More Than Mirroring
True symmetry in tattooing isn’t just left-right mirroring. It’s radial symmetry (expanding from a center) and translational symmetry (repeating patterns). For example, a mandala has radial symmetry; a tessellation has translational. The artist must account for body contours—what’s symmetrical on a flat surface may require adjustment on a limb.
Checklist for Symmetry:
- Use a flexible ruler to measure distances on the skin.
- Mark key anchor points (e.g., center of chest, spine, or joint).
- Test the design in multiple poses (arm bent, stretched).
Stencil Planning: The Blueprint
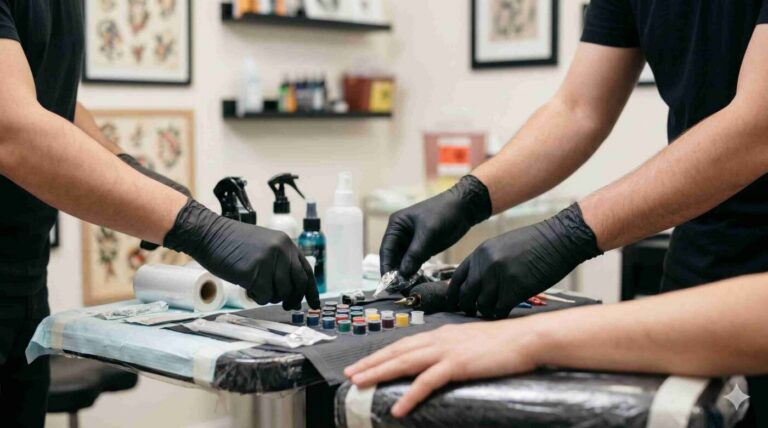
The stencil is your roadmap. For geometric work, a thermal stencil is standard, but many artists prefer freehand drawing with a surgical marker for complex alignments. The stencil must be placed while the client stands or sits in a natural posture—lying down can shift the skin.
Step-by-Step Stencil Process:
- Clean and shave the area thoroughly.
- Apply stencil adhesive (e.g., Stencil Stuff) evenly.
- Position the stencil using landmarks (e.g., clavicle, navel).
- Check alignment from multiple angles (front, side, 45°).
- Peel carefully; if misaligned, remove and restart.
Caveat: Stencils can smudge or stretch on oily skin. Use a light hand and let it dry completely.
Body Flow: Designing for Movement
Geometric tattoos must follow the body’s natural lines. A straight line on a flat surface can look curved on a muscle. Flow means the design enhances the body’s shape, not fights it. For example, a geometric band on a bicep should taper with the muscle contour.
Flow Checks:
- Draw reference lines along muscle groups.
- Use negative space to create visual breathing room.
- Test the design with dynamic movements (flex, rotate).
Line Precision: The Make-or-Break Factor

Geometric tattoos demand crisp, consistent lines. Any wobble or blowout ruins the illusion. Artists should use a tight liner needle (e.g., 3RL or 5RL) at a moderate voltage (8-9V). Stretch the skin taut, and use a light hand—overworking causes scarring.
Common Line Issues & Fixes:
- Blowout: Needle too deep. Solution: Adjust depth to 1-2mm.
- Wobble: Unstable hand or poor stretch. Practice on fake skin.
- Fading: Insufficient saturation. Go over lines twice at most.
Healed Readability: What to Expect

A geometric tattoo’s beauty depends on how it heals. Thin lines may spread over time, turning sharp angles into blobs. To preserve clarity:
- Use blackwork or dotwork for longevity.
- Avoid overly fine lines (under 3RL) in high-movement areas.
- Space elements apart to prevent bleeding.
Healing Timeline: Days 1-3: Swelling and redness. Lines may appear thicker. Days 4-10: Peeling; keep moisturized. Weeks 3-4: Settling; final clarity emerges. At 6 months, lines stabilize.
Comparison: Geometric vs. Abstract vs. Graphic
These styles often overlap but have distinct rules:
- Geometric: Strict symmetry, mathematical precision.
- Abstract: Organic shapes, asymmetry, emotional intent.
- Graphic: Bold lines, high contrast, often illustrative.
Choose geometric if you want order and balance. Abstract if you prefer expression. Graphic for impact.
FAQ
1. Can geometric tattoos be covered up later?
Yes, but it’s challenging due to dense lines. Laser removal or a dark cover-up (e.g., blackwork) works best. Consult an artist experienced in cover-ups.
2. Do geometric tattoos hurt more?
Not inherently, but areas with thin skin (ribs, feet) are more sensitive. The repetitive lining can be tedious, but pain is subjective.
3. How long does a geometric tattoo take?
Small pieces (palm-sized) take 1-3 hours. Full sleeves require multiple sessions, each 3-6 hours. Complex symmetry adds time for stencil alignment.
4. Why does my geometric tattoo look asymmetrical?
Possible reasons: stencil misplacement, body movement during healing, or natural asymmetry of your body. A touch-up can correct minor issues.
Final Checklist Before Getting Inked
- Research artists specializing in geometric work.
- Review their healed photo gallery.
- Discuss aftercare for fine lines.
- Confirm the stencil will be checked in a standing position.
For more inspiration, explore our magazine or find a verified artist on verified studios.
Read more
- Magazine for more tattoo knowledge, style guides and aftercare notes.
- Request a consultation if you need help with style, placement or preparation.
- Marketplace for equipment, supplies and learning resources.
Content hub
Tattoo styles pillar
This article belongs to the styles cluster. Open the pillar page to compare Irezumi, Old School, Realistic, Blackwork, Fine line, Geometric and Watercolor.
Related reading
Continue reading

Cyber Sigilism Tattoo: Sharp Shapes, Symmetry, and Placement Limits
Discover the sharp shapes and symmetry of Cyber Sigilism tattoos. Learn about placement limits, design process, and aftercare…
Traditional vs Neo-Traditional Tattoo: Line, Color, and Healed Readability – A Professional Guide
Compare Traditional vs Neo-Traditional tattoo: line weight, color saturation, healed readability, and aging. Expert guide for choosing your…
Black and Grey Tattoo: Value Control, Soft Shading and Long-Term Contrast
Master black and grey tattooing with expert guidance on value control, soft shading techniques, and maintaining contrast over…