The Geometry of the Body: Mastering Stencil Planning for Geometric Tattoos
Why Geometry and Body Flow Are Inseparable
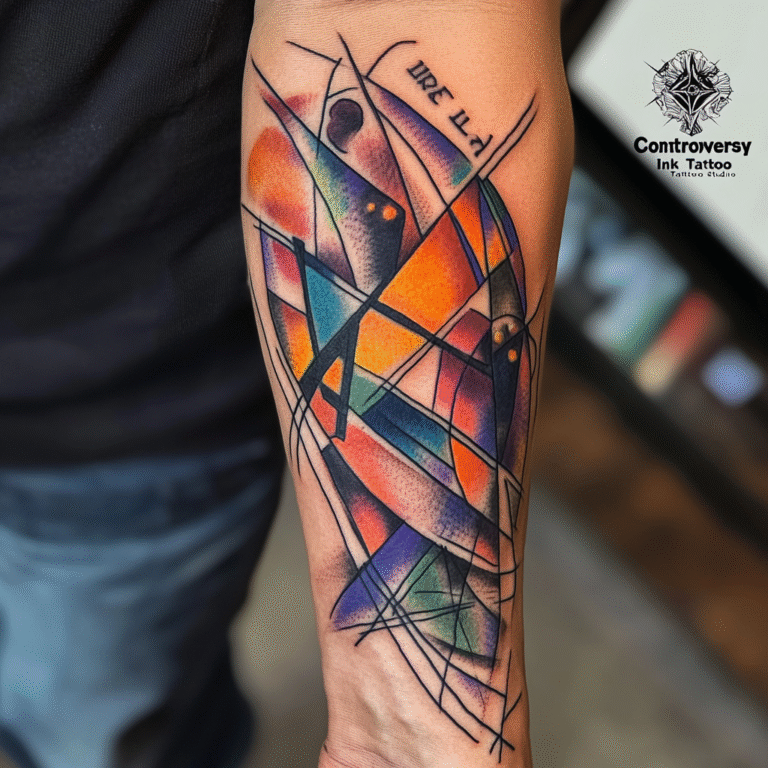
Geometric tattoos are not just about precise lines and symmetrical shapes—they are about how those shapes interact with the body’s natural contours. A perfectly drawn design on paper can look distorted or disjointed once applied to a curved, moving surface. This is where stencil planning becomes an art form in itself. Understanding body flow means recognizing that every muscle, bone, and joint influences how a geometric pattern is perceived.
As a tattoo artist, your goal is to make the geometry feel like it belongs—as if the lines were always part of the body’s architecture. This guide walks you through professional stencil planning techniques, from initial consultation to final placement.
Understanding Body Topography for Geometric Designs
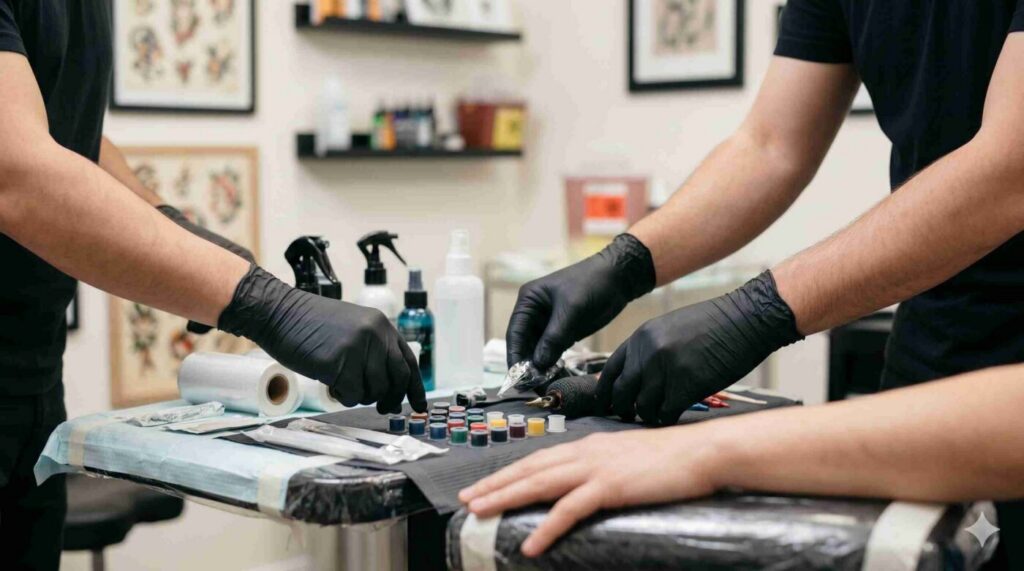
Key Anatomical Landmarks
- Bony prominences: Clavicles, shoulders, elbows, knees, spine. These create natural focal points for symmetry.
- Muscle bellies: Biceps, deltoids, pectorals, glutes. Curved surfaces that can distort straight lines.
- Joints and flex zones: Wrist, ankle, neck, back of knee. Areas where skin stretches and compresses.
Before placing a stencil, palpate the area to feel the underlying structure. A geometric mandala on the back, for example, must align with the spine’s vertical axis. A triangle pattern on the shoulder should follow the deltoid’s curve, not fight it.
Testing Body Movement
Ask the client to move through their full range of motion. Place temporary stickers or draw with a skin marker to simulate the design. Watch how the lines shift when the skin is pulled or relaxed. This step is non-negotiable for areas like ribs, hips, and inner arms.
Stencil Preparation: From Digital to Skin
Choosing the Right Stencil Paper
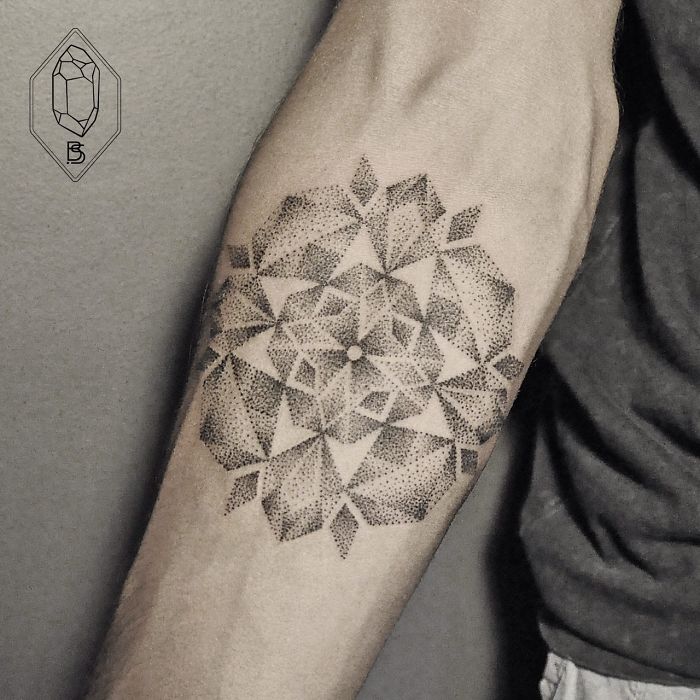
Not all stencil papers are equal. For geometric work, use thermal stencil paper with a fine grain to capture sharp lines. Avoid papers that bleed or smudge, as even a 0.5mm offset can ruin a geometric pattern’s precision.
Transfer Gel vs. Spray
Stencil transfer gel provides longer adhesion and sharper lines, but it can be messy. Spray deodorant (like Speed Stick) is a common alternative, but it may not hold as well on oily skin. For geometric tattoos, gel is recommended to prevent the stencil from shifting during the initial lining pass.
Placement Strategies for Common Body Areas
Forearm: The Linear Canvas
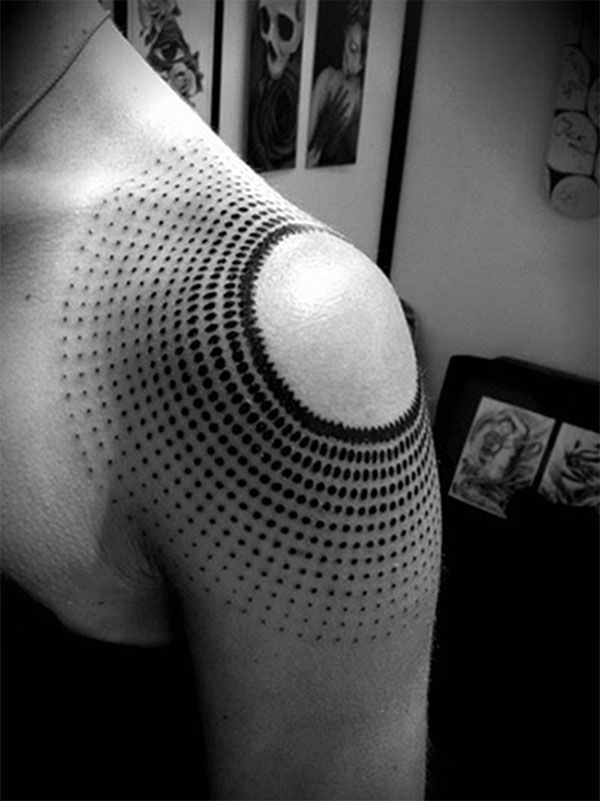
The forearm is ideal for linear geometric patterns—think chevrons, stripes, or repeating triangles. Align the design with the ulna bone for a natural anchor. Avoid placing major symmetry points directly over the wrist crease, as the skin folds will distort the lines.
Back: The Large-Scale Mandala
The back offers a wide, relatively flat surface, but the spine and shoulder blades create undulations. Use the spine as the central axis. For a mandala, start the center point at the T1-T2 vertebrae (between the shoulder blades) to allow the design to expand symmetrically.
Ribcage: The Challenge of Curvature
Ribs are notoriously difficult for geometric work. The skin is thin, and the rib bones create a corrugated surface. Use smaller, repeating motifs that can adapt to the curve. Avoid long straight lines that cross multiple ribs—they will appear bent. Instead, use segmented lines or dotwork to follow the contour.
Upper Arm: The Cylinder
The upper arm is a cylinder, so geometric bands or patterns must account for the circumference. A common mistake is to design a pattern that looks flat on paper but wraps awkwardly. Use a flexible ruler or a paper strip to measure the arm’s circumference and adjust the design to flow seamlessly.
The Role of Dotwork and Negative Space

Dotwork (stippling) is a geometric tattoo’s best friend. It allows for smooth shading that follows body contours without rigid lines. Use dotwork to transition between geometric shapes and the skin’s natural curves. Negative space is equally important—leaving skin untouched can create the illusion of depth and movement.
Common Mistakes and How to Avoid Them
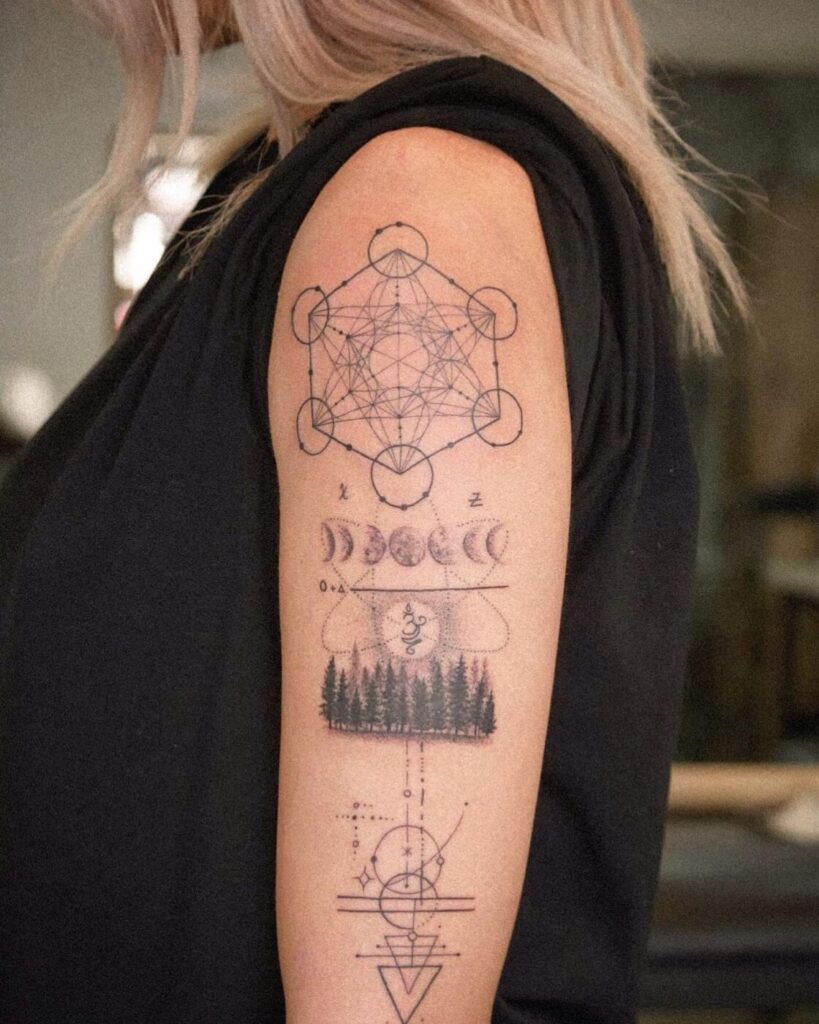
- Ignoring skin stretch: A design that looks perfect when the skin is taut may warp when relaxed. Always check in multiple positions.
- Overcomplicating the stencil: Too many fine lines can blur together over time. Prioritize bold, clear shapes.
- Not accounting for body fat distribution: On areas with more adipose tissue (like the outer thigh), the skin moves more, requiring simpler, larger motifs.
FAQ
1. How long should I leave a geometric stencil on before tattooing?
At least 10-15 minutes to allow the transfer to set fully. For oily skin, use a stencil primer and extend the drying time.
2. Can I use a projector for geometric placement?
Yes, projectors are excellent for large-scale geometric designs, but always double-check with hand-drawn reference points. Projectors can distort on curved surfaces.
3. What if the stencil smudges during the first line?
Stop immediately, clean the area, and reapply the stencil. Never guess the lines—geometric tattoos require absolute precision.
4. How do I handle geometric tattoos over scars or stretch marks?
Scars and stretch marks have different textures and may not hold ink evenly. Avoid placing precise geometric lines directly over them. Instead, use dotwork or negative space to incorporate the texture.
Conclusion
Geometric tattoo stencil planning is a blend of science and art. By respecting the body’s natural topography and preparing meticulously, you can create tattoos that are not only visually stunning but also harmonious with the client’s anatomy. Remember: the best geometric tattoo is one that looks like it was always meant to be there.
Read more
- Magazine for more tattoo knowledge, style guides and aftercare notes.
- Request a consultation if you need help with style, placement or preparation.
- Marketplace for equipment, supplies and learning resources.
Content hub
Tattoo styles pillar
This article belongs to the styles cluster. Open the pillar page to compare Irezumi, Old School, Realistic, Blackwork, Fine line, Geometric and Watercolor.
Related reading
Continue reading
Lettering Tattoo Healed Portfolio Review: Kerning, Baseline & Placement Distortion
A specialist healed-portfolio review guide for Lettering tattoos, focused on kerning, baseline control and placement distortion. Includes concrete…
Lettering Tattoo Placement: A Specialist Guide to Kerning, Baseline Control, and Body-Flow Distortion
A specialist guide to lettering tattoos focusing on kerning, baseline control, and placement distortion. Learn how to plan…

Lettering Tattoo Design Consultation Checklist: Kerning, Baselines, and Placement Distortion
A specialist consultation checklist for lettering tattoos covering kerning, baseline control, and placement distortion. Includes practical tests, booking…