
How Tattoo Artists Can Prepare for Conventions: A Complete Guide to Booth, Flash, and Follow-Up
Why Conventions Matter for Tattoo Artists
Tattoo conventions are more than gatherings—they are high-stakes stages for exposure, networking, and revenue. Whether you’re a seasoned artist or a first-timer, preparation separates a successful convention from a stressful one. This guide covers every practical step: booth applications, flash sheets, pricing, travel kit, hygiene setup, portfolio, client booking, contests, and post-event follow-up.
1. Booth Applications: Secure Your Spot Early

Most conventions open applications 4–6 months in advance. Research events on World Tattoo Events and official festival pages. Apply early to get preferred booth location—corner booths near high-traffic areas cost more but yield better visibility.
- Check application deadlines and fees (typically $200–$800).
- Submit a professional booth photo and artist bio.
- Confirm if electricity, tables, and chairs are included.
- Read cancellation policies carefully; some fees are non-refundable.
Caveat: Some conventions require proof of liability insurance. Verify with the organizer before applying.
2. Flash Sheets: Design for Speed and Appeal

Flash sheets should be pre-drawn, popular designs you can tattoo in 30–90 minutes. Prioritize small to medium pieces: minimalist symbols, lettering, floral motifs, and geometric patterns.
- Create 3–5 themed sheets (e.g., nature, traditional, script).
- Use clear, high-contrast images; laminate or print on durable paper.
- Price each design visibly on the sheet (e.g., $80–$200).
- Offer 2–3 “convention specials” at a slight discount to attract walk-ins.
Example: A sheet of 10 small fine-line animals, each $100, or two for $180.
3. Pricing Strategy: Transparent and Competitive

Set prices before the event. Common models: flat rate per flash design, hourly rate for custom work, or a deposit-plus-balance system.
- Display a price list on your booth wall.
- Include aftercare products (e.g., ointment, bandage) in the price or sell separately.
- Offer a small discount for cash payments to avoid card fees.
Caveat: Avoid underpricing—convention expenses (travel, booth fee) eat into profit. Calculate a minimum hourly rate that covers costs and time.
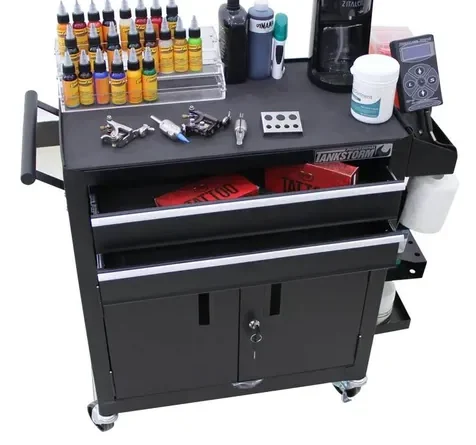
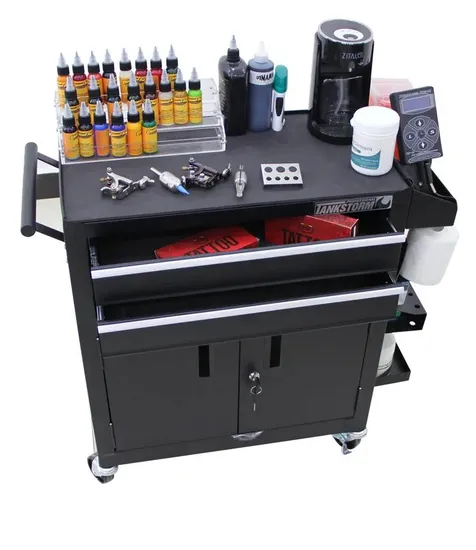
4. Travel Kit: What to Pack

Your travel kit should be compact yet complete. Use a rolling hard case for heavy items.
- Machine(s), power supply, foot pedal, clip cord, and backup machine.
- Needles, tubes, grips, ink caps, and gloves (multiple sizes).
- Stencil paper, transfer solution, green soap, distilled water.
- Aftercare samples (small packets of balm or ointment).
- Extension cord, power strip, tape, scissors, and trash bags.
Checklist: Print a packing list and check items off as you pack. Bring duplicates of critical items (e.g., an extra power supply).
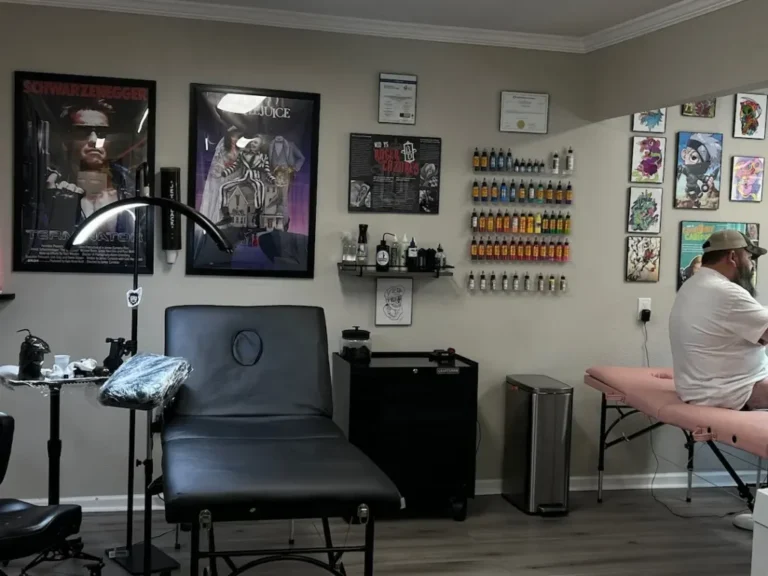
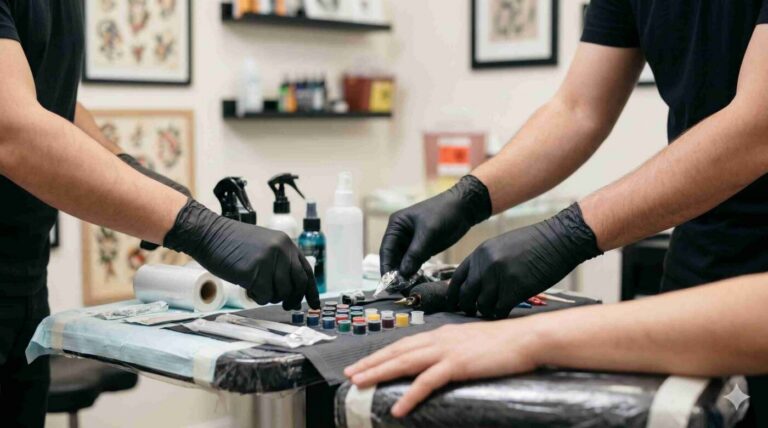
5. Hygiene Setup: Meet or Exceed Standards
Convention health inspectors are strict. Your setup must follow OSHA and local health department guidelines.
- Cover all surfaces with disposable plastic sheeting.
- Use separate containers for clean and contaminated waste.
- Autoclave sterilized tools must be sealed in pouches with indicator tape.
- Have a handwashing station with soap, water, and paper towels (or use alcohol-based hand sanitizer if running water is unavailable).
- Display your bloodborne pathogen certificate prominently.
Caveat: Some conventions provide a central sterilization area; verify if you can use it or must bring your own autoclave.
6. Portfolio: Show Your Best Work
Your portfolio is your silent salesperson. Bring a physical book and a tablet or laptop for digital slideshow.
- Include 20–30 high-quality photos of healed tattoos (not just fresh).
- Organize by style (e.g., blackwork, color, realism).
- Add captions with size, placement, and healing time.
- Update with recent convention-ready flash.
Tip: Laminate pages to protect from ink and hand sanitizer.
7. Client Booking: Pre-Schedule and Walk-Ins
Maximize your time by booking appointments before the convention and leaving slots for walk-ins.
- Use a booking app (e.g., Booksy, Vagaro) with a convention-specific calendar.
- Require a non-refundable deposit (e.g., $50) for pre-books.
- Post a sign: “Walk-ins welcome – estimated wait time.”
- Collect contact info for follow-up (email or social media).
Caveat: Overbooking leads to long waits and unhappy clients. Schedule 15-minute buffers between appointments.
8. Contests: Enter Strategically
Convention tattoo contests can boost your reputation. Read rules carefully—some require the tattoo to be done on-site.
- Choose a category where you excel (e.g., Best Black & Gray, Best Small).
- Prepare a design that fits the category and time limit.
- Photograph the tattoo immediately after completion with a neutral background.
- Submit entry forms early; late entries are often rejected.
Caveat: Winning is not guaranteed; focus on participation and networking.
9. Post-Event Follow-Up: Convert Leads into Clients
The convention doesn’t end when you pack up. Follow up within 48 hours.
- Email or DM clients who got tattooed: thank them, share aftercare tips, and ask for a review.
- Post behind-the-scenes content on social media with a call-to-action to book.
- Update your studio profile with convention highlights.
- Evaluate what worked: which flash sold best, what pricing was effective, and what you’d change.
FAQ
Q1: How far in advance should I apply for a convention booth?
A: Apply 4–6 months ahead. Popular conventions sell out within weeks.
Q2: What if I can’t bring my own autoclave?
A: Some conventions provide a central sterilization service. Confirm in advance and bring pre-sterilized sealed pouches as backup.
Q3: How many flash designs should I prepare?
A: Aim for 30–50 designs across 3–5 sheets. Quantity attracts more walk-ins.
Q4: Can I tattoo designs not on my flash sheet?
A: Yes, but charge a custom rate (usually higher). Flash sheets speed up the process.
For more tips, visit our consultation page or explore the tattoo marketplace for supplies.
Keep exploring Vietnam Tattoo
- Browse Ranking for notable studios by city, style, and intent.
- Search studios by city, verification level, and contact channel.
- View verified profiles to check approved and verified entries.
- Request a consultation if you need help choosing style, placement, or a suitable studio.
Content hub
Culture and events hub
Follow event calendars, tattoo festivals and community stories.
Related reading
Continue reading
Tattoo Convention Vietnam 2025: Da Nang Event Watchlist & Official Verification Guide
Your ultimate watchlist for tattoo conventions in Da Nang 2025. Learn how to verify official sources, prepare for…
Tattoo Culture in Hoi An: Travel Tattoos, Safety & Respectful Design Choices
Discover Hoi An's tattoo culture: travel tattoo safety, respectful design choices, studio checklist, and aftercare tips for a…
Tattoo Culture & Street Style: How Body Art Connects with Fashion and Music
Explore the deep connection between tattoo culture, street style, and music. From punk roots to modern icons, discover…